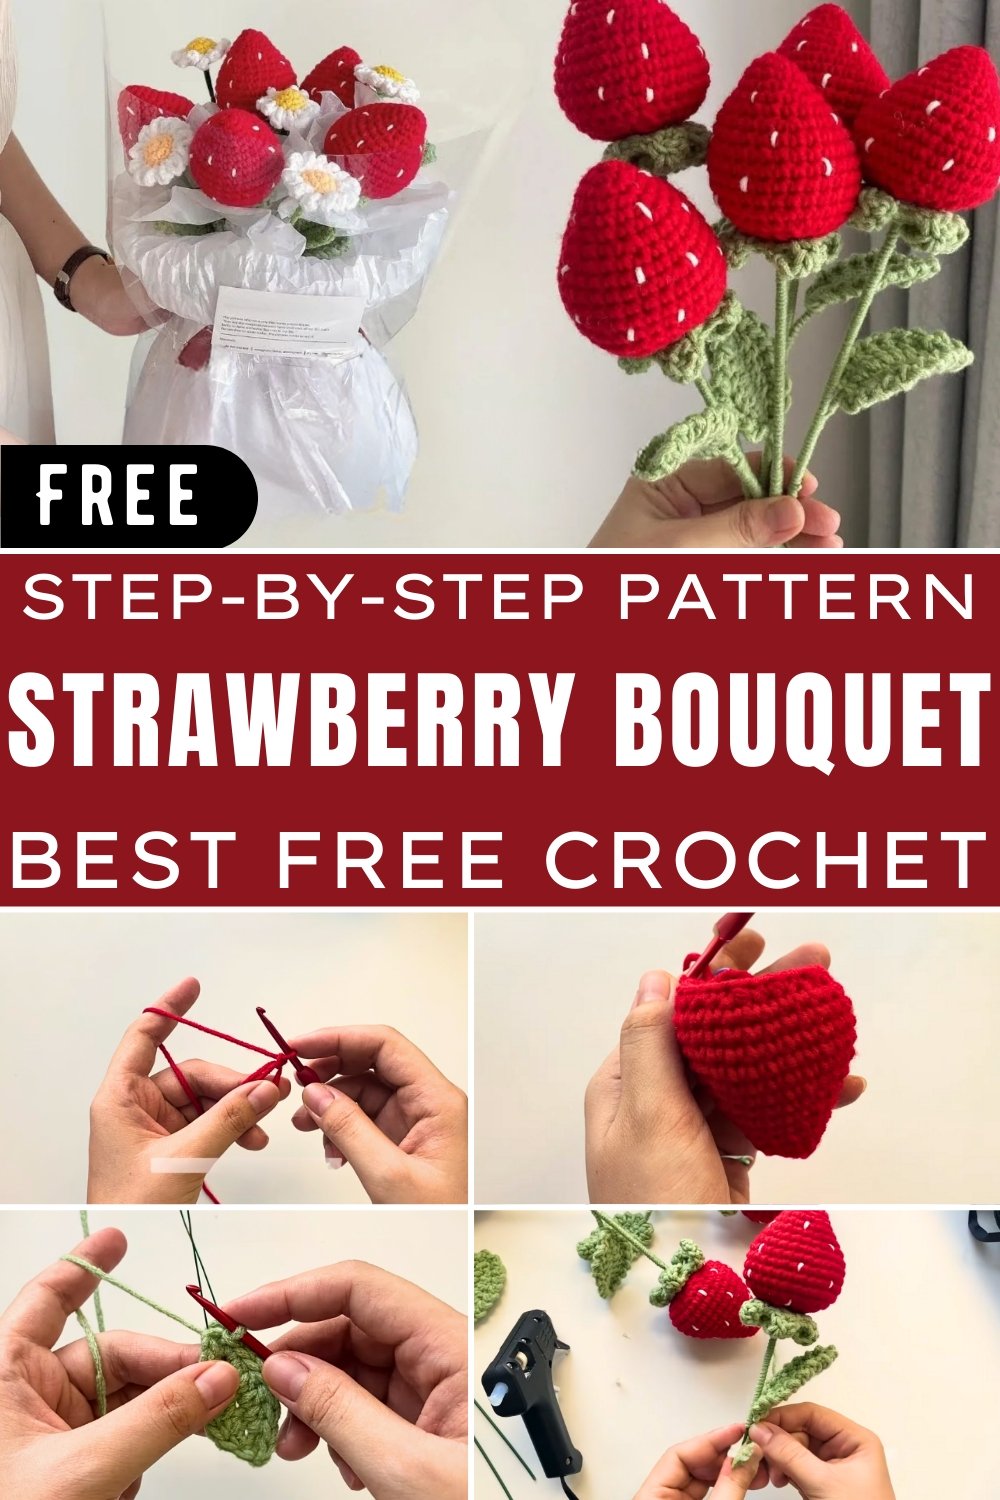
Whimsical Crochet Strawberry Bouquet Pattern for Gifting
Infuse uniqueness into your gifts and décor with a Crochet Strawberry Bouquet Pattern, offering timeless charm, vibrant colors, and eco-friendly elegance.
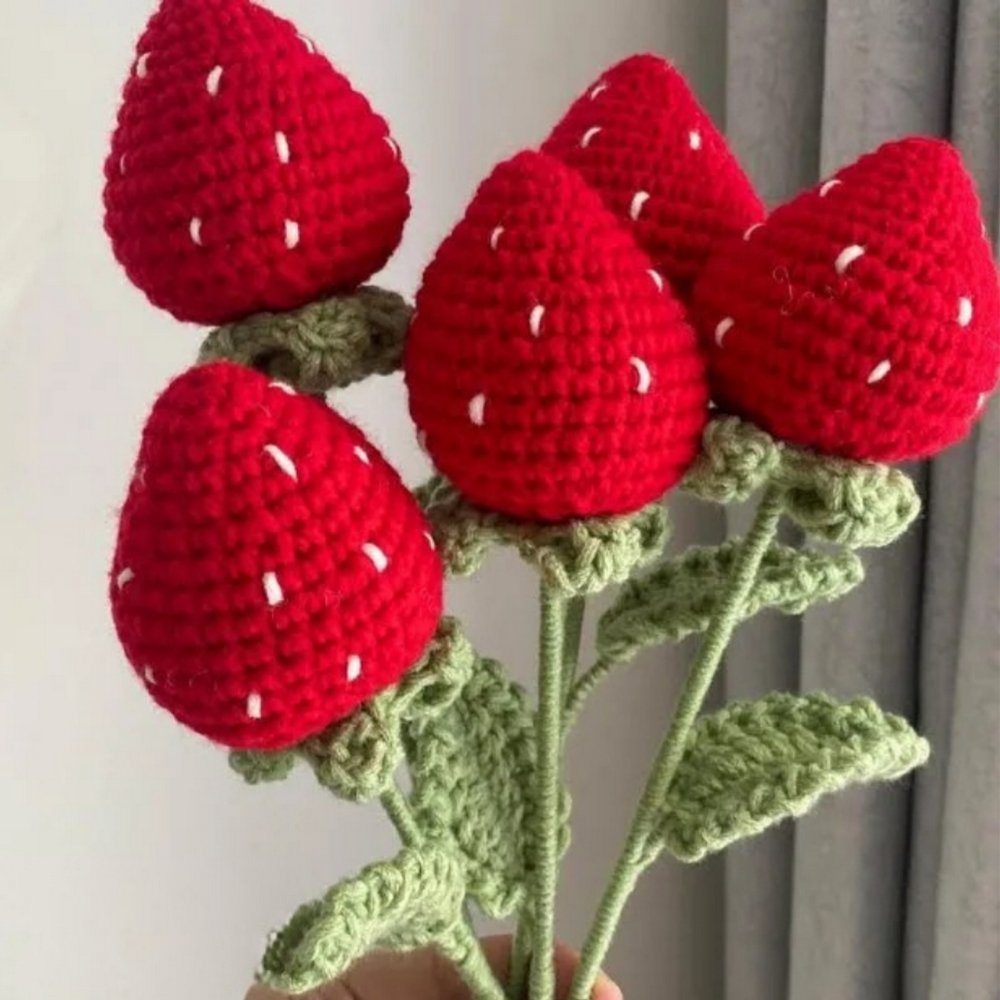
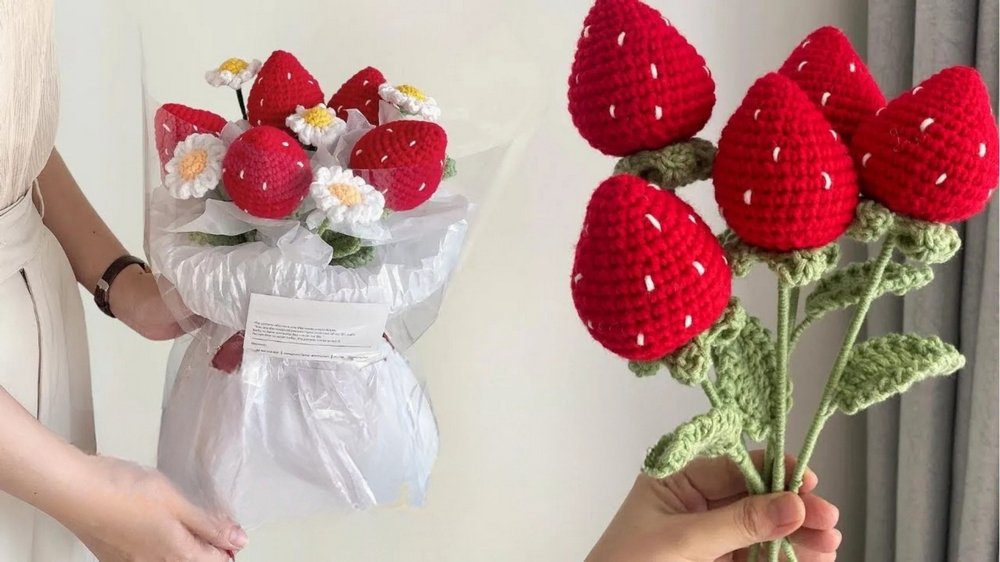
Bright bursts of red, soft green leaves, and delicate design work come together to form a unique strawberry bouquet that never fades. A mix of beauty and charm, these crochet creations stand out as thoughtful, lasting treasures for any occasion. Perfect for gifting or decorating, they add a joyful flair to spaces and celebrations alike, providing a fresh alternative to traditional floral arrangements.
Easy Crochet Strawberry Bouquet to Brighten Any Day
Each strawberry in the bouquet reflects care, with its hand-tied design contributing to a personal and meaningful touch. Unlike fresh flowers that lose their charm over time, these bouquets endure, becoming timeless keepsakes and cherished memories. Whether displayed on a dinner table, given as a heartfelt present, or used as decor at themed events, they are as versatile as they are beautiful.
Beyond their decorative appeal, they promote sustainability and creativity, offering eco-friendly charm without compromising on aesthetics. The artistry of crochet ensures incredible durability while capturing the details that make strawberries so loved. Every stitch adds depth and character, turning this project into more than just an object—it becomes a source of connection, joy, and lasting beauty in everyday life.
Step-by-Step Guide to Making a Crochet Strawberry with Stem and Leaf
The pattern showcases the process of crocheting a charming strawberry complete with seeds, a leafy top (calyx), a stem, and a decorative leaf. This project is ideal for anyone looking to add a playful touch to their crochet skills while creating a versatile handmade crochet piece. The instructions are detailed, making it approachable for both beginners and intermediate crocheters.
Special Features
- Realistic Design: Includes details such as seeds, a cone-shaped fruit body, and a leafy calyx for added realism.
- Versatile: Can be used as a standalone decoration or incorporated into larger projects such as fruit displays, keychains, or gifts.
- Creative Element: Introduces techniques like crafting a structured stem using craft wire and decorative chain stitching for the leaf.
Materials Needed
- Yarn:
- Red yarn for the strawberry body.
- Green yarn for the calyx and leaf.
- White yarn for the seeds.
- Craft wire: To structure the stem and leaf (20 cm long, 0.5 width, folded in half).
- Crochet hook: Sized according to the chosen yarn.
- Tapestry needle: For sewing seeds and finishing details.
- Scissors: To trim yarn tails.
Step-by-Step Instructions
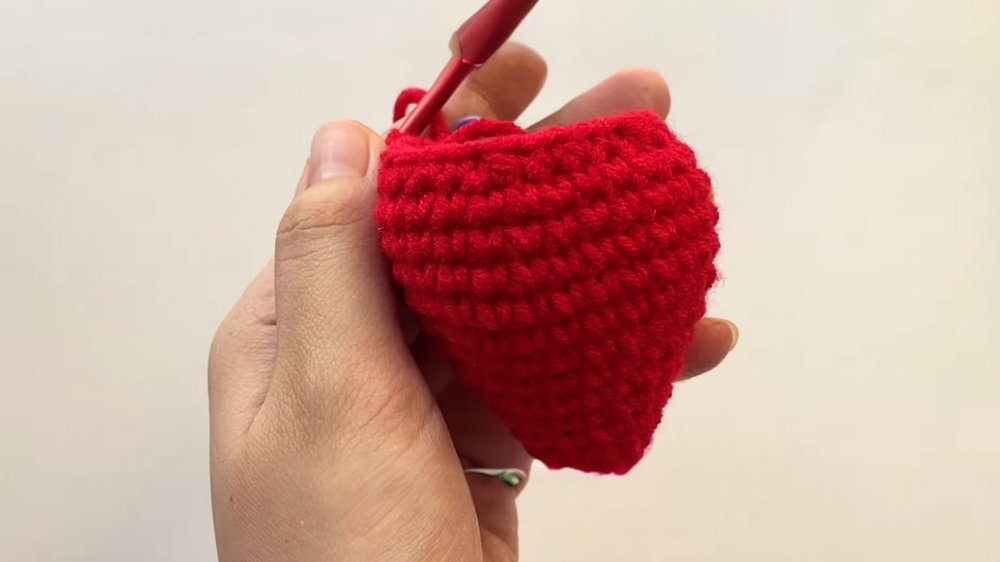
1. Making the Strawberry Body
- Start with a Magic Ring: Using red yarn, create a magic ring and chain one.
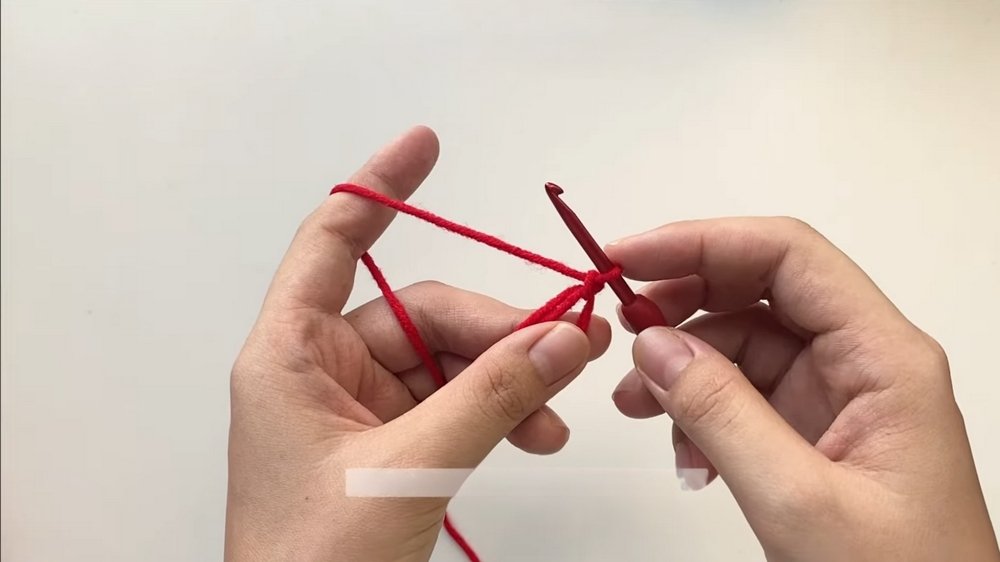
- Round 1: Crochet 6 single crochets into the ring. Pull the short end to close the ring tightly.
- Round 2: Begin with a single crochet in the first stitch. Mark the stitch using a stitch marker. Then perform an increase (two single crochets in one stitch) for every other stitch in the round. Total: 9 stitches.
- Round 3: Crochet one single crochet, followed by an increase, and repeat this pattern for the entire round. Total: 12 stitches.
- Rounds 4-9: Continue this pattern, gradually increasing the number of single crochets between each increase (e.g., Round 4: three single crochets before an increase; Round 5: four single crochets before an increase).
2. Forming the Cone Shape
- Rounds 10-13: Crochet a single stitch in each round without increasing (30 stitches per round). This ensures the strawberry body takes on a tapered, cone-like shape.
3. Decreasing and Closing the Tip
- Round 14: Crochet three single stitches followed by a decrease. Repeat this pattern for the round.
- Subsequent Rounds: Gradually reduce the number of single crochets between each decrease (e.g., two single crochets, then one single crochet between decreases).
- Add stuffing to the strawberry body for firmness before closing.
- Final Step: Thread the tapestry needle through consecutive stitches and pull tight to close the gap.
4. Adding Seeds
- Use white yarn and a tapestry needle to sew small, scattered stitches across the strawberry, representing seeds. Spacing the seeds evenly gives it a realistic look.
5. Crafting the Calyx (Leafy Top)
- Round 1: Create a magic ring using green yarn. Chain two and crochet 14 double crochets into the ring.
- Creating the “Leafy Points”: For each point, chain six, slip stitch back, and crochet a combination of single, half-double, and double crochets. Repeat this pattern five times for all the calyx points.
- Secure the calyx to the top of the strawberry.
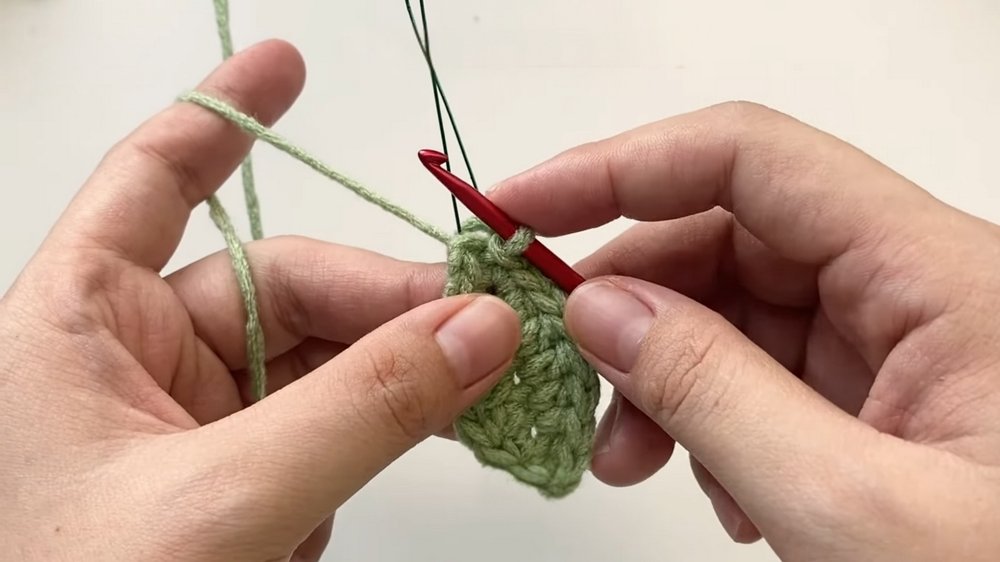
6. Crafting the Stem and Leaf
- Stem: Use a piece of craft wire folded in half. Begin crocheting around the wire with green yarn:
- Chain eight stitches and crochet slip stitches progressively to cover the wire.
- Leaf: Chain two and crochet slip stitches, single crochets, half-double crochets, and double crochets to create a detailed leaf pattern on one end of the wire.
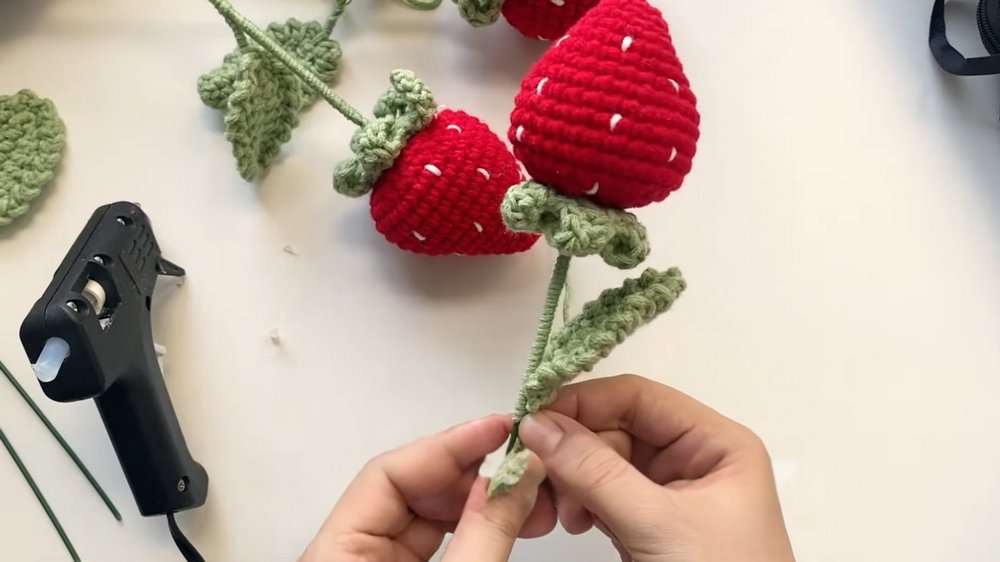
7. Final Assembly
- Attach the stem and leaf to the strawberry, wrap excess yarn around to secure the stem, and adjust the leaf’s shape for symmetry.
Tutor’s Suggestions
- Use Stitch Markers: Marking the first stitch of each round helps maintain accuracy, especially during increases and decreases.
- Count Stitches: Consistently count the stitches at the end of rounds to ensure the pattern is followed correctly.
- Create Tension Consistency: Maintaining even tension while crocheting ensures the strawberry’s shape remains smooth without distorting.
Difficulty Level
- Beginners: While the tutorial uses simple stitches like single crochet, increases, and decreases, it introduces techniques like magic rings and structured shaping, making it slightly challenging for new learners.
- Intermediate: Perfect for someone with some experience in crocheting who wants to explore assembling structured shapes and adding decorative details.
Uses
- Decoration: Ideal for fruit displays, kitchen decor, or centerpiece arrangements.
- Accessories: Attach to keychains, bags, or bookmarks for a playful touch.
- Gift: Makes an excellent handmade gift for craft enthusiasts or children.
- Teaching Aid: A great project to practice foundational crochet techniques and shaping.
Conclusion
By the end of the video tutorial, you’ll have created a charming crochet strawberry with a stem and leaf, perfect for multitudes of uses. For beginners, this project is a great step into structured crochet design, while intermediate crocheters can enjoy perfecting their details for a realistic finish.
Tip
When sewing the seeds, use small, evenly spaced stitches to create a subtle and realistic look. Additionally, for the leaf and stem, ensure the wire is properly wrapped and not exposed to keep the design clean and tidy.