Playful Crochet Granny Square Cat Beanie You’ll Want to Try
Lighten up your winter vibe with the Crochet Granny Square Cat Beanie Pattern—vibrant and cozy accessory perfect for warmth and char.
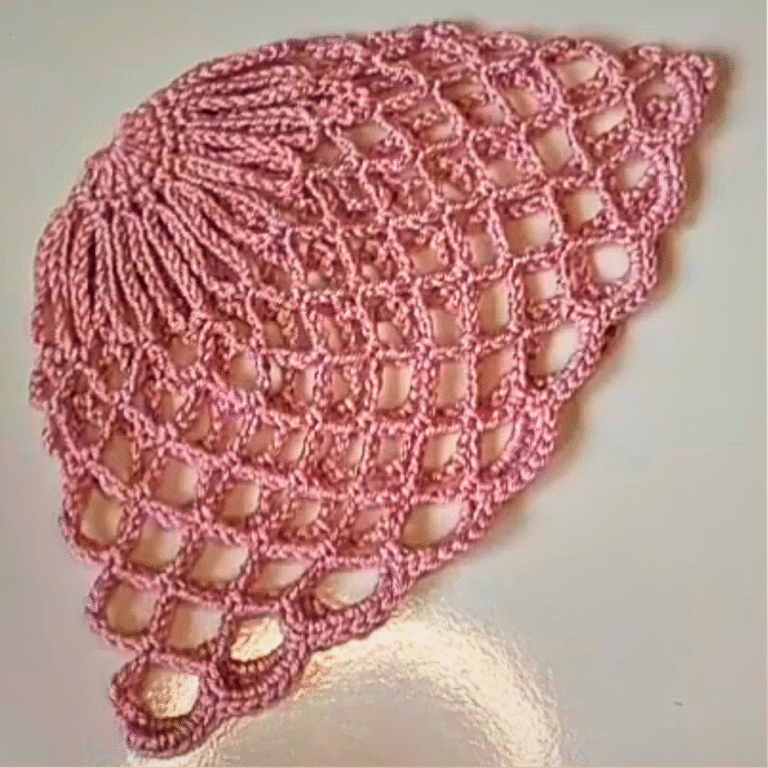
This design, which combines granny squares, provides warmth without compromising style. To bring this Crochet Granny Square Cat Beanie to life, you only need some yarn, a hook, and a few basic skills. Begin by hand-making eight individual squares, where each involves crocheting clusters of double crochets into magic circles, gradually expanding over five rounds. The method is repeated with different yarn colors, ensuring dynamic contrasts and vibrant outcomes.
FREE Crochet Granny Square Cat Beanie – Step by Step

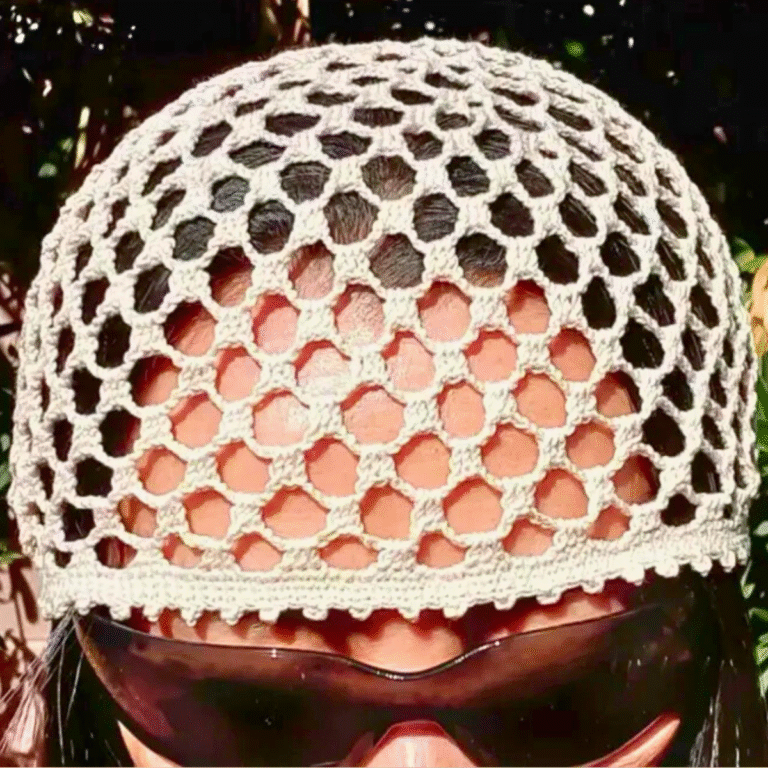
A completed Crochet Granny Square Cat Beanie is not only visually pleasing but also highly functional. The piece is soft, lightweight, and perfect for keeping warm while expressing individuality through color combinations. Beginners find this project a useful entry point into learning core crochet techniques, while seasoned makers can enjoy the nostalgic charm of granny square designs.
Step-by-Step Guide: Cabin Crochet Beanie Tutorial
This tutorial walks you through creating a stylish and trendy crochet granny square beanie. It is beginner-friendly, customizable, and involves using granny squares—an essential skill for crocheting.
In this tutorial, you’ll learn how to crochet a beautiful granny square-based beanie by combining eight squares seamlessly. Whether you’re new to crochet or an experienced crafter, this is a useful project for honing your skills. The video emphasizes the importance of tension and provides tips for customizing the size or design.
Special Features
- Granny Square Design: A patchwork-style design, built using classic granny squares.
- Customizable Colors: The tutorial encourages using up to five different yarn colors, but this is flexible if you prefer fewer or more.
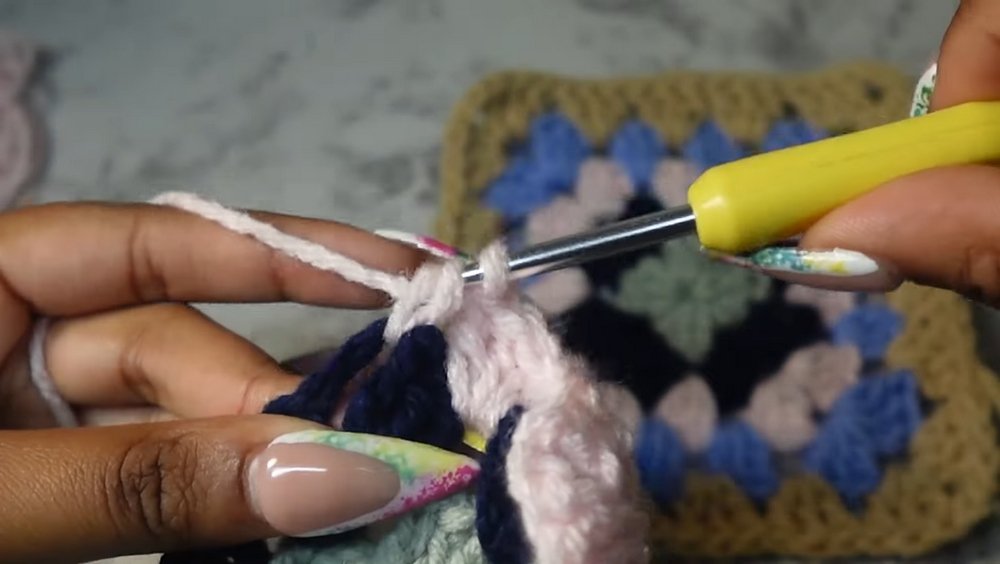
- Minimal Weaving: The tutor demonstrates how to grip yarn ends to avoid extensive weaving of loose threads later.
- Ease of Assembly: Slip stitching is used to join squares for a clean finish without major sewing.
Difficulty Level
Beginner-friendly:
The tutorial is suitable for beginners, especially in learning granny squares and slip stitching. However, ensuring consistent tension while crocheting is key for creating neat squares and a well-fitted beanie.
Materials Needed
- Crochet Hook Sizes: Recommended size is either 4.25mm or 5mm, depending on your personal tension (lighter tension favors 4.25mm; tighter tension works better with 5mm).
- Yarn: Five different color yarns (or fewer, depending on your preference), recommended weight 4 yarn brands such as Big Twist or Loops & Threads from Michaels.
- Scissors: For cutting yarn as needed.
- Stitch Markers: Optional but highly recommended for beginners to keep the squares aligned while assembling the beanie.

Steps to Make a Cabin Crochet Beanie
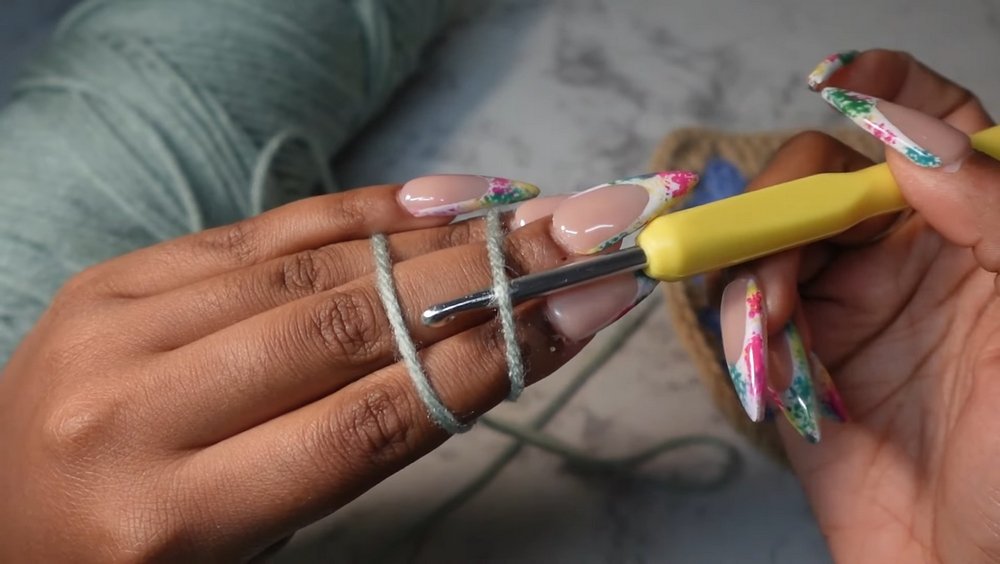
1. Create Granny Squares (5 Rounds Each)
- Step 1: Start with a magic circle.
- Step 2: Chain three; this serves as your first double crochet.
- Step 3: Place three double crochets into the magic circle as a cluster.
- Step 4: Chain two, repeat another three double crochets into the circle; follow this for all four sides of the square.
- Step 5: Slip stitch into the first chain to close the square.
- Step 6: Cut the yarn and pull tight.
- Step 7: You’ll repeat the pattern for each subsequent round, introducing new colors for a total of 5 rounds per square.

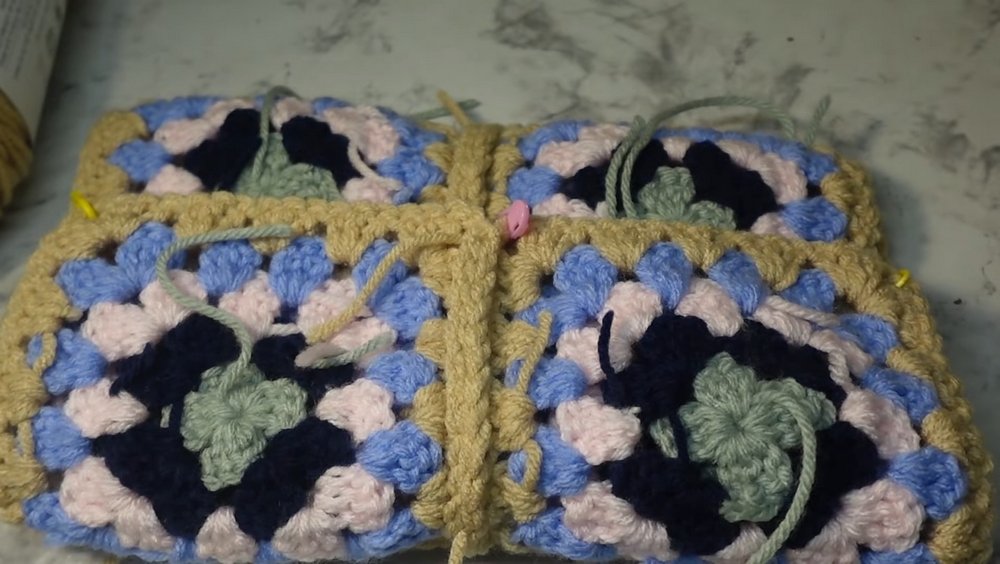
2. Assemble the Granny Squares
- Step 1: Make eight granny squares.
- Step 2: Arrange the squares wrong-side up in a layout resembling a flat beanie.
- Step 3: Use slip stitching to join two squares starting from their gaps.
- Step 4: Repeat slip stitching for all squares, ensuring edges are neat and gaps align for uniformity.
3. Put the Beanie Together
- Step 1: Combine the two larger panels created from your squares.
- Step 2: Place right sides together to form the final shape of the beanie.
- Step 3: Use stitch markers to hold everything in place, then slip stitch along sides and top edges except the opening (where the beanie sits on the head).
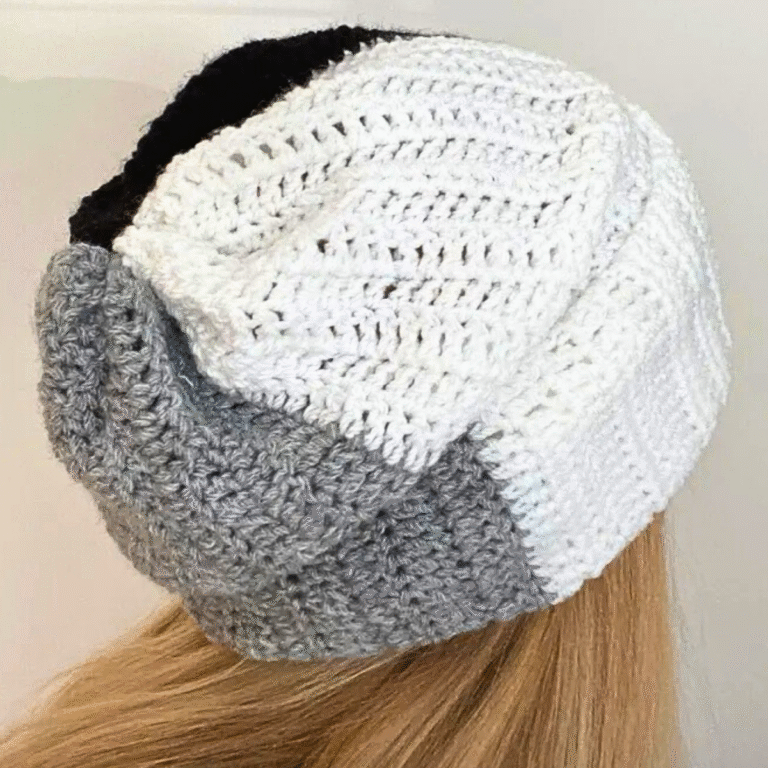
The end result is a beanie that makes a statement, showcasing effort, skill, and creativity. This timeless piece serves as a thoughtful handmade gift or an ideal cold-weather companion for chilly days ahead.
Tutor’s Suggestions
- Tension Control: If your squares are coming out too large, adjust to a smaller hook (4.25mm). Conversely, use a 5mm hook for tighter tension.
- Trial and Error: The tutor highlights the importance of experimenting until you find what works best for your tension.
- Use Stitch Markers: Beginners may benefit greatly from using stitch markers to keep the granny squares aligned during assembly.
- Weaving Yarn Ends as You Go: Helps reduce finishing-time frustration from working on loose ends later.
Uses
The granny square beanie is versatile and serves multiple purposes:
- Cozy winter wear to keep you warm.
- A thoughtful handmade gift for friends or family.
- Beginner’s practice project to learn fundamental crochet techniques.
- Trendy accessory for casual outfits.
Conclusion
This crochet granny square beanie is a rewarding project that allows you to experiment with colors, tension, and fundamental stitching techniques. With a little patience and practice, even beginners can make a fashionable, handmade accessory from scratch.
Tip
Take your time during assembly to ensure all squares are aligned perfectly—this is key to achieving a polished and well-fitted beanie. Use stitch markers and check alignment often to avoid mistakes.