Seamless Crochet Cardigan Pattern for Beginners
Fashion meets creativity with this cozy Crochet Cardigan Pattern – design your own timeless piece that’s stylish, versatile, and perfect for all seasons.
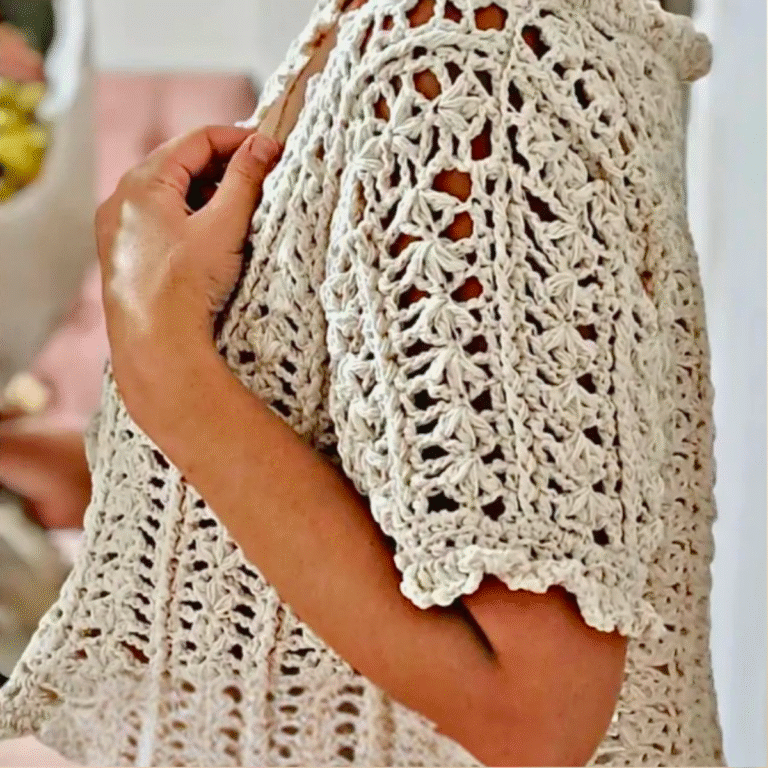
A cozy cardigan can turn chilly evenings into warm memories, and making your own is even more special. For centuries, crochet has brought people together, turning simple yarn into works of wearable art. A handmade crochet cardigan isn’t just a piece of clothing it’s a reflection of personal effort and style. From lightweight designs for summer layering to thick, snuggly options for winter, these intricate designs offer endless versatility.
FREE Crochet Cardigan Pattern Perfect for Any Season

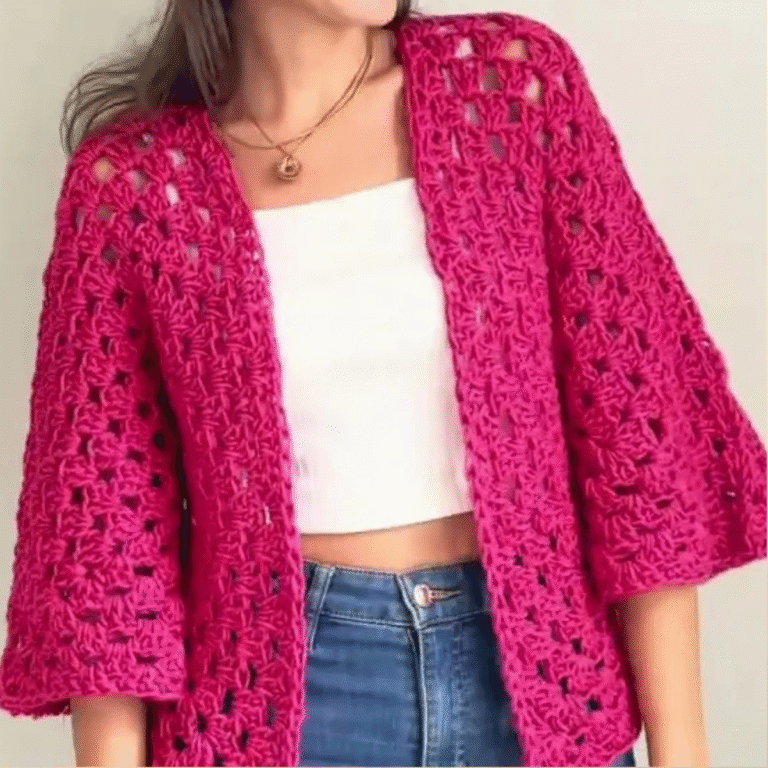
The joy of choosing colors, textures, and stitches makes it a fulfilling activity for beginners and experts alike. Beyond the creative satisfaction, wearing one feels like wrapping yourself in a story each stitch infused with care. They aren’t just practical; they highlight individuality and serve as timeless wardrobe staples.
Handmaking such pieces reduces waste and ensures the garment fits perfectly, whether designed for yourself or as a thoughtful gift. Soft yarns provide comfort, while breathable designs offer year-round functionality. Plus, these projects help improve focus, reduce stress, and promote relaxation, making crocheting a mindful hobby with rewards far beyond the finished piece.
Step By Step Detailed
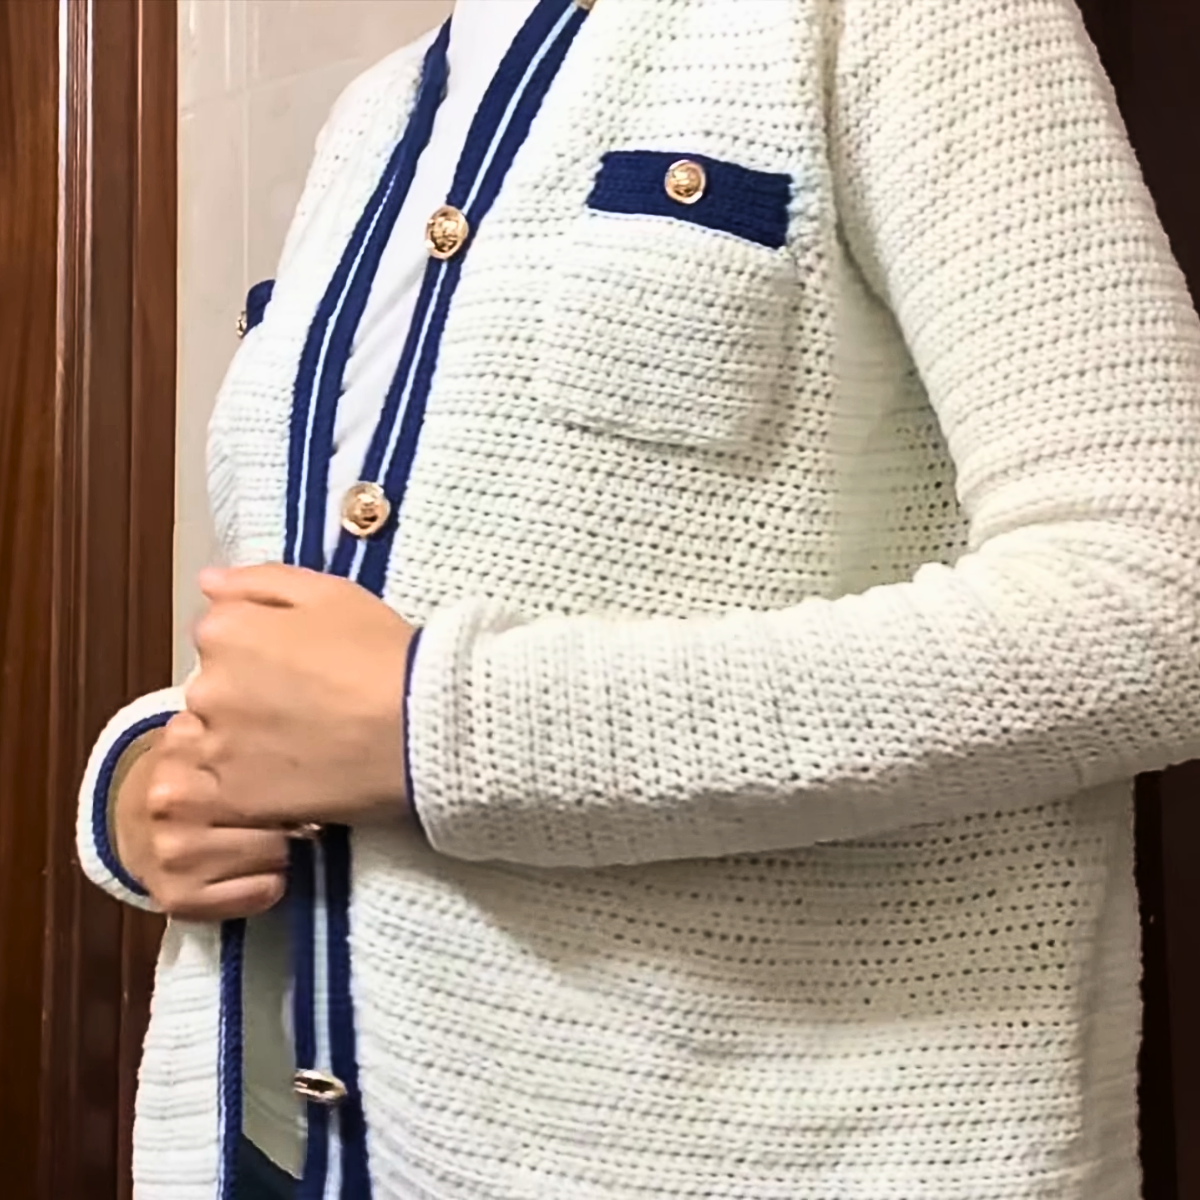
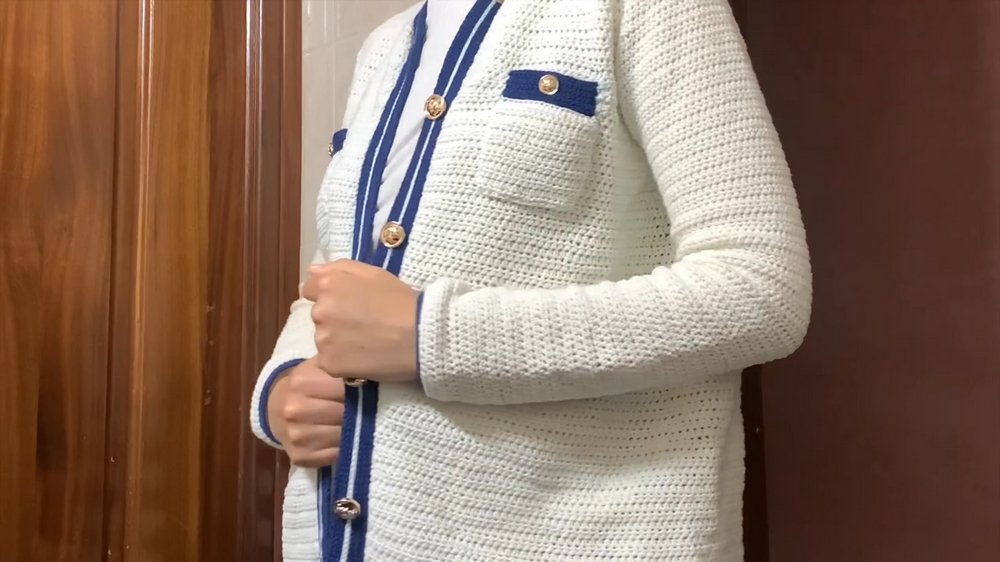
This is a beginner-friendly project that avoids complex sewing techniques by combining the back and front panels into one piece during the initial step. While this is the tutor’s first crochet cardigan design, a detailed pattern is provided to simplify the process for viewers. The finished cardigan has elegant details like a button band, added pockets, and a neat armhole placement, making it both functional and stylish.
2. Section One: Back and Front Panels (Single Piece)
Step 1: Foundation Chain
- Begin crocheting with 196 chains as the foundation.
- Work six rows of stitches, ensuring to add two extra chains at the end of each row.
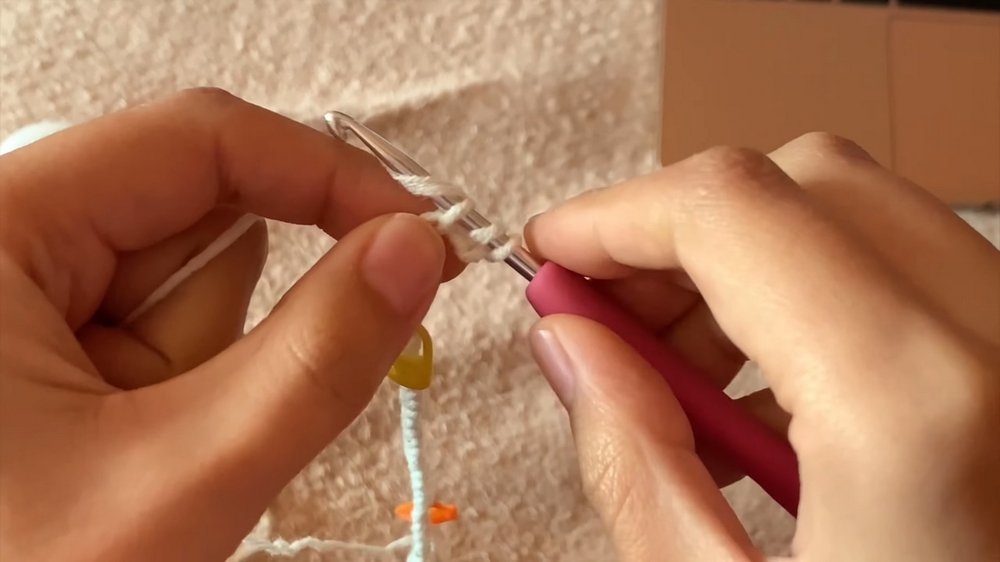
Step 2: Half Double Crochet Technique
- Skip two stitches at the start of the row.
- Yarn over, insert the hook into the third loop, pull up a loop, yarn over again, and pull through all loops.
- Repeat this for the first row and subsequent rows.
- For the second row onward:
- Yarn over, insert your hook into both loops, pull up a loop, yarn over, and pull through all loops.
- Continue the same stitching pattern for 60 rows.
Step 3: Section Separation
- Divide the completed piece into the back panel and left/right front panels:
- Back panel: 100 stitches.
- Left panel: 48 stitches.
- Right panel: 48 stitches.
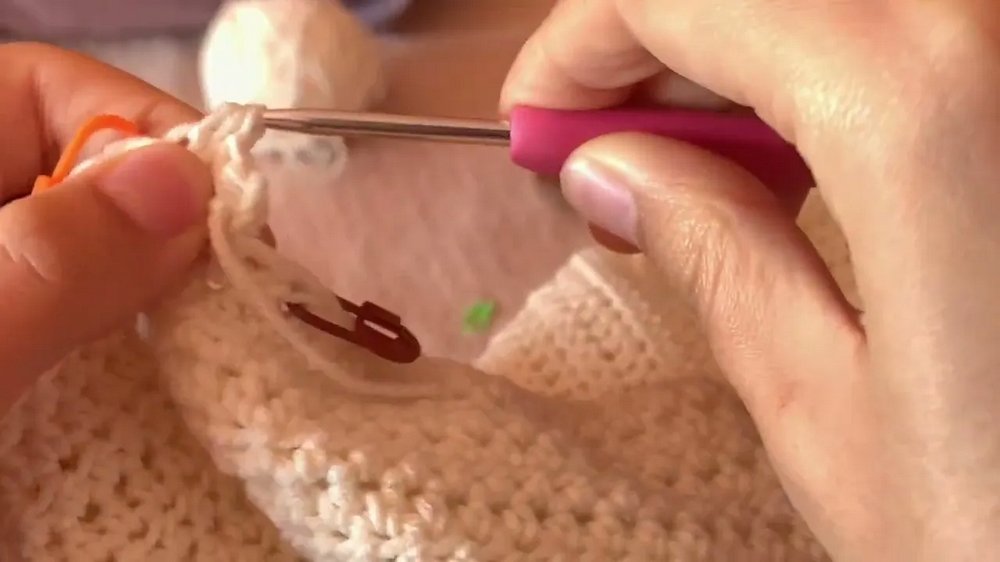
- Fold the piece and mark the placement for armholes.
3. Section Two: Left Front Panel
Step 1: Start the Left Panel
- Skip three stitches from the 61st row.
- Begin with a slip knot, insert the hook, pull through all loops, chain two, and start working half double crochets.
Step 2: Repeat the Process
- Follow the pattern shared for the back and front panels to achieve uniform results.
4. Connecting the Panels
Step 1: Sewing the Shoulders
- Connect the shoulders of the back and front panels using a slip stitch:
- Insert your hook into the loops of both panels.
- Pull up a loop and pull through the stitch.
5. Sleeves
- Begin working on the sleeves using the pattern described before.
- Add slip stitches as necessary for finishing and adjustments.
- Ensure symmetry for both sleeves.
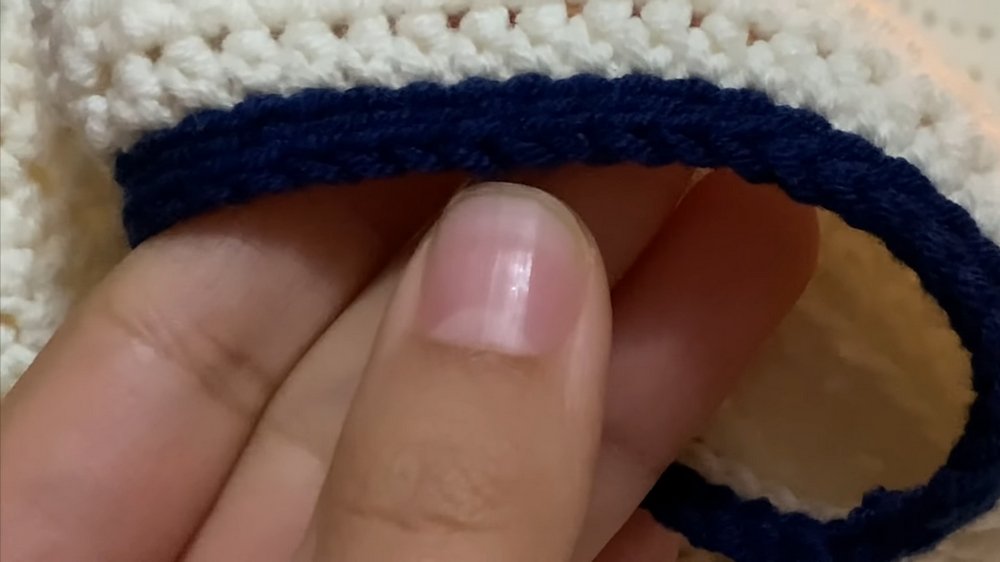
6. Button Band
Step 1: Stitching the Button Band
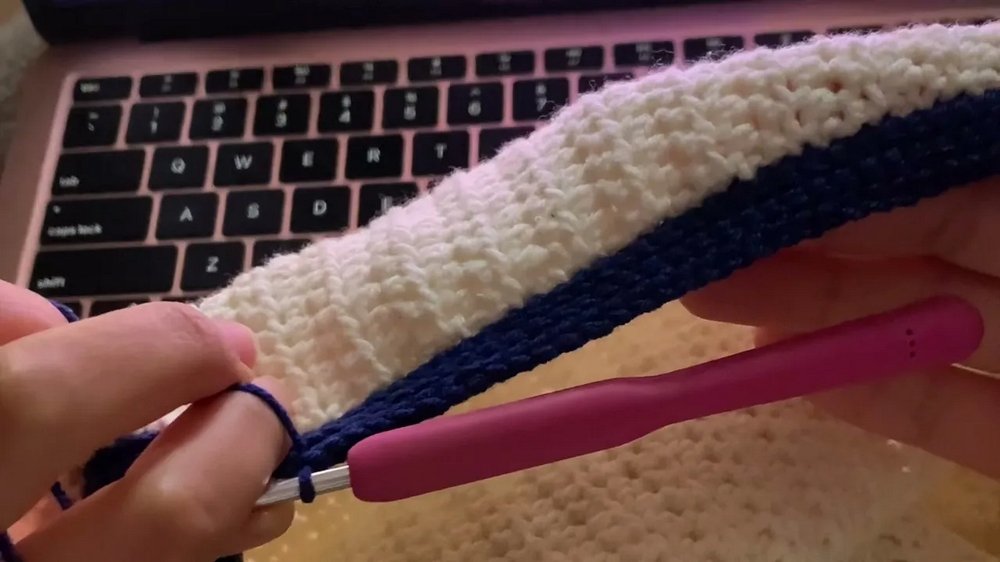
- Add a 6-row navy blue button band using slip stitches.
- Alternate two rows of white slip stitches with more navy blue rows, maintaining a clean border.
Step 2: Attach Buttons
- Use your preferred buttons and secure them in place along the button band.
7. Pockets
Step 1: Pocket Creation
- Begin with a foundation chain of 18 stitches.
- Follow the same stitching method as before, adding a chain at the end of each row.
- At the 7th row, mark the placement of the buttonhole.
Step 2: Pocket Completion
- Add three rows of slip stitches at the top of the pocket for finishing.
- Attach the pocket securely to the cardigan.
8. Final Adjustments
- Add finishing touches:
- Ensure edges are neat and well-stitched.
- Add rows of slip stitches around the sleeves and pocket openings for reinforcement.
Special Features
- Seamless design minimizes the need for extra sewing.
- Contrasting navy blue button band adds a pop of color.
- Functional pockets and button closure increase its utility.
Difficulty Level
- Beginner-friendly with straightforward techniques like half double crochet and slip stitch.
Tutor’s Suggestions
- Focus on following the pattern carefully for symmetry and proper alignment.
- Mark armhole and button placements for precision.
- If unsure, feel free to ask questions in the video’s comments section.
Uses and Materials
Uses:
- Ideal as a stylish, handmade cardigan suitable for layering during cooler seasons.
Materials:
- Yarn (choose contrasting colors for added flair).
- Crochet hook.
- Buttons.
- Stitch markers (helpful for marking armholes and button placement).
Pro Tip
To ensure smooth stitching and uniform tension, take breaks to relax your hands. This will help maintain even rows and consistent stitch size throughout the project.
Conclusion
This seamless crochet cardigan tutorial provides clear instructions to craft a sophisticated and functional piece. Whether you’re new to crocheting or improving your skills, this project allows for plenty of creativity with colors and customization. Follow the steps with patience, and you’ll have a beautiful handmade cardigan to cherish or gift!