

Cozy Crochet Slouchy Beanie Pattern for Every Style
Inspire fun and fashion with this cozy crochet slouchy beanie pattern, perfect for every style and guaranteed to keep you warm in style.
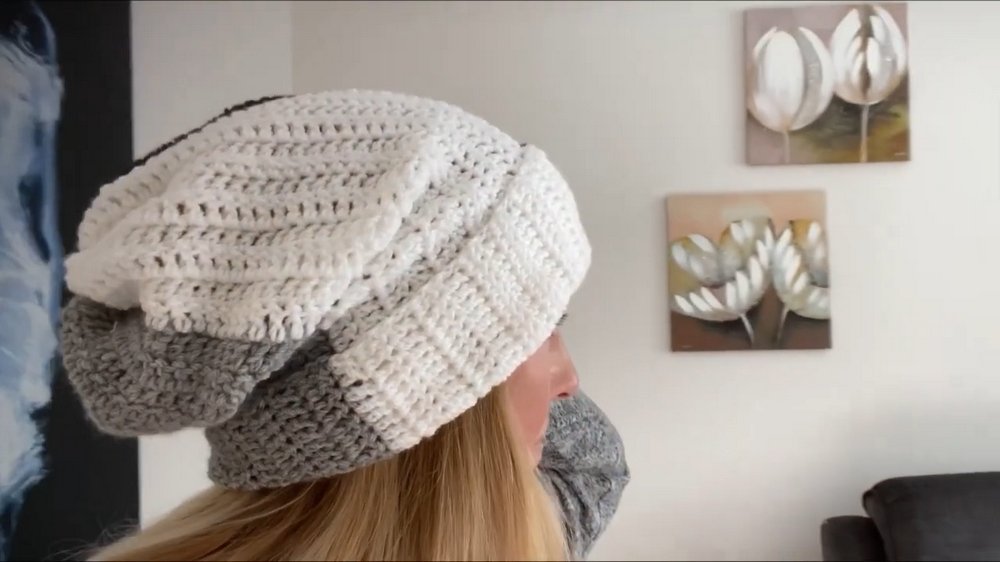
Nothing says cozy and chic like a slouchy beanie that effortlessly balances comfort and style. Perfect for chilly days, this timeless accessory wraps your head in warmth while adding a relaxed elegance to any outfit. Its loose, comfortable fit is ideal for all-day wear, making it suitable for everything from casual outings to outdoor adventures. With endless options to customize whether through vibrant yarn colors or subtle textures it becomes an expression of individuality.
Stylish Crochet Slouchy Beanie – Free Pattern

Versatility is at the heart of this beanie, ensuring it works seamlessly with various fashion styles. It’s equally functional, shielding against the cold while remaining lightweight and easy to carry. A crochet slouchy beanie isn’t just an accessory; it’s a cozy companion for brisk walks, errands, evenings by the bonfire, or simply elevating a winter ensemble.
For those who love thoughtful gifts, this beanie makes a personal and cherished option for friends and family. Its durable design ensures it remains a wardrobe favorite season after season, proving its value time and again. Whether you prefer a minimalist look or bold pops of color, its charm lies in how effortlessly it adapts to your needs, blending practicality with wearable beauty.
Materials Needed
- Yarn:
- Black: Utopia Crafts Perfect DK Yarn.
- Gray & White: Paintbox Simply DK Yarn (Double Knit).
- Feel free to use any color combinations or shades.
- Crochet Hook: 4.0mm size.
- Tools:
- Scissors.
- Darning needle.
- Stitch markers (optional).
Step-by-Step Instructions
1. Making the Foundation Chain
- Create a Slip Knot.
- Chain 55 stitches for the foundation chain.
- Add 2 extra chains (to serve as the turning chain for the first row).
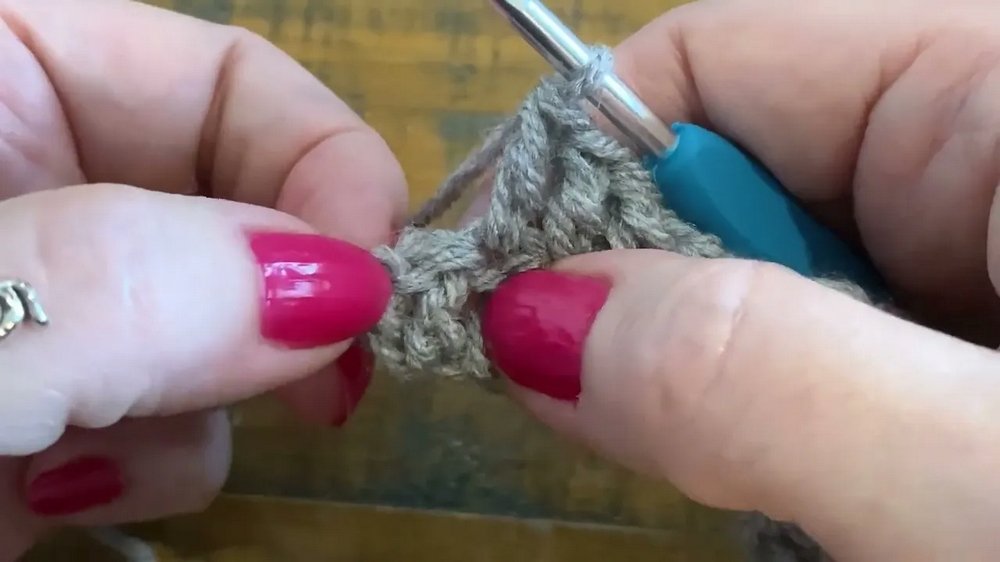
2. Row 1: Creating the Base
- Start Row 1:
- Work a double crochet (DC) into the third chain from the hook.
- Continue placing 1 DC into every stitch across the row.
- Do not crochet into the initial slip knot.
- End Row 1:
- Finish with a DC in the last chain. This completes Row 1.
- Finish with a DC in the last chain. This completes Row 1.
3. Row 2: Establish the Pattern Repeat
- Chain 2 at the start of Row 2 (acts as a turning chain).
- Turn your work.
- Skip the first stitch and begin with a DC in the second stitch.
- Continue working 1 DC into each stitch across the row.
- At the end, place 1 DC in the top of the turning chain from the previous row. This keeps the row edges straight.
- Repeat Row 2: For the pattern, repeat Row 2 several times.
- For the first color (gray), complete 14 rows of DC.
4. Switching Colors
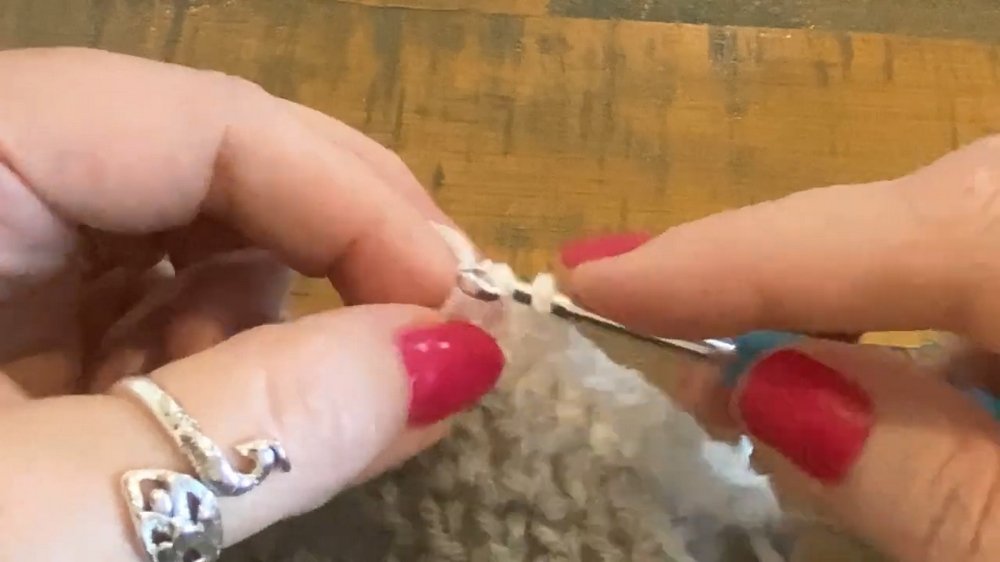
- Finish your gray yarn:
- Cut the yarn with scissors, leaving enough length to weave in your ends.
- Pull the yarn snugly through the last loop.
- Join the white yarn:
- Insert your hook into the corner stitch where you finished the last stitch.
- Pull the new color through and tie an overhand knot to secure.
- Work Row 2 with the new color (white):
- Chain 2, turn your work, and repeat the row pattern (DC in the second stitch and each stitch across).
- Complete 14 rows in white.
5. Adding the Third Color
- Repeat the process for switching colors:
- Finish the white yarn and join your third color (black).
- Repeat Row 2, working 14 rows of DC with black yarn.

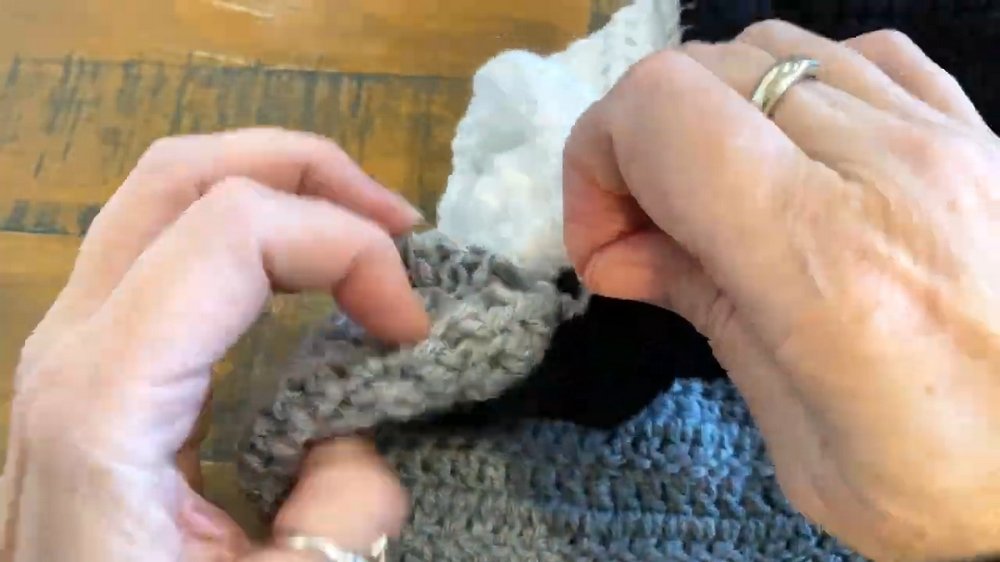
6. Joining the Side Edges
- Fold the panel in half, aligning the short edges (gray and black sides).
- Use your preferred joining method:
- Slip Stitch:
- Insert your hook into only the inner loops of each edge stitch from both sides.
- Yarn over and pull through both loops and the working loop to slip stitch. Repeat across the edge.
- Alternative: Use a darning needle for an invisible seam.
- Slip Stitch:
- Finish by securing the seam and turning the hat inside out for a clean look.
7. Cinching the Top
- Begin at the seam with a length of yarn (gray, or any preferred color).
- Attach the yarn securely with a double knot at the seam.
- Thread your darning needle with the yarn.
- Stitches:
- Weave in and out of the top edge of the hat, spacing the stitches evenly.
- Ensure they are loose and not pulled taut.
- Once you’ve woven around the full circumference, gently pull the yarn to cinch the top closed.
- Tighten securely and sew additional stitches across any remaining gaps.
8. Finishing Touches
- Turn the hat right-side out.
- Adjust the cinched top for symmetry.
- Fold up the brim as desired (thick or thin band).
- Weave in all loose ends with the darning needle, trimming excess yarn.
Conclusion
Congratulations—you’ve just completed your stylish Monochrome Slouchy Beanie! The sleek design and modern color scheme make this accessory highly versatile for year-round wear. Its cozy slouch offers relaxed appeal, and the brim can be customized in thickness. Though the monochrome colors are trendy, this pattern allows for endless personalization with other colors or yarn types.


