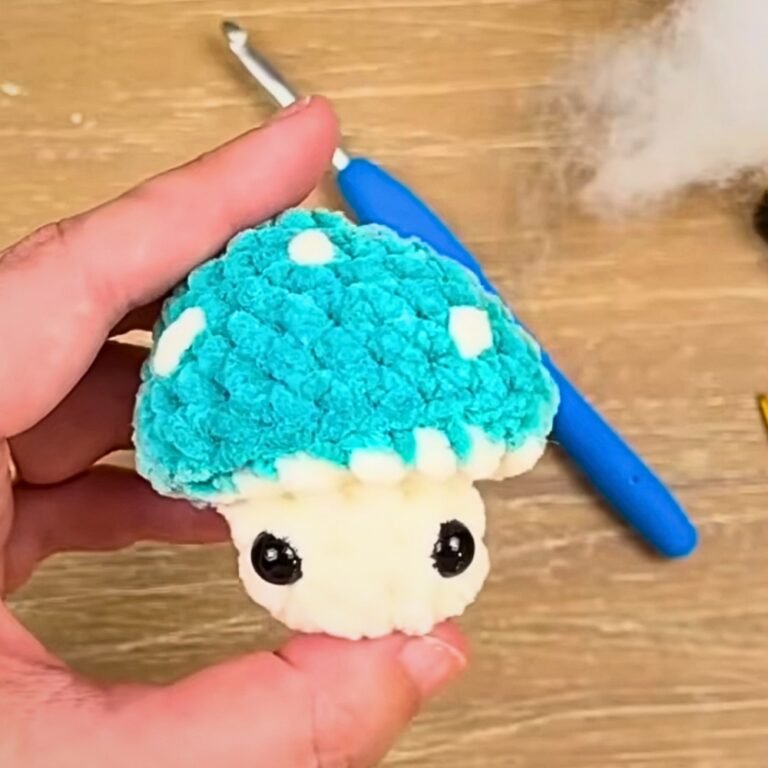
Easy Crochet Turtle Amigurumi Pattern You’ll Love to Try
Stitch an adorable Crochet Turtle Amigurumi Pattern that’s perfect for gifts, decor, or relaxation—fun, beginner-friendly, and full of charm!
Soft yarn and a hook can bring a cheerful turtle to life, transforming basic skeins into a charming handmade treasure. This little turtle design is not just an adorable project but a thoughtful gift or a delightful decoration for any space. It can sit on a shelf, embellish a keychain, or brighten a child’s day as a cuddly companion. Whether you are an experienced crocheter or a beginner testing your skills, the process is both rewarding and relaxing.
Charming Crochet Turtle Amigurumi Design for Gifts
Turning simple stitches into a tiny turtle figurine brings endless fulfillment, especially as its personality shines through with small personal touches. Adding a pop of color or tiny accessories makes this piece unique. Beyond aesthetics, the process offers more than just the joy of completion—it’s a therapeutic way to unwind, with each stitch offering calmness and focus.
This design also allows for upcycling leftover yarn, making it an eco-friendly hobby. The finished product holds sentimental value, especially when gifted with love. Its small size means it’s a portable project, allowing you to take it on the go—perfect for busy hands on quiet afternoons. There’s a certain charm in this turtle project, blending creativity with practicality to bring someone smiles and joy. Small, vibrant, and full of character, it’s a joy to make and share.
Crochet Mini Turtle Amigurumi Pattern Overview
This pattern provides easy-to-follow instructions for crocheting adorable mini turtles, suitable for beginners to amigurumi. With these cute creations, you can add handmade charm to your gifting options, create playful decorations, or boost your crocheting skills. The project is simple, quick, and allows for creative customization while using basic crochet techniques.
Special Features
- Compact and Versatile: These mini turtles are small, making them ideal for keychains, decorative items, or gifts.
- Beginner-Friendly: The steps are straightforward, with easy stitches and techniques, perfect for those new to crochet.
- Detailed Embellishments: Includes techniques for adding flippers, embroidered flowers, and facial details like eyes for personality and character.
Materials Needed
- Blush yarn (two colors)
- 4 mm crochet hook
- Plastic eyes (different sizes, or alternatives) and transparent glue
- Fiber fill for stuffing
- Yellowish thin yarn for decoration
- White Italian velure yarn for flower petals
- Scissors
- Embroidery needle (plastic for shaping; metal for detailing)
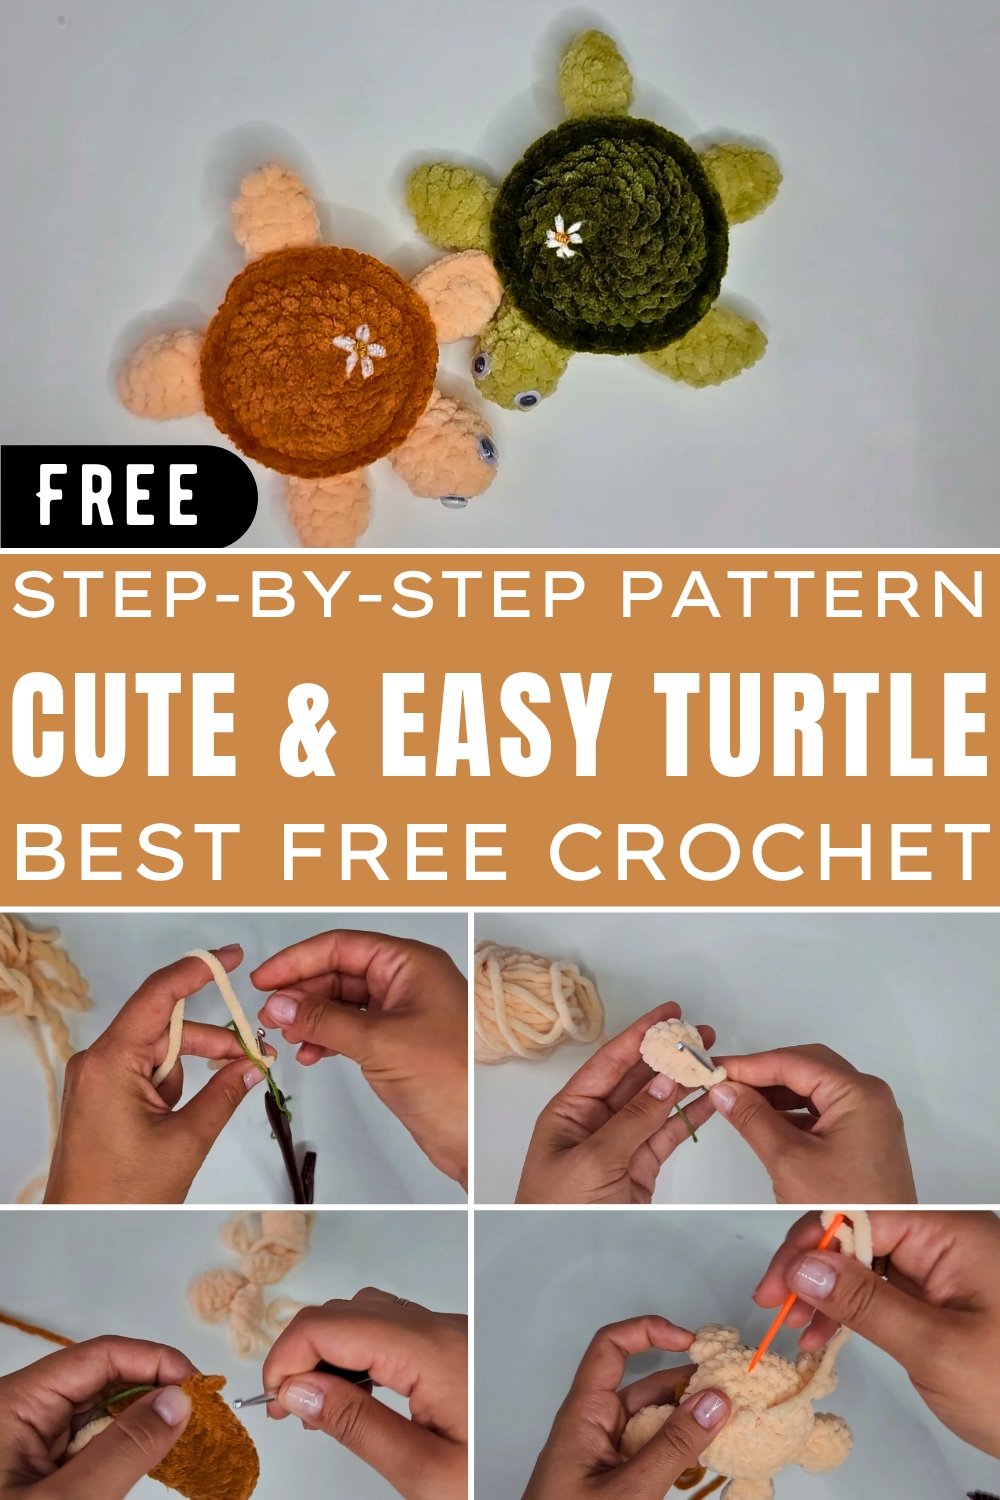
Step-by-Step Procedure
1. Head
- Begin with two chain stitches (or a magic circle).
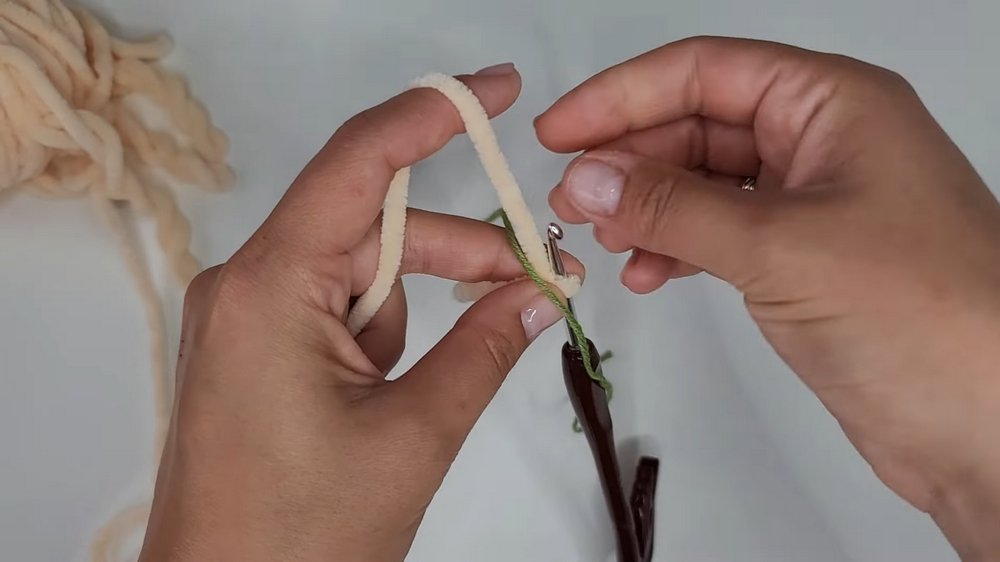
- Crochet 6 single crochet stitches into the second stitch from the hook.
- Add increases: Crochet two single stitches in each spot until there are 12 total stitches.
- Create shapes through designated rounds, alternating between increases and decreases (e.g., 3 single stitches + 1 decrease).
- Stuff the head lightly for a proper shape and finish by closing the thread.
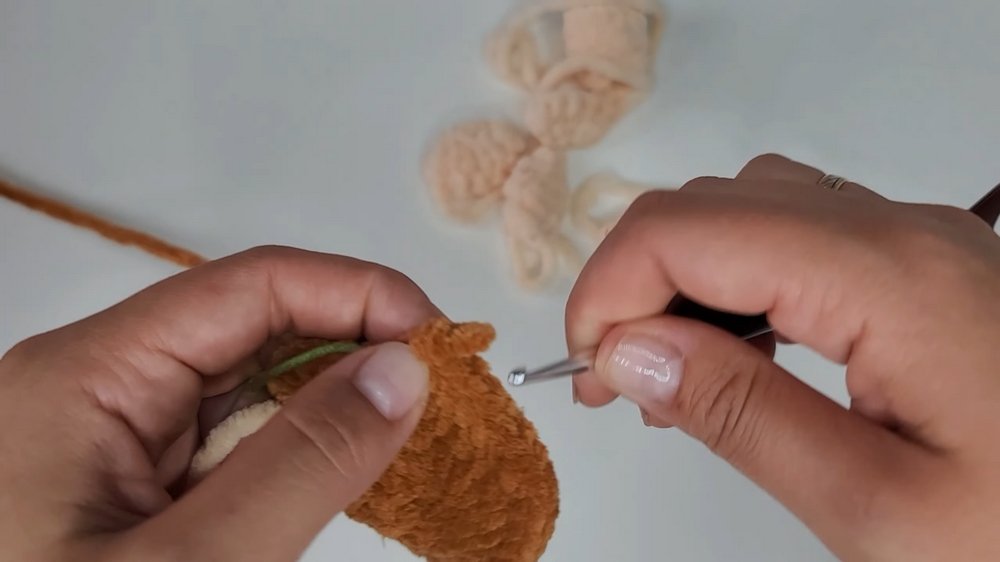
2. Flippers
- Start as before: two chain stitches or magic circle + 6 single crochet stitches.
- Add half-double crochet increases evenly across the round.
- Fold the piece and crochet the edges together to form the flipper.
- Repeat this for a total of four flippers.

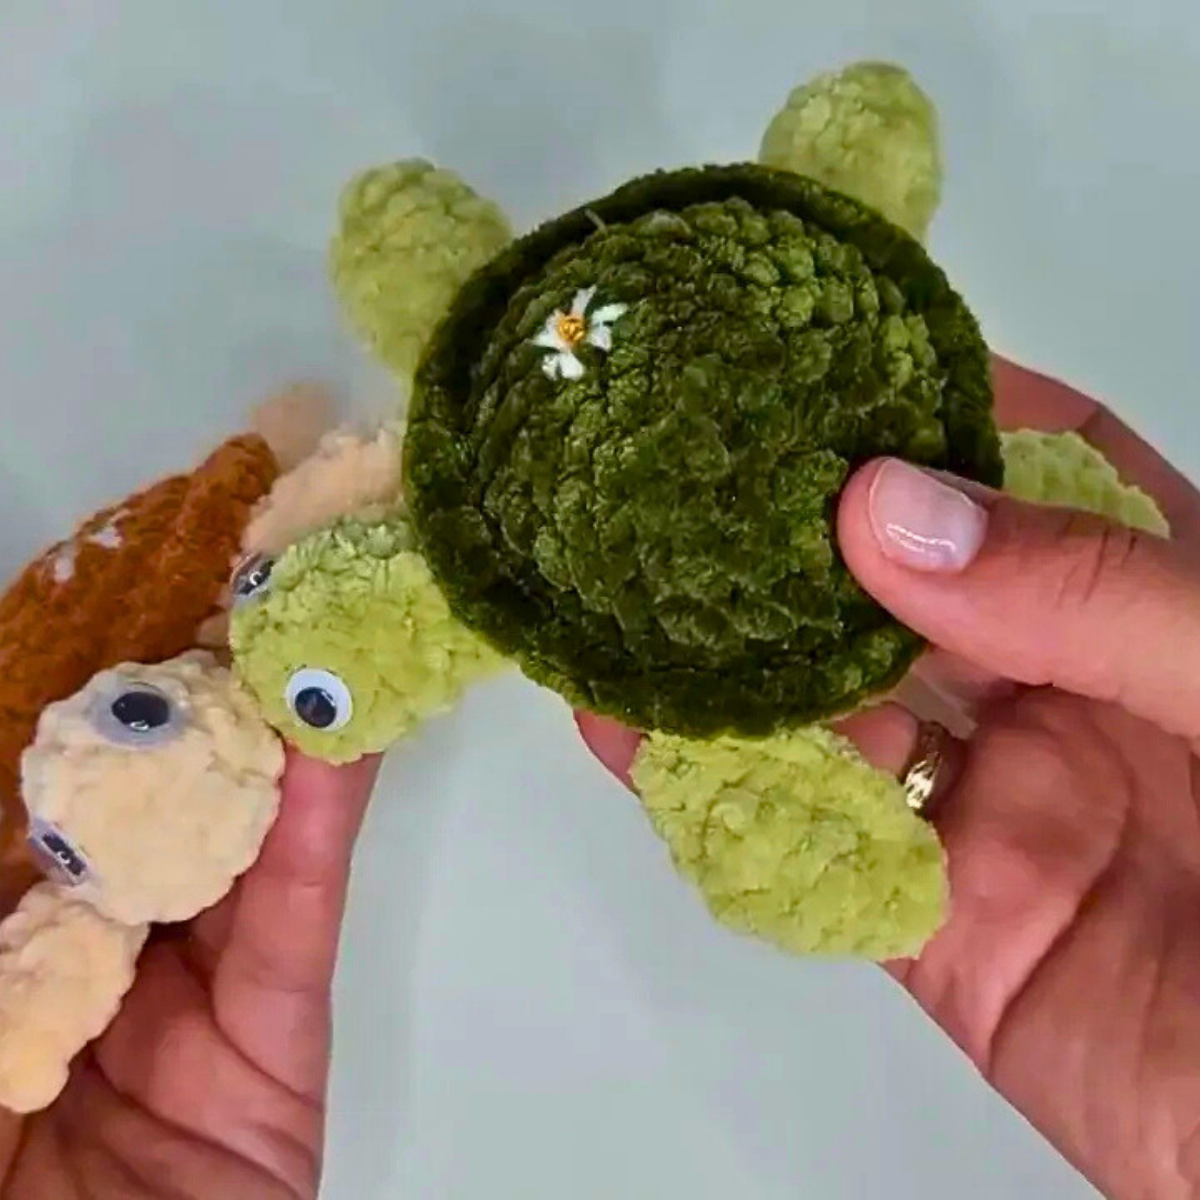
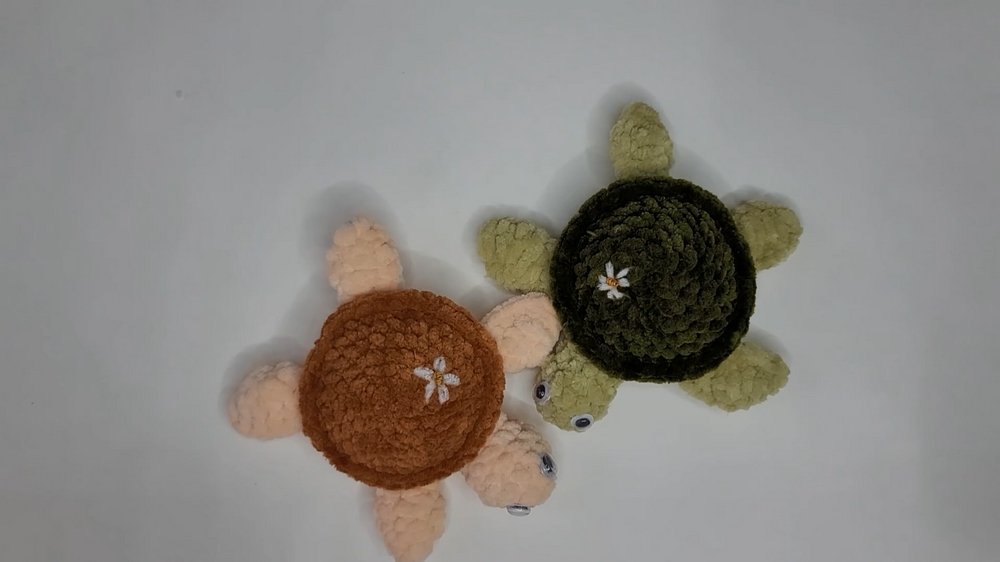
3. Shell
- Start with 6 single crochet stitches into a chain or magic circle.
- Follow rounds of increases (e.g., 1 single stitch + 1 increase, then 2 stitches + 1 increase) until reaching 36 stitches.
- Change yarn color to create a textured edge around the shell using back loops only.
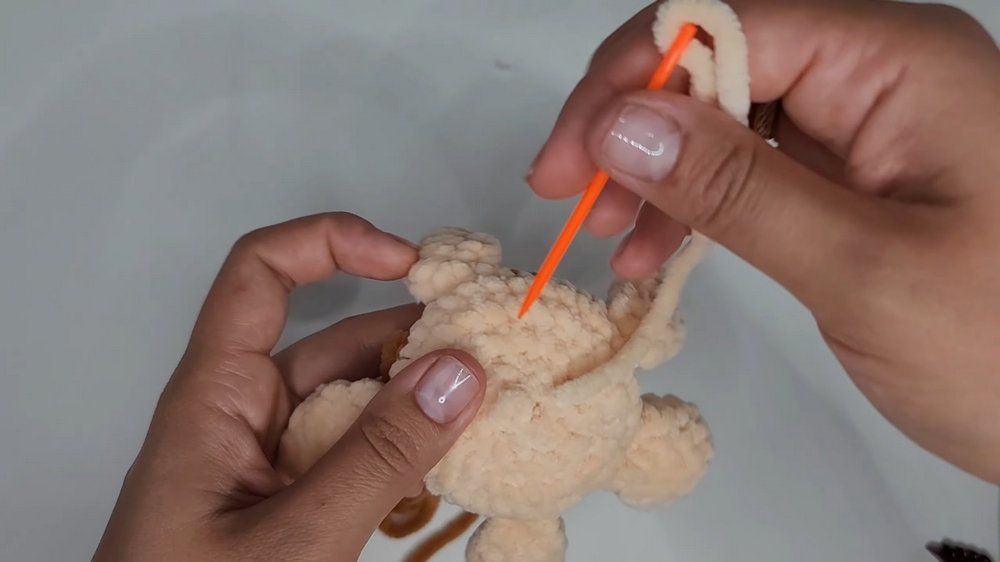
- Attach each flipper and head by folding and sewing along the back loops carefully.
4. Body and Closing
- Begin decreasing evenly to shape the turtle’s underside. For flatness, use multiple rounds of decreases (e.g., 4 single crochet stitches + 1 decrease).
- Finish with final decreases, tighten the hole using the front loops, and weave in the remaining threads.
5. Decorations
- Eyes: Attach plastic eyes using transparent glue or alternatives like embroidered eyes.
- Flower: Use white yarn to embroider petals and mustard yarn for the center, tying knots securely and weaving ends neatly.
Tutor’s Suggestions
- Use different types or sizes of yarn and eyes to customize the look of your turtle.
- Fasten yarn tails while crocheting to avoid visible ends.
- Adjust the stuffing to create shapes that suit your preference.
Uses and Benefits
- Perfect for gifts, party favors, or personalized keepsakes.
- Doubles as a cute accessory (e.g., for keychains, backpacks, or tabletop decor).
- Helps beginners build confidence with foundational crochet techniques like single stitches, increases, and shaping.
Difficulty Level
- Beginner to Intermediate: Designed for beginners, but offers enough challenge to keep advanced crocheters engaged due to its intricate shaping and decorative elements.
Pro Tip
When decorating the shell edges or embroidering details, work slowly and securely tie knots to avoid unraveling.
Conclusion
Crocheting this mini turtle is an enjoyable and rewarding project that blends simplicity with creativity. With basic materials and straightforward instructions, the project allows crafters to make a unique handmade toy while enhancing their skills. Perfect for gifting, accessorizing, or simply relaxing, these charming turtles are sure to bring joy to anyone who receives them!