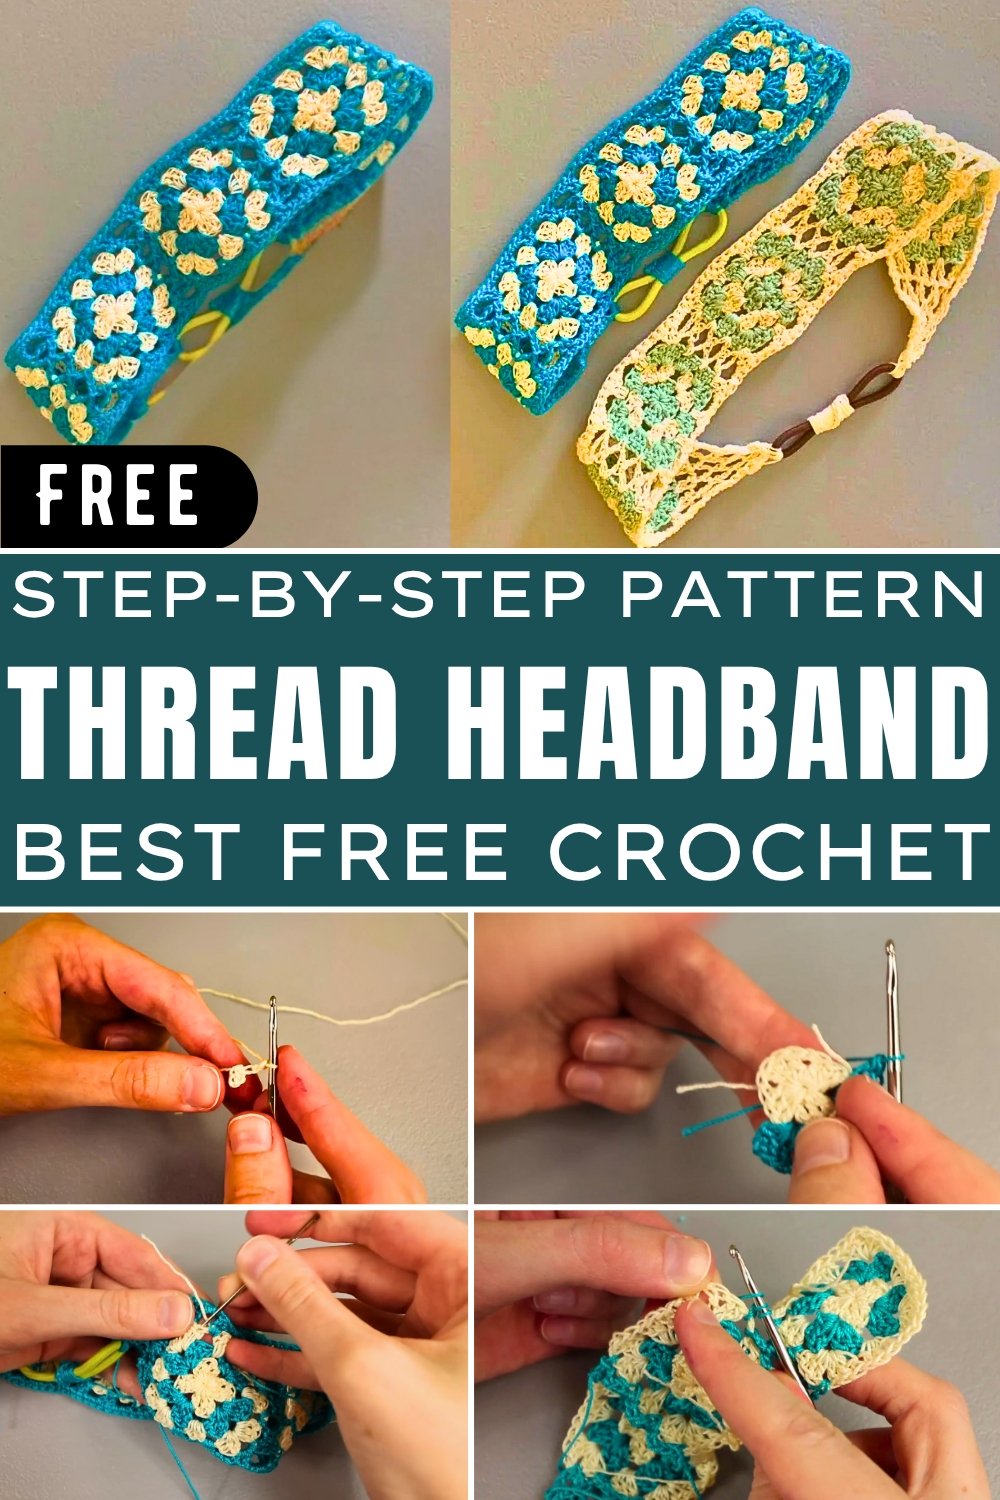
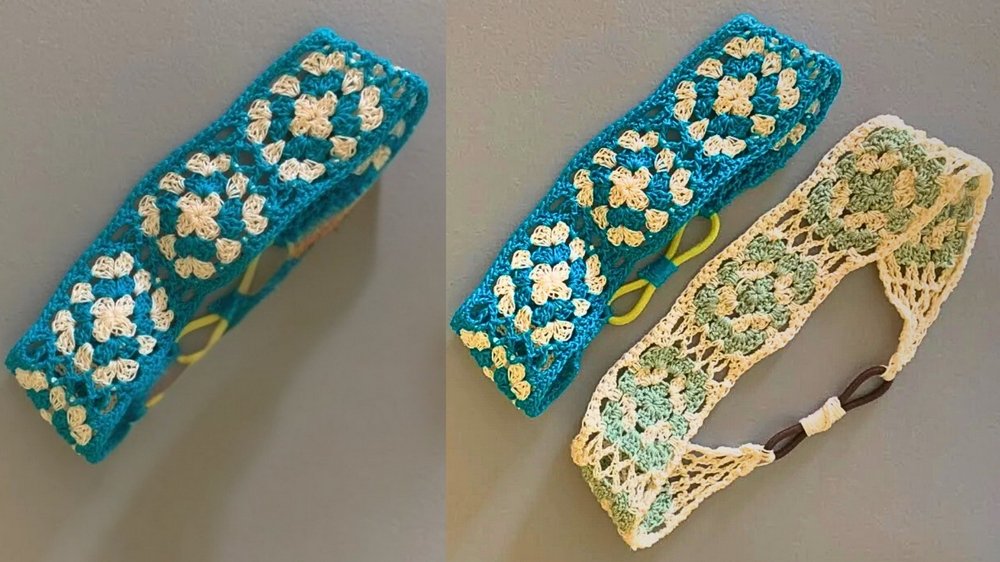
Modern Crochet Thread Headband That’s Perfect for Any Outfit
Mark your style journey with this modern crochet thread headband pattern—effortlessly chic, versatile, and perfect for any outfit you wear.
A stylish accessory can elevate any look, and that’s what makes the crochet thread headband a standout addition to your wardrobe. This lightweight and versatile piece is designed to complement outfits for casual days, office chic, or evening glamour. Made with durable crochet thread, it delivers both beauty and practicality, ensuring lasting wear. Its intricate design adds elegance while remaining subtle enough to enhance, not overpower, your overall style.
How to Crochet Thread Headband Pattern Step by Step
Comfort is at the heart of this accessory. The soft, flexible texture makes it ideal for all-day wear, offering a secure yet gentle fit. Wear it as a statement piece or pair it with other accessories it adapts effortlessly to various looks. It’s equally suitable for keeping your hair in place or simply adding flair to a minimal ensemble.
Not only does it suit all seasons, but its handcrafted appeal brings a touch of personal charm you won’t find in store-bought alternatives. The benefits go beyond aesthetics it’s eco-friendly, reusable, and made with materials that align with sustainable living. Whether for yourself or as a thoughtful gift, this piece stands out for its style, utility, and individuality.
Materials Needed
- Crochet Hook: Approximately 2.1 mm (anything between 2.0 mm to 2.25 mm works)
- Crochet Thread: Size 10, Red Heart brand
- Hair Tie: Goody Ouchless recommended, any color of choice
- Scissors
- Needle for weaving in ends
Steps to Create the Headband
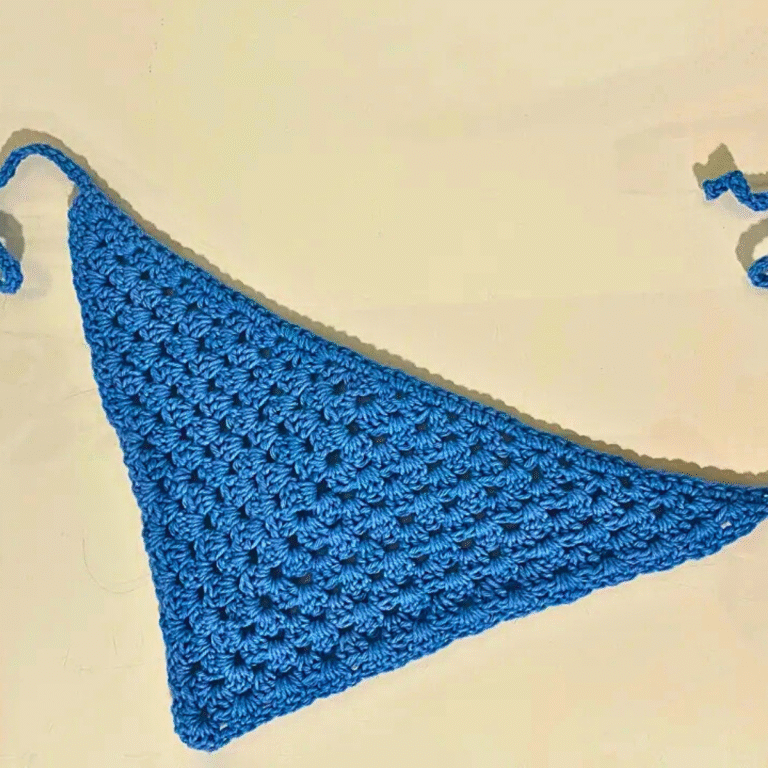
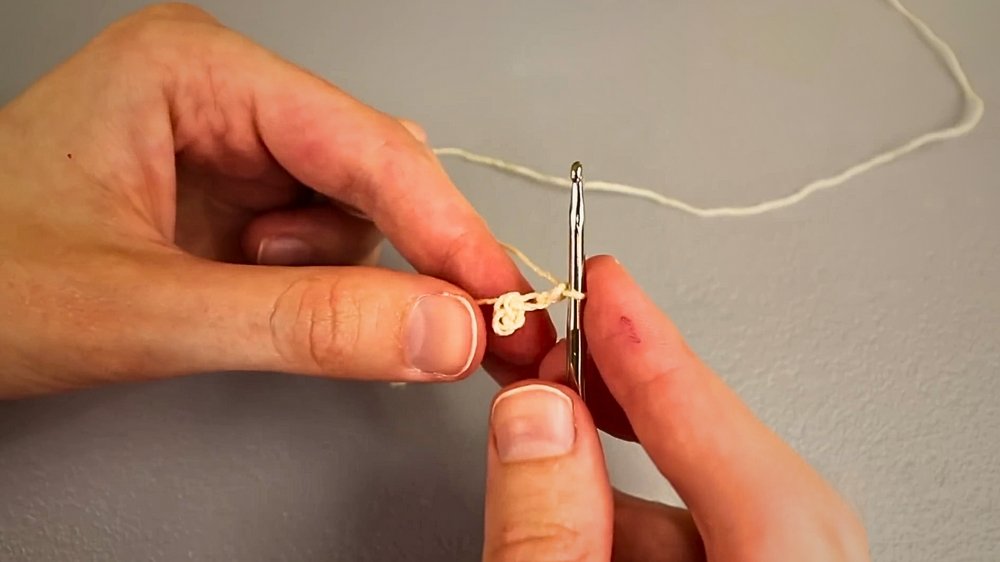
1. Create Granny Square Motifs
- Start with a Slipknot: Chain 3, slip stitch to form a ring.
- Round 1: Chain 3, work 2 double crochet into the ring, chain 1. Repeat this process three times to create sides and corners.
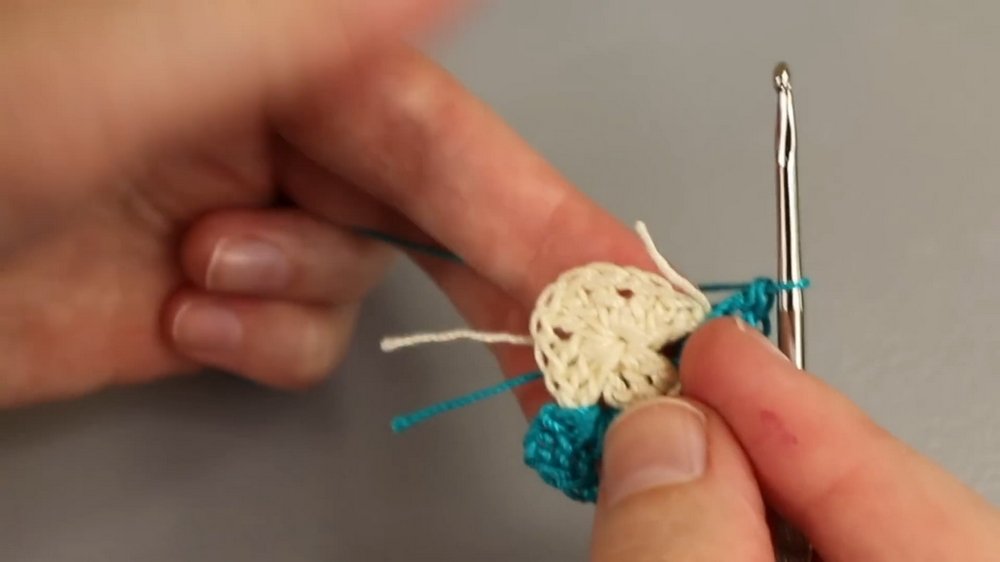
- Round 2: Join new color in any corner, chain 3, 2 double crochet, chain 1, and repeat the sequence.
- Round 3: Similar to Round 2 but with an additional middle space.
2. Join the Motifs
- Join five motifs using a slip stitch technique to create a lattice-style connection along the edges.
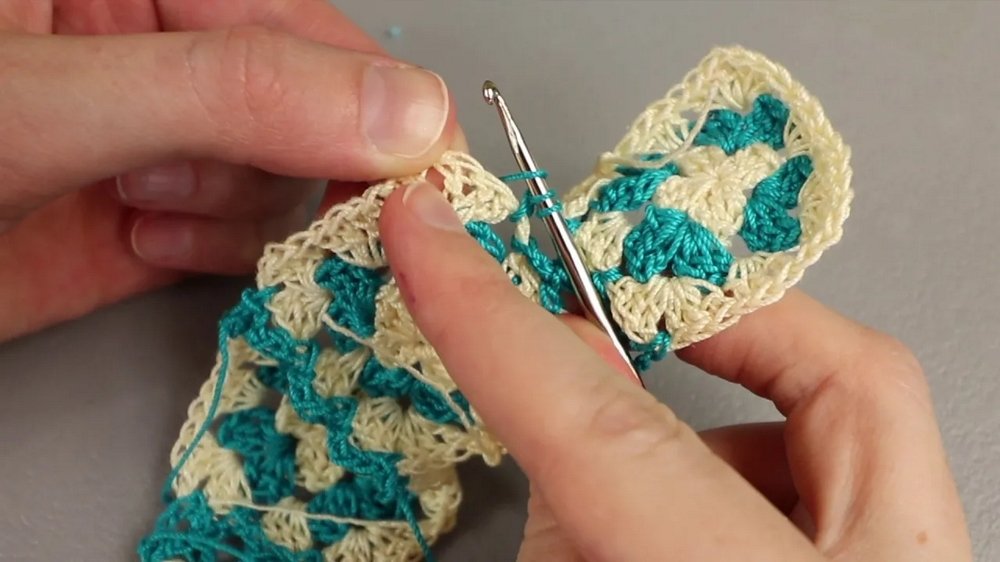
3. Add Borders
- First Border: Chain 3, work double crochets between clusters and corners.
- Second Border: Use single crochets, ensuring each space and double crochet has an even edging.
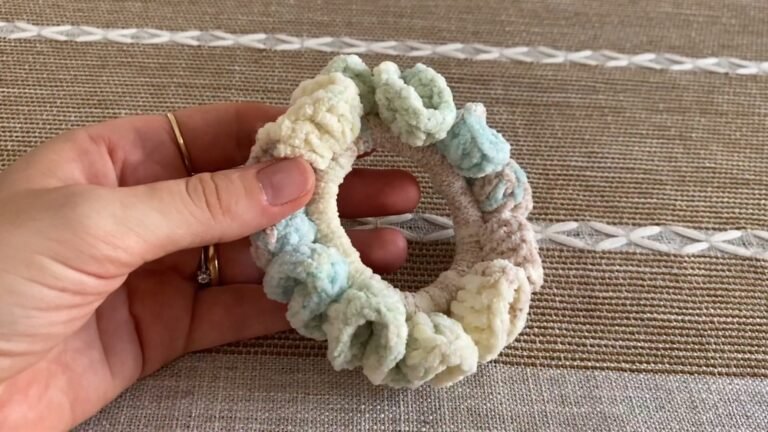
4. Attach Hair Tie
- Create triangular end pieces with single crochets around the hair tie to attach it securely.
5. Final Touches
- Optional: Add a cover piece over the hair tie using a series of single crochets.
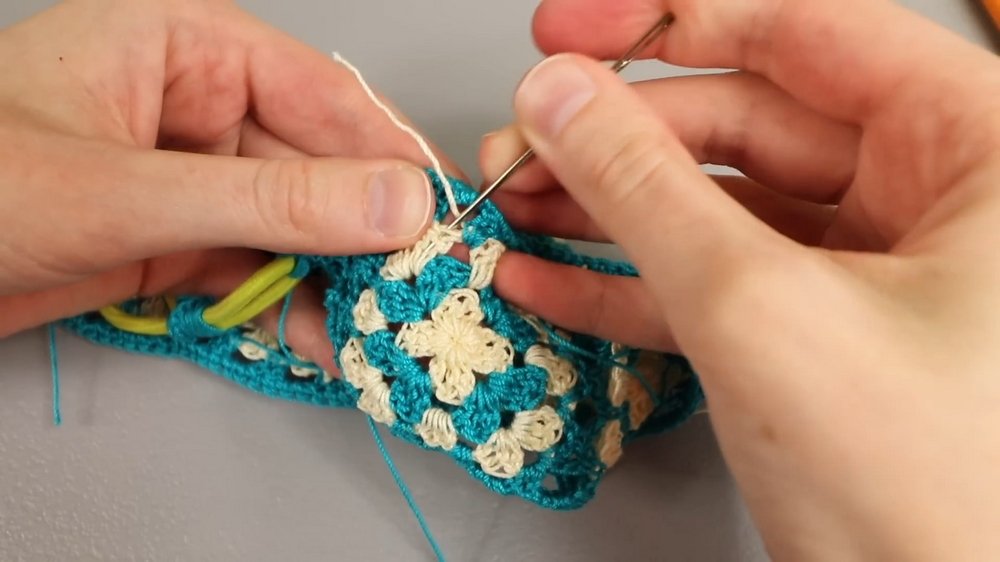
- Weave in all loose ends using a needle.
Special Features
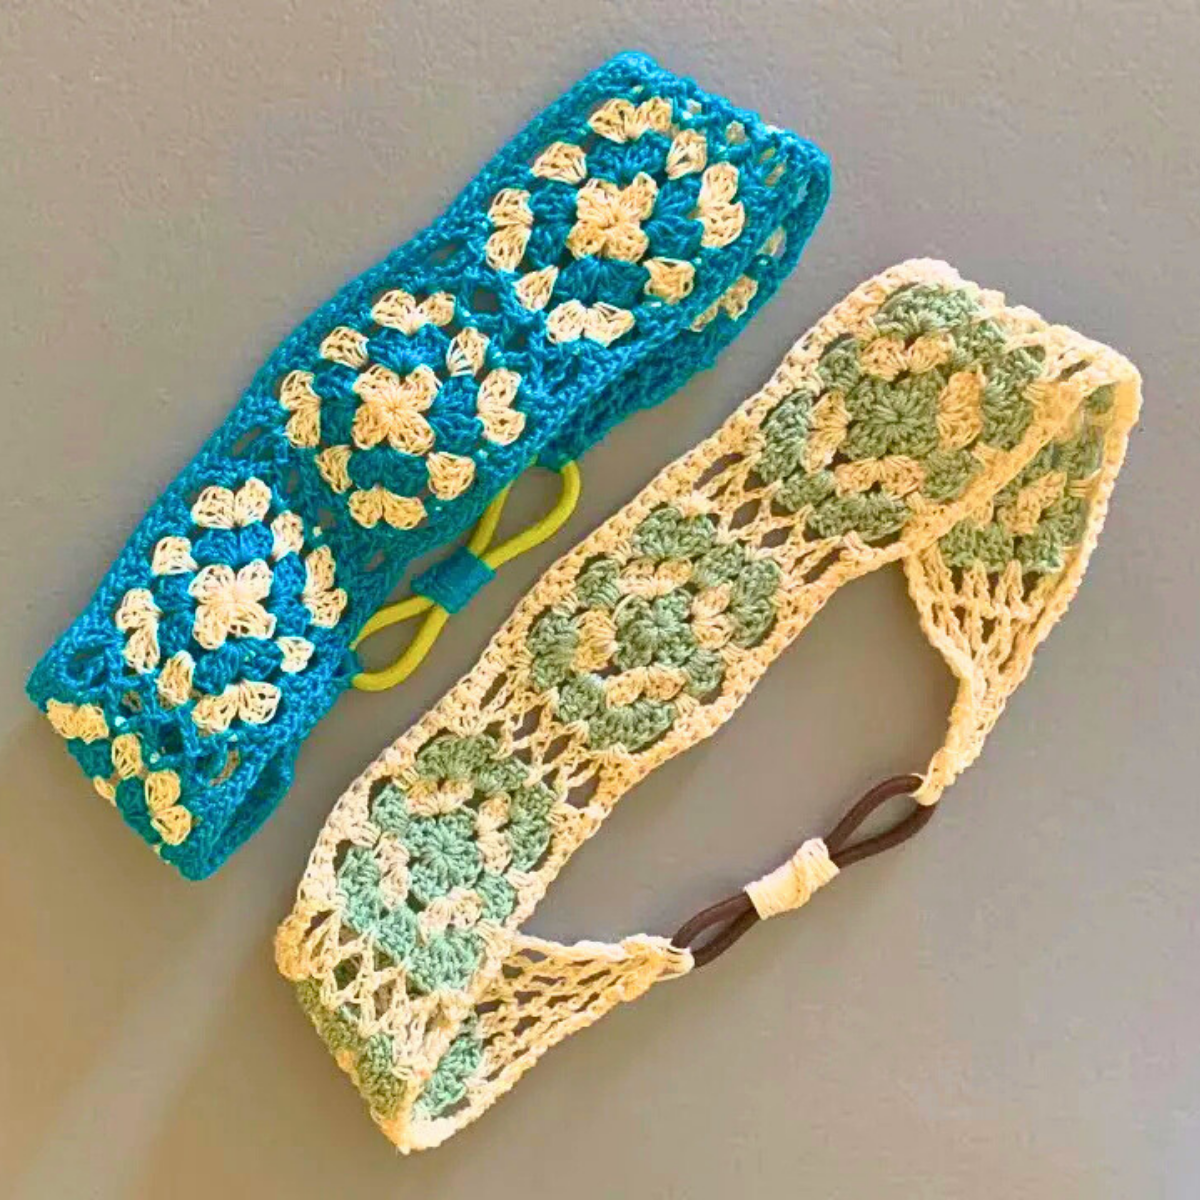
- Unique Design: Combines classic granny squares with modern adjustments.
- Versatility: Can be customized with two or more colors.
- Practicality: Incorporates a hair tie for flexibility and comfort.
Tutor’s Suggestions
- Adjust Tension: Tension can be adjusted for the headband size.
- Color Choices: Feel free to experiment with multiple colors to create different looks.
- Blocking: Optional step before attaching to the hair tie to ensure evenness.
Uses and Applications
This headband is perfect for everyday wear or as a unique handmade gift. It’s a great way to use leftover yarn and can be customized to fit any style or occasion.
Conclusion
The “Not Your Granny’s Headband” is a fun project that combines traditional crochet techniques with modern aesthetics. Ideal for crocheters looking to expand their skills, it encourages creativity and practical usage.
Tip
When joining motifs, ensure your tension remains consistent to avoid distortion in the final product. Also, blocking your pieces before final assembly can enhance the headband’s final appearance, ensuring all squares remain consistent in size.