Charming Crochet Everlasting Plant Pattern for Elegant Decor
Spruce up your space with the playful Crochet Everlasting Plant, a delightful touch of handmade charm that lasts forever.
Flowers and plants add life to any room, but maintaining them can be a challenge for busy schedules or less-than-green thumbs. Enter the crochet everlasting plant—a delightful solution that combines the beauty of greenery with the durability of handmade charm. These decorative plants require no watering, sunlight, or upkeep, making them perfect for every season and every space.
Easy Crochet Everlasting Plant Pattern Perfect For Home Accent

Perfectly suited for those who love personalized touches, these timeless creations can brighten tabletops, shelves, or even office desks without fading or wilting. With options to customize colors and designs, these plants effortlessly complement any interior style, from modern chic to rustic coziness. Not only are they long-lasting, but they also make wonderful gifts for friends and family, adding a unique touch to special occasions.
Skip the mess and hassle of real soil while enjoying the same visual impact a fresh plant would provide. These delightful pieces act as conversation starters, sparking intrigue and admiration from guests. Whether you’re enhancing your home’s décor or adding a personal flair to workspace aesthetics, crochet everlasting plants deliver beauty and practicality hand-in-hand. Step away from tradition and bring in an effortless, handmade masterpiece that never loses its charm.

Step-by-Step Details
1. Creating the Vines
Steps:
- Start with a Slip Knot: Hold the yarn between your thumb and two fingers, make an X with the yarn, drop the fingers, and pull through the tail.

- Use a 5 mm Hook: Begin with a chain customizable in length (e.g., chain 25).
- Make the Vines Curly: After chaining, skip 3 chains and work into the back bump of each chain. Alternate between making single crochets and chaining 5 as you go.
- Extra Polish: Add 3 single crochets at the end to cleanly finish off the vine.

Special Features:
- The vine texture is curly yet structured.
- This part can be entirely size-customizable to suit your creative needs.
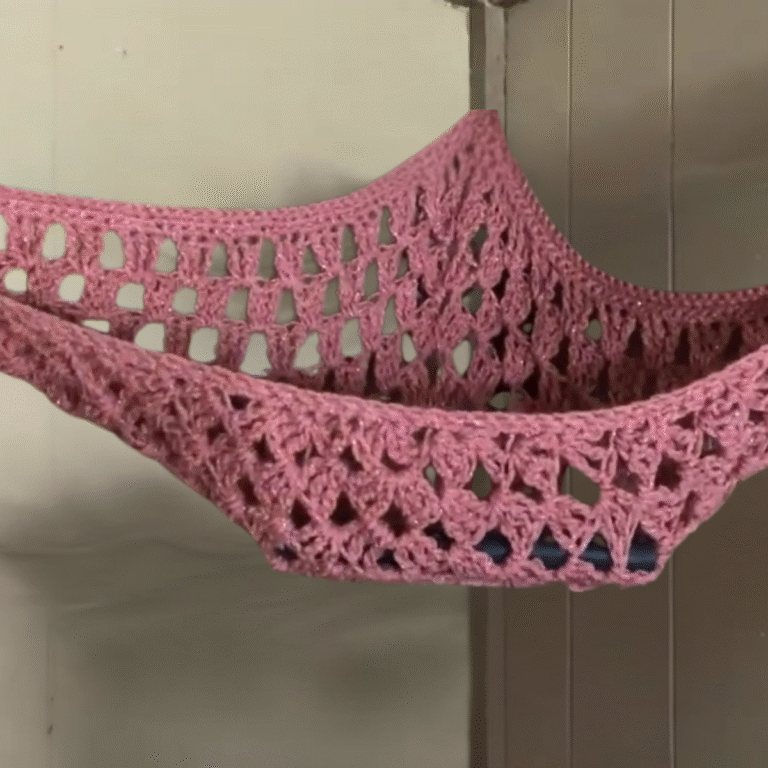
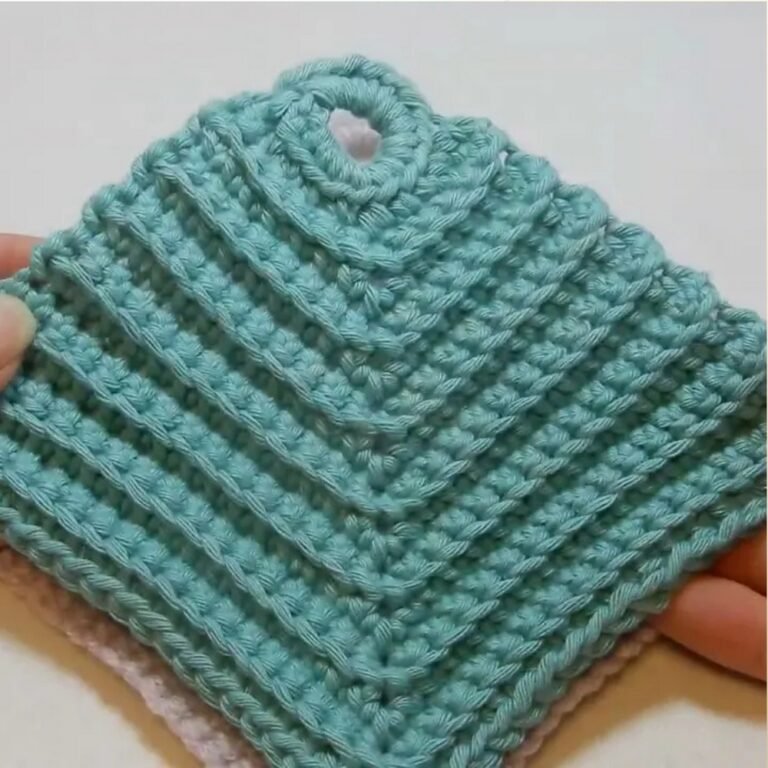
2. Crocheting the Planter
Steps:
- Begin the Base: Use a magic circle to make the planter’s foundation, starting with chain 3 (counts as first double crochet) followed by 13 double crochets for a total of 14 stitches.
- Work in Rounds: For Round 2, increase the stitches by crocheting 2 double crochets in each stitch (resulting in 28 stitches).

- Build the Walls: Start with a chain 1 and single crochet in back loops only for one row. Continue with regular single crochets in subsequent rows until the planter measures your desired height (e.g., six to eight rows).
- Add a Slip Stitch Top: Finish the rim with slip stitches for a neat look.
Special Features:
- Adding slip stitches makes it easier to attach straps later.
- Yarn-under technique is used for dense, neat single crochet stitches.
3. Creating the Straps
Steps:
- Make the First Strap: Chain 30 at the top edge, pull tight, snip the yarn, and secure with a knot.
- Attach the Remaining Straps: Leave 9 stitches between straps and repeat the process for the second and third straps.
Special Features:
- You can add decorative beads at the strap joints for flair.
4. Making the “Dirt” Fill-in
Steps:
- Follow Planter Base Instructions: Create a circle for the dirt by repeating the magic ring and increase steps (14 stitches in round 1, 28 stitches in round 2).
- Stuff the Planter: Use a small amount of polyfill for volume while maintaining a flattened effect for naturalistic appearance.
- Attach to the Top Edge: Sew the dirt layer to the planter’s top using a tapestry needle, stitching the perimeter tightly.
Special Features:
- The “dirt” has a neutral color that complements the plant design.
- Minimal polyfill is needed for stuffing.
5. Adding the Vines
Steps:
- Insert a Vine: Pull the vine through the center of the dirt layer and twist it around neatly.
- Sew Down: If desired, stitch the vines to maintain their placement.

Special Features:
- You can make multiple vines (suggested: 6) to add dimension to the plant.
Materials Needed
- Yarn: Various colors for vines, planter, and dirt (recommended: 5 mm yarn).
- Hook: 5 mm crochet hook.
- Polyfill stuffing.
- Tapestry needle for sewing edges.
- Scissors (preferably sharp and rust-free).
- Optional beads for straps.
Tutor’s Suggestions
- Customization: Experiment with the length and quantity of vines to suit different pots.
- Polish: End vines with single crochets to give them a clean appearance.
- Relaxed Pace: Avoid racing through the project; enjoy the process as crochet is a fun and stress-relieving art.
- Use Beads for Straps: Adds elegance.
Uses
- Decorate workspaces, living areas, and shelves.
- Perfect for gifting to plant lovers or home decor enthusiasts.
- Create hanging plant collections with multiple vibrant designs.
Level of Difficulty
- Beginner-Friendly: Basic techniques like chaining, single crochet, and double crochet are used.
- Intermediate Features: Includes techniques like back-loop stitching, yarn-under single crochet, and using a magic circle for advanced finishing details.
Tip for Success
To ensure sturdy vines, hold the yarn taut and work patiently while twisting the vines into shape. For the planter, back-loop stitching and slip stitching will ensure a polished look and refined edges.
Conclusion
This crochet hanging plant is not only a fun project but also a charming way to personalize decor spaces. Whether you follow the suggested steps or add your own twists, this easy-to-follow design is sure to turn heads and spread a cozy vibe.