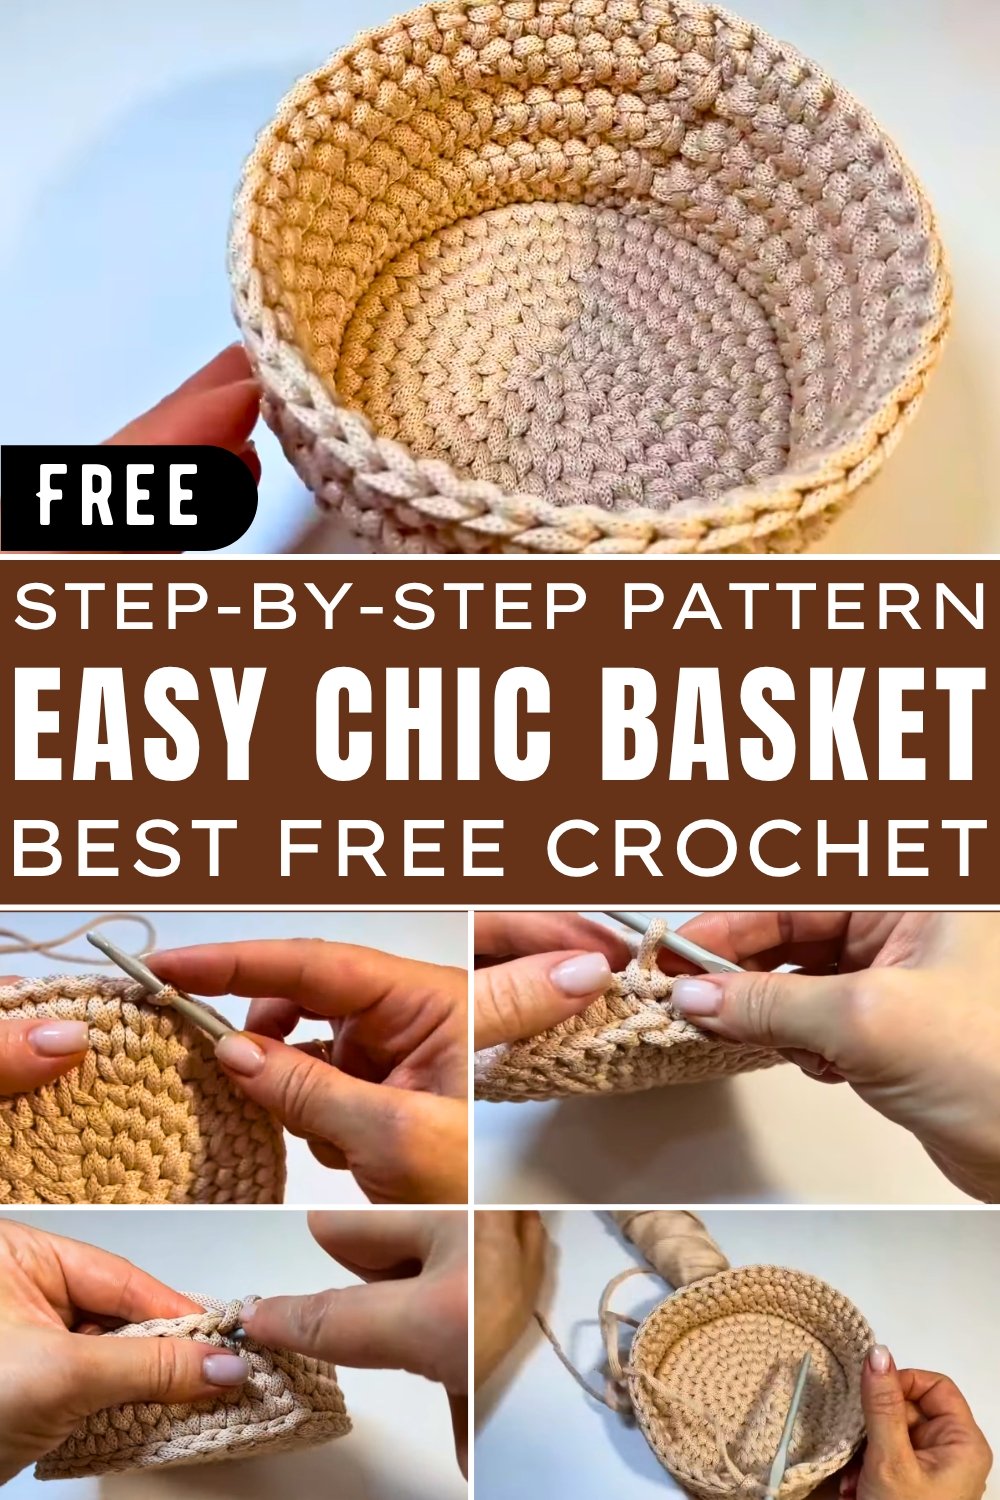
Chic Crochet Basket Pattern for Home Organization
Organize your home effortlessly with crochet basket pattern—easy-to-make designs that blend functionality with modern style and charm.
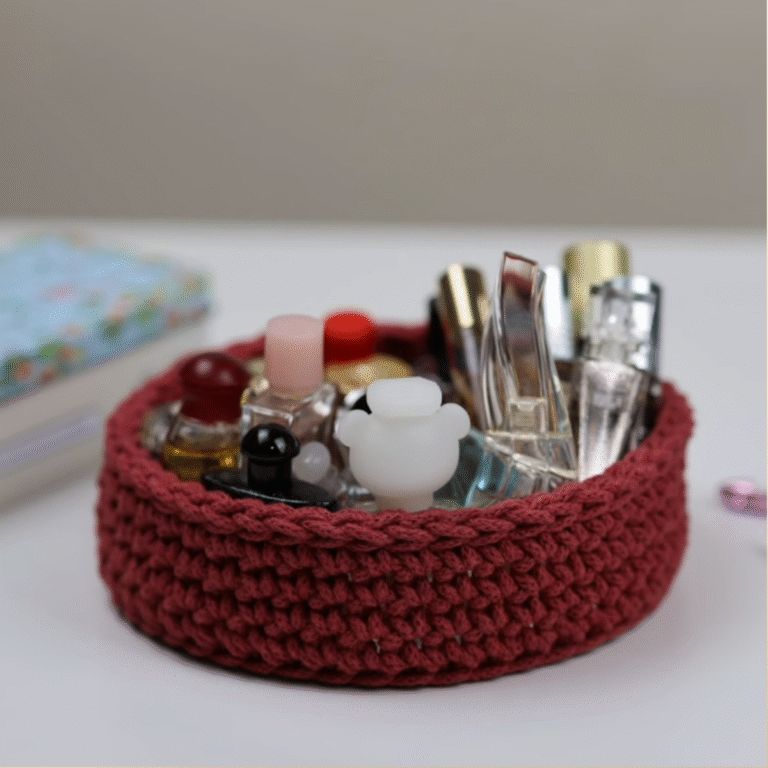
Taming clutter doesn’t have to mean sacrificing style. Chic crochet baskets bring organization and elegance together, offering a fresh solution for every corner of your home. Created with soft yet sturdy materials, these baskets are perfect for storing everything from household essentials to decorative accents. Their versatility goes beyond storage use them as laundry hampers, toy organizers, plant holders, or even as eye-catching table displays.
Cozy Crochet Basket Pattern for Every Room
What makes these baskets stand out is their ability to complement any interior design theme, whether it’s minimalist, rustic, or modern. The variety in sizes and colors ensures a tailored fit for your specific needs while adding texture and warmth to your space. Durable yet lightweight, they’re ideal for practical everyday use, making home organization both convenient and charming.
Their eco-friendly nature also makes them a sustainable option, replacing bulky, plastic storage alternatives. Not only do they keep clutter in check, but they double as beautiful decor pieces to elevate your room’s aesthetic. Perfect for households with kids or pets, their soft edges ensure safety while maintaining functionality. With chic crochet baskets, every item has its place, turning chaos into order and decor into stunning craftsmanship.
Materials Used
- Cord: Cord Caramel 5mm (without a core). The creator recommends this cord for its quality and flexibility. A promotional code is mentioned to offer a discount when ordering this cord.
- Crochet Hook: 5.0mm
- Other Tools: Ironing and pressing tools to finish the basket neatly.
Special Features
- Durable and Attractive Design: The basket features a seamless and solid structure ideal for daily use.
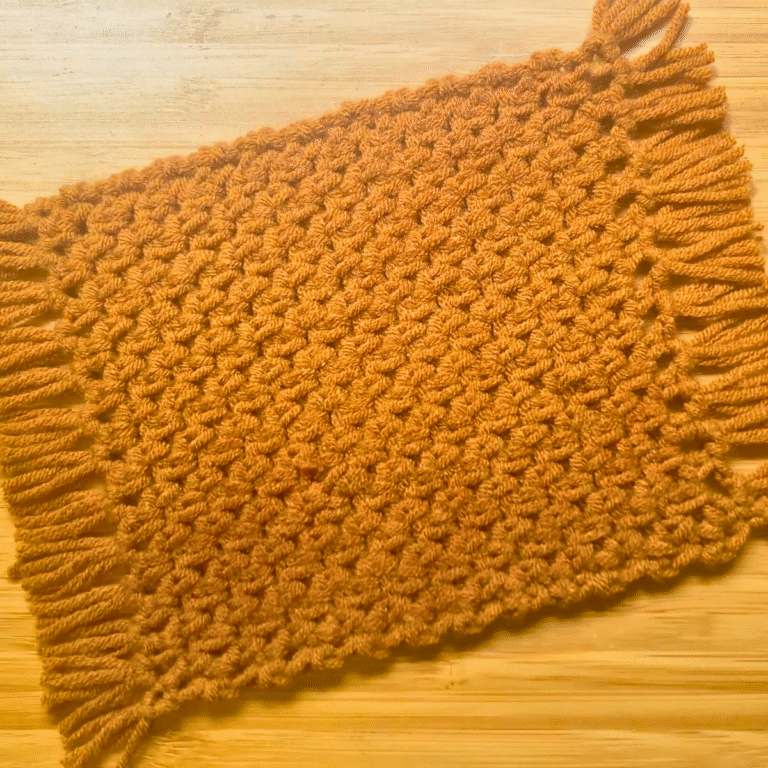
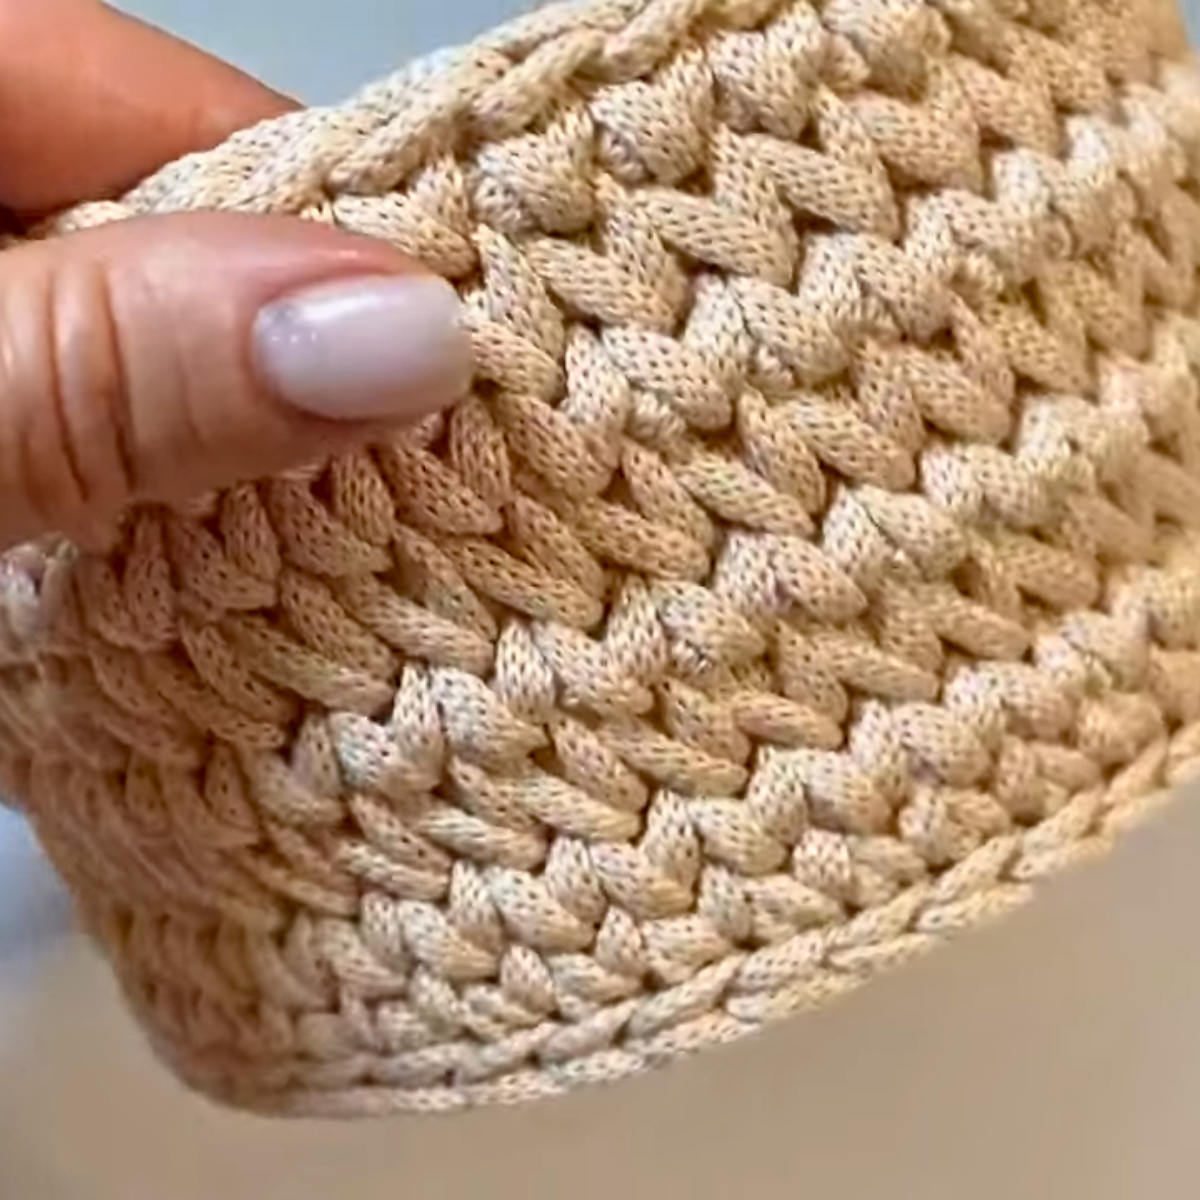
- Pattern Alternation: The basket incorporates alternating rows of simple checkmarks and oblique checkmarks, giving it a dynamic and textured design.
- Neat Finishing Technique: The creator ensures seamless bottom and wall integration, hiding all tails and securing the design.
Step-by-Step Details
1. Prepare the Base
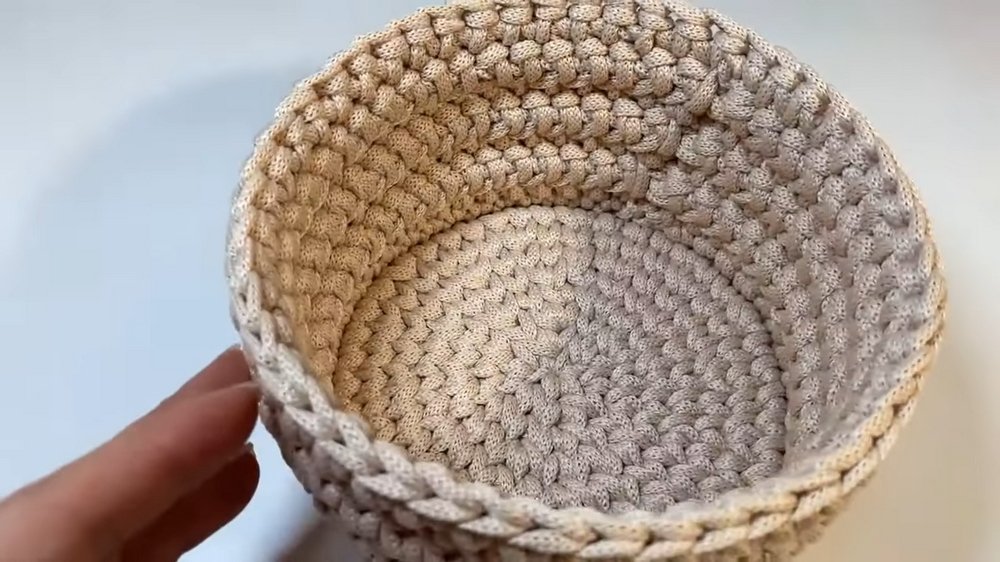
- Begin with crocheting the circular bottom. This can be done in a seamless manner.
- Measure the diameter, which is around 14 cm.
- Smoothen and compact the base with ironing and pressing techniques to ensure it stays rigid and tight.
2. Crochet the Border
- Work on the border between checkmarks by pulling out loops and connecting them to form a circular row.
- Cut and secure the cord after finishing the border row.
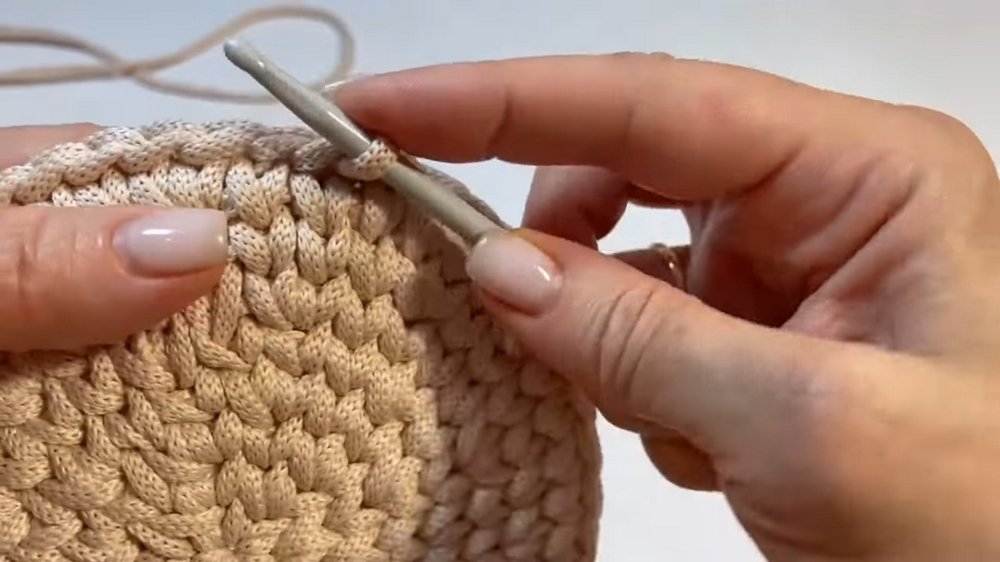
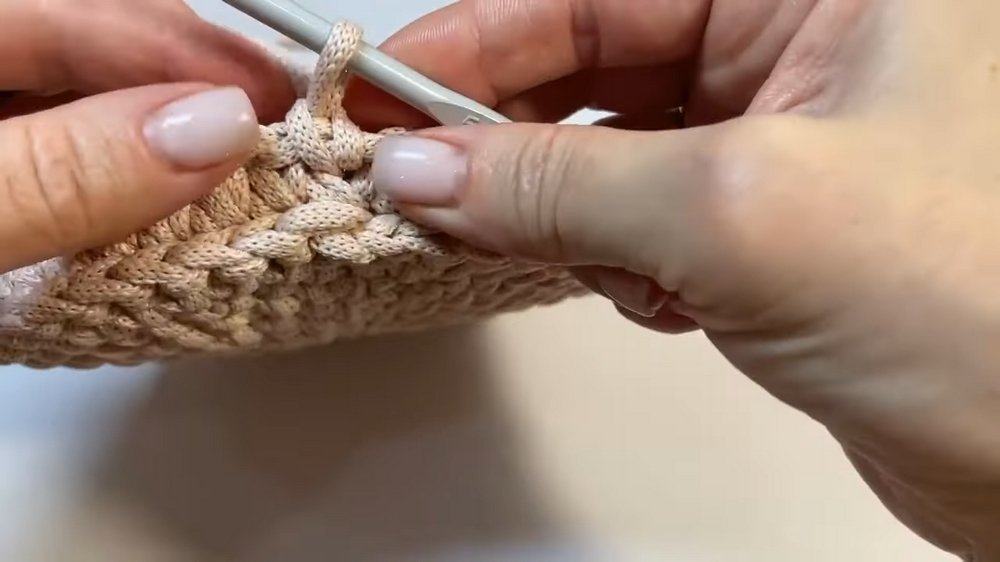
3. Start the Walls
- Begin knitting from any area by hooking the crochet into the checkmark. Pull out the loop and hide tails during the process to keep the design clean.
- Continue knitting single crochets in each checkmark around the circle.
4. Connect Rows
- Connect the rows neatly using simple techniques. The creator provides a tip to ensure rows are discreetly joined for a polished look.
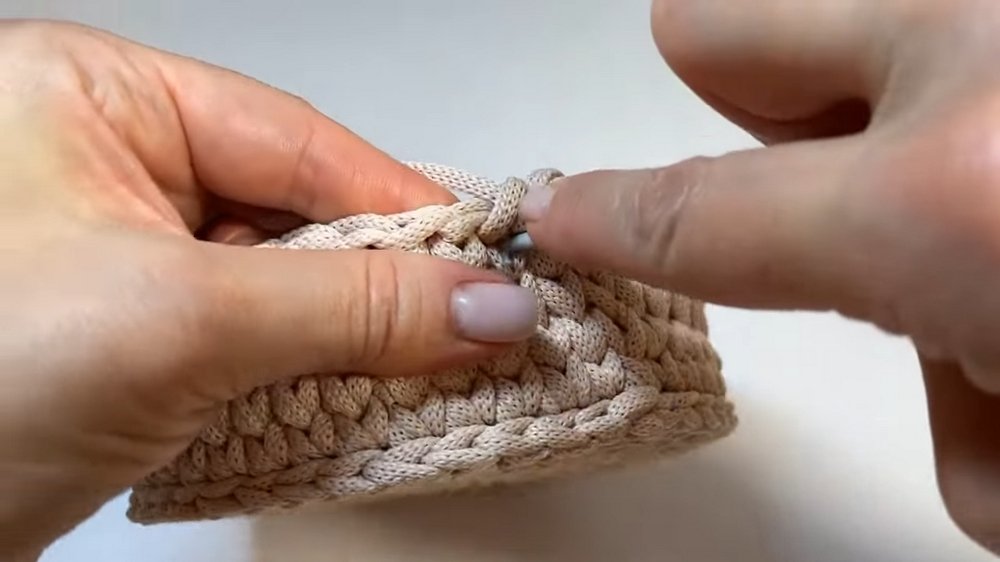
5. Alternate Patterns for Texture
- Alternate between rows of simple checkmarks and oblique checkmarks for a textured finish.
Oblique Checkmark Row:- Pull out a longer loop, skip one checkmark, and connect two loops. Then go back to the missed checkmark and pull a loop.
- Continue this pattern throughout the row to form an oblique design.
Simple Checkmark Row: - Knit single crochets into each checkmark for a more straightforward pattern.

6. Finish the Basket
- Keep alternating rows of simple and oblique checkmarks until the cord runs out.
- In the tutorial, the basket has a total of 8 rows, with the height measuring approximately 8.5 cm.
- Optionally, add a fringe or connecting loops at the edges, though the creator chose to leave it simple.
7. Final Touches
- Cut the cord, secure the row, and hide any remaining tails behind the back wall for a neat and professional finish.
Level of Difficulty
The project is beginner-friendly, but some techniques (like oblique checkmarks and connecting rows) require attention to detail, making it suitable for knitters with a bit of experience.
Tutor’s Suggestions
- Personalization: The creator encourages modularity. You can make the basket taller, add edging, or customize the pattern.
- Tools: Use thinner crochet hooks if you prefer tighter loops or additional precision.
- Neatness: Steam and iron the bottom of the basket for a firm and polished appearance.
Uses
This basket can be used for multiple purposes, such as:
- Organizing daily items.
- Storing small crafts or knitting supplies.
- Adding a decorative touch to your home.
Tip
To achieve professional results, always hide the tails neatly during the knitting process instead of leaving it for the end. This ensures a cleaner, more polished appearance.
Conclusion
This crocheting lesson not only walks you through the process of making a lovely basket but also imparts valuable techniques for crocheting seamless and textured creations. Whether you’re a beginner seeking a new project or an experienced knitter looking to add stylish storage to your home, this pattern provides all the guidance you need.