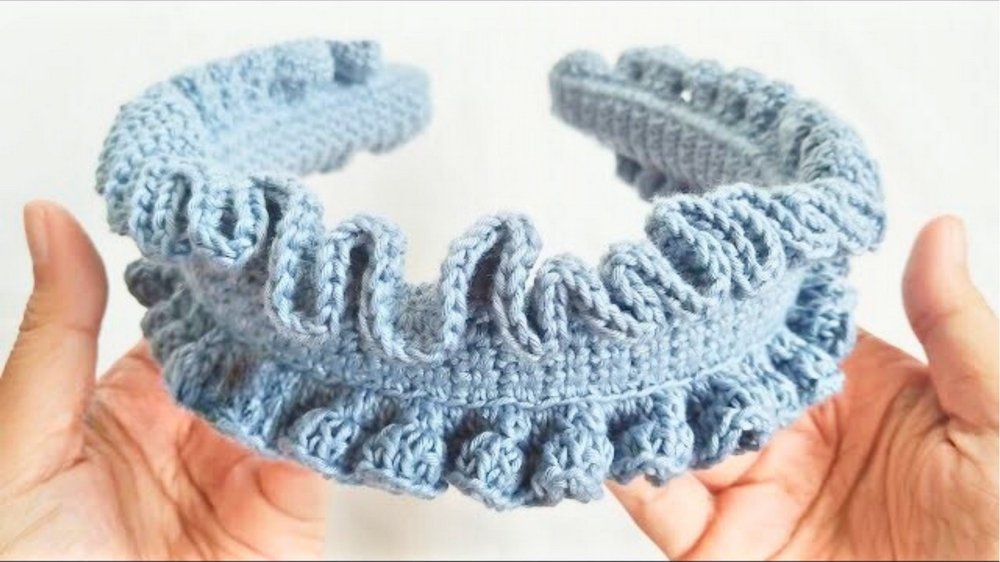
Luxurious Crochet Headband Pattern for Cold Days
Stay cozy and stylish with this Crochet Headband Pattern—perfect for warmth, hair styling, and adding a personalized touch to your everyday look!
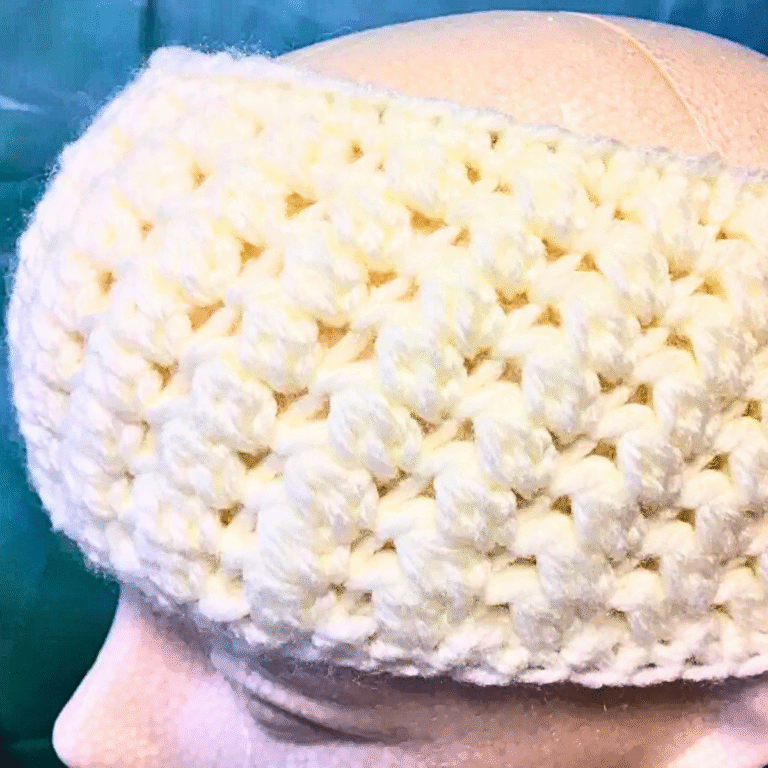
From chilly autumn mornings to breezy spring afternoons, Crochet Headband has long been a lifesaver for keeping hair in place and adding a touch of style. Now, there’s a way to combine practicality with the cozy charm of hand-knit accessories. Lightweight yet snug, these handmade treasures are the perfect option for keeping your ears warm without the bulk of a hat. Whether it’s a simple design or one adorned with textured stitches and beautiful details, there’s an option for every taste.
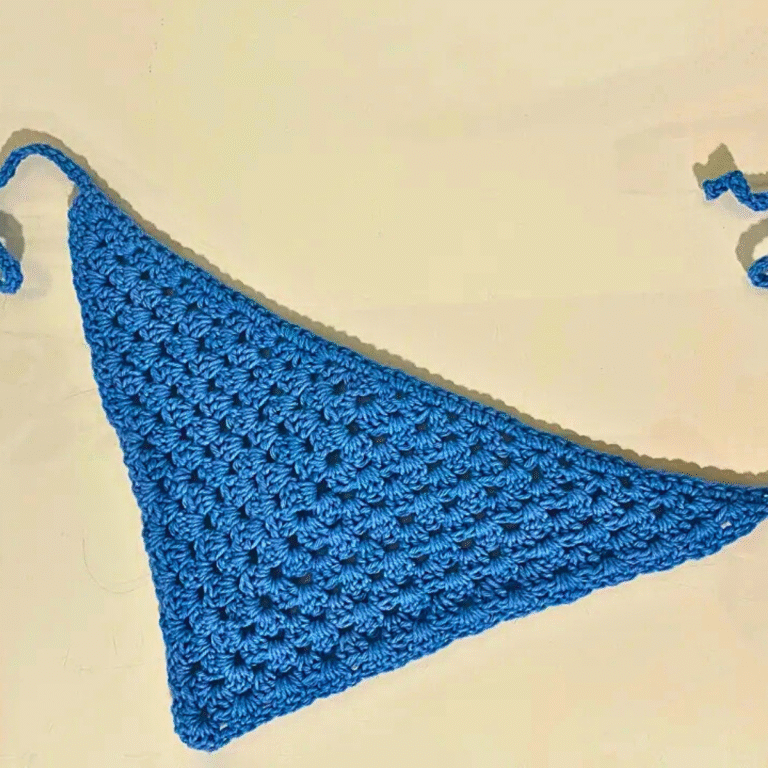
Boho Style Crochet Headband to Elevate Your Look
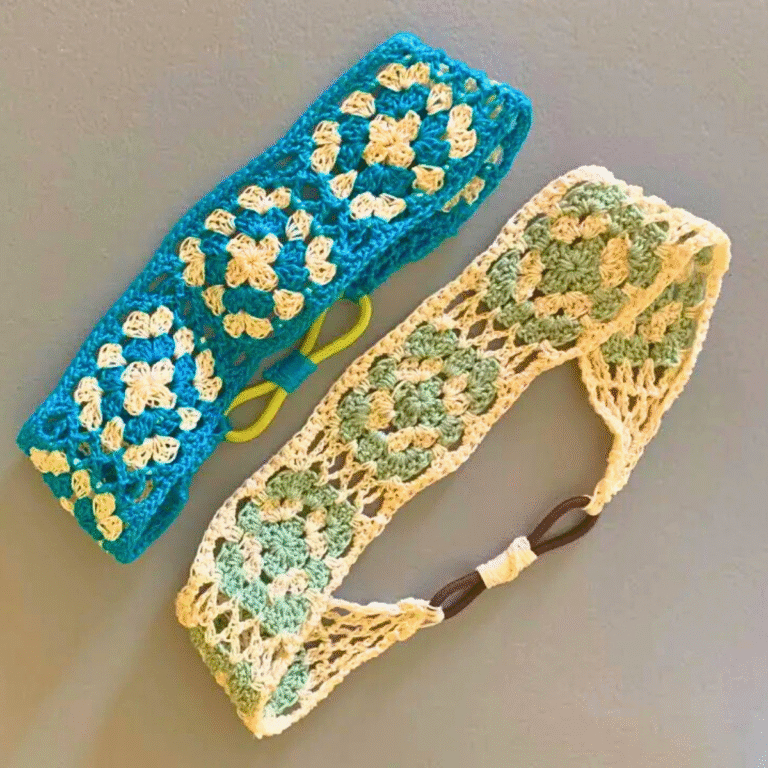
These thoughtfully made pieces are not just about looks they’re functional too. Great for pulling back hair during workouts, accessorizing everyday wear, or simply staying warm when temperatures drop, they serve multiple purposes in one elegant design. The versatility they offer is truly unmatched, with an option to choose your favorite colors, yarns, and finishes.
What makes them even more special is the opportunity to create something that no store offers, turning leftover yarn into a wearable piece that’s both sustainable and on-trend. Stylish and personal, these accessories are also perfect handmade gifts that your loved ones will cherish. Versatile, practical, and kind to the environment, they embody a timeless charm that makes a lasting impression.
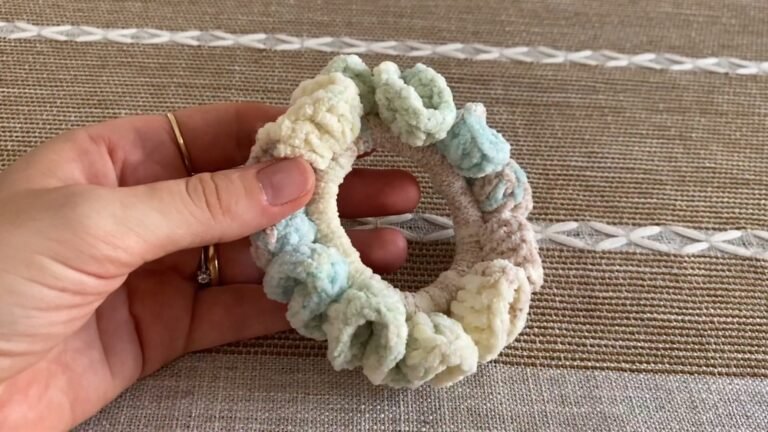
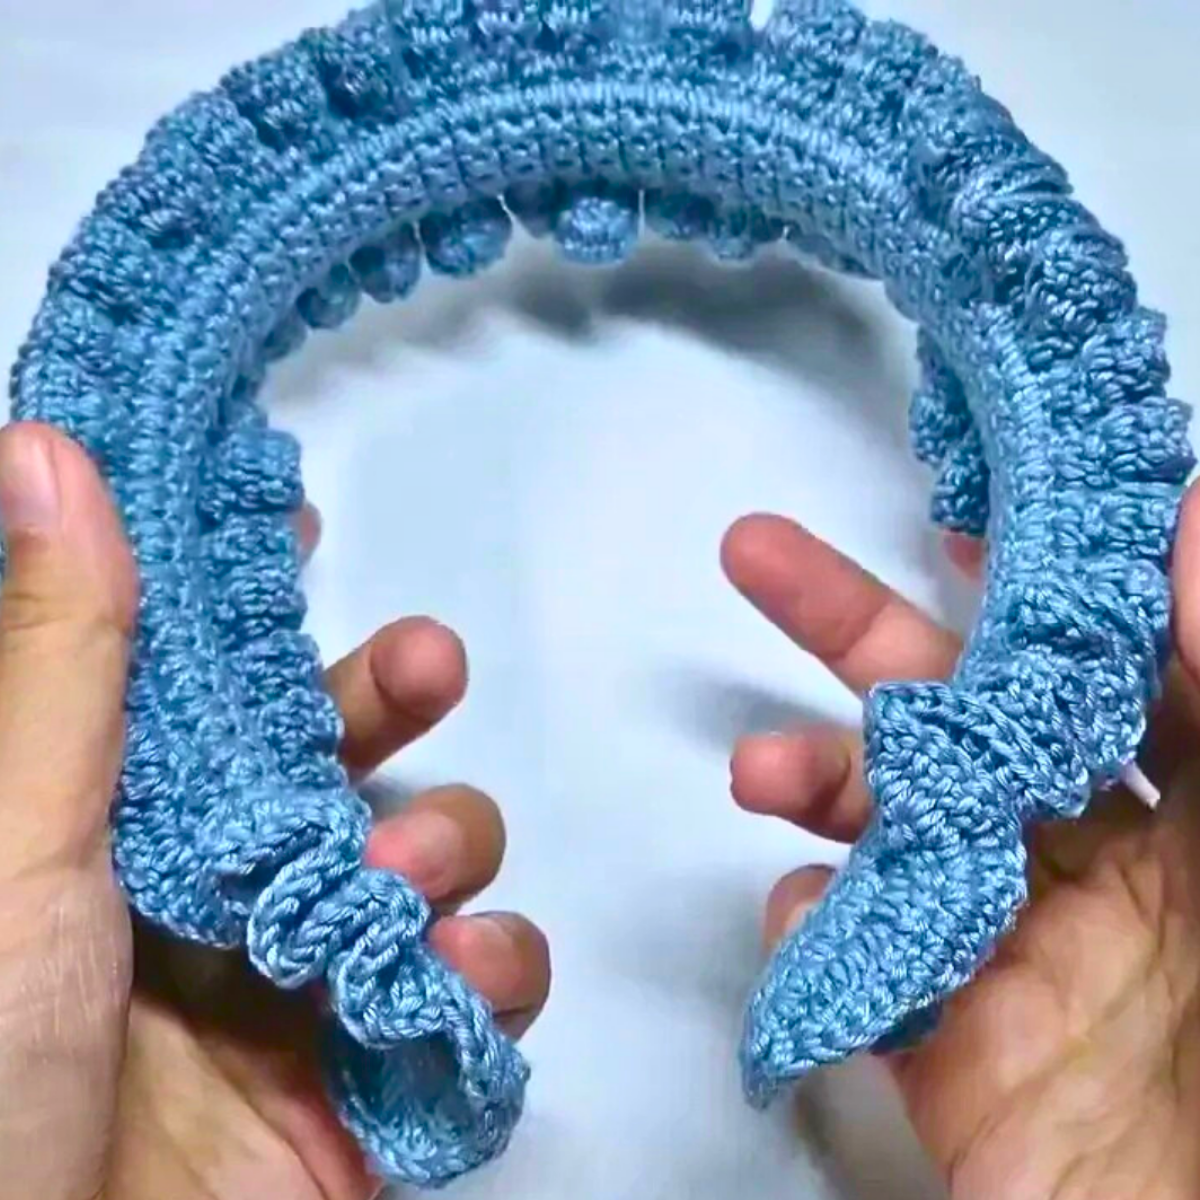
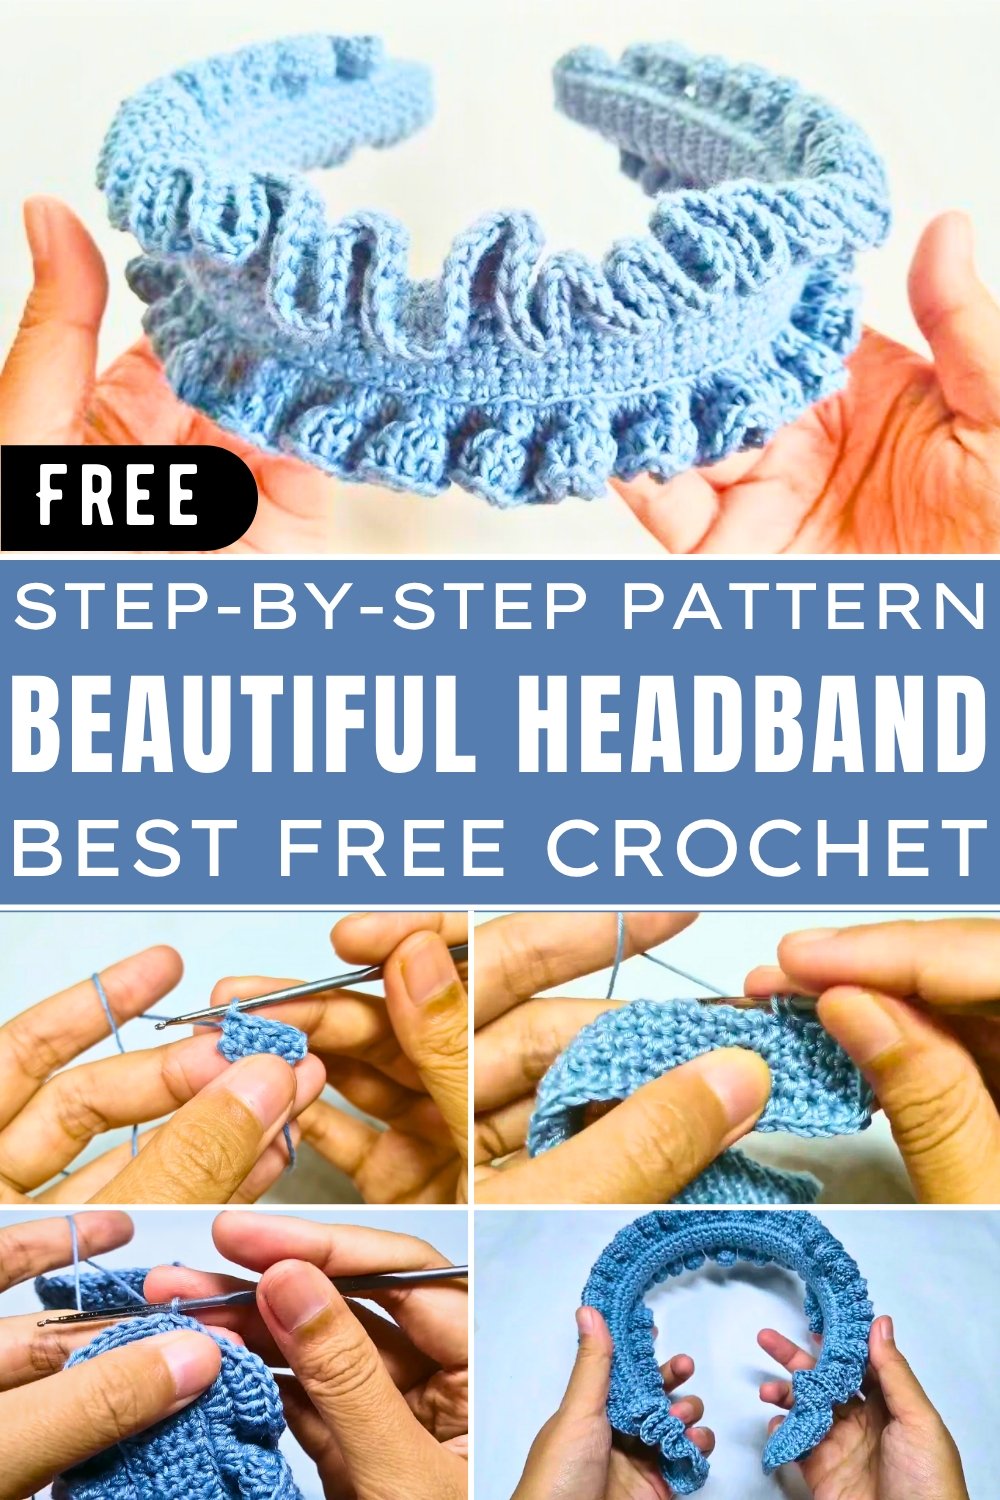
How to Make a Curly Crochet Headband: Step-by-Step Guide
This decorative and functional accessory adds a charming touch to your outfits. The tutorial walks viewers through the Crochet process step by step, ensuring that even beginners can follow along.
Step-by-Step Instructions
1. Materials
- Main Yarn: Balinese cotton thread (light gray preferred).
- Crochet Needles: Rose size 2/0.
- Other Tools: A measuring tape, scissors, and a headband base.
2. Measuring
- Begin by measuring the headband base. The required length for this headband is 39 cm or approximately 118 to 128 rows.
- Be sure to keep this measurement in mind when knitting.
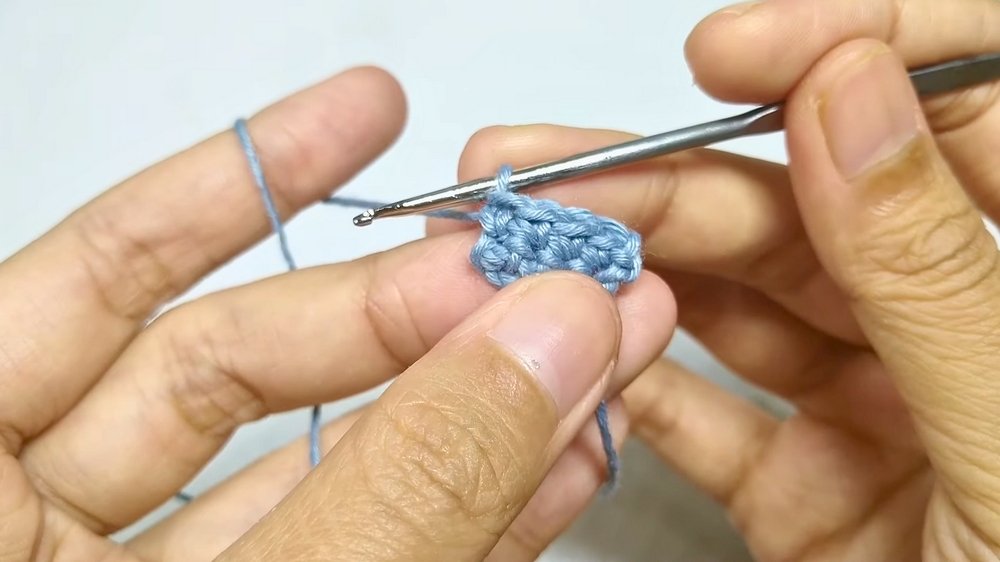
3. Crochet the Base
- Start with a slip knot.
- Make 5 chain stitches and connect them with single crochet stitches (four single crochets per section).
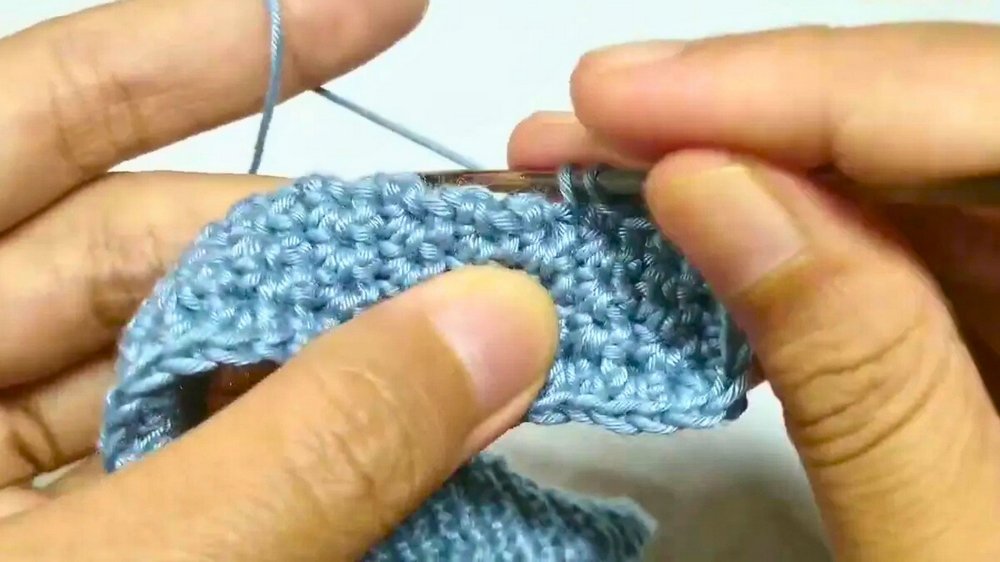
- Continue creating rows of single crochet stitches until the piece reaches the desired length (39 cm).
4. Creating Two Separate Strips
- Craft two identical knitted strips following the same process.
- One of them should have a longer thread tail (keep this uncut for later use).
5. Attaching the Strips to the Headband Base
- Lay the strips over the headband base and attach them with single crochet stitches, ensuring both strips are secured properly.
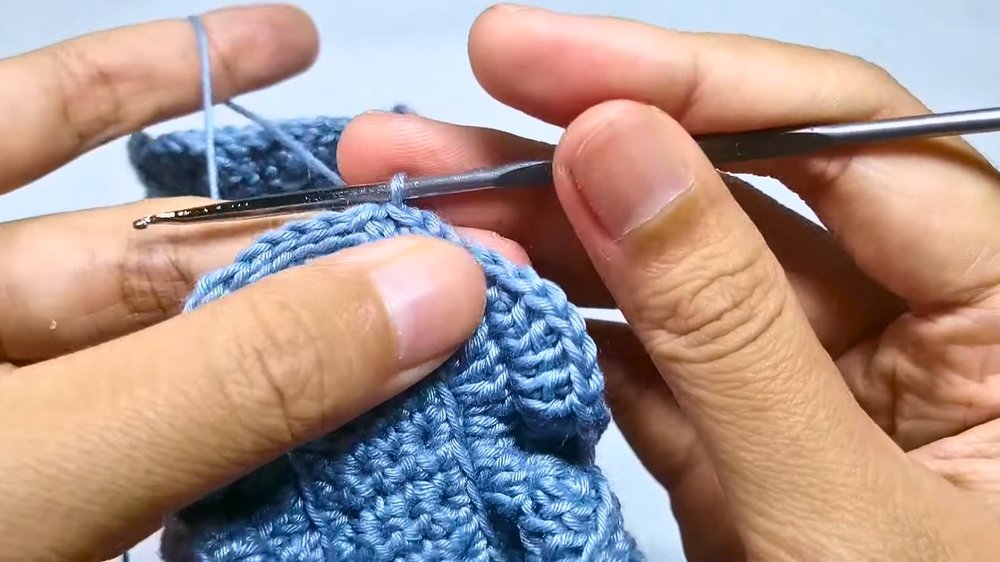
6. Adding Curly Edges
- Begin working on the edges of the headband for a curly, decorative effect:
- Create a chain stitch to start.
- Alternate between single crochet stitches, half double crochet stitches, and double crochet stitches.
- Increase stitches (such as by adding two double crochets to the same hole) to create the curly texture.
- Work around the back loop of the edge repeatedly to form the curly effect.
- Repeat the same pattern on both edges of the headband.
7. Finishing Off
- Neatly conclude the pattern by:
- Reducing the stitch count for the last few holes.
- Adding four slip stitches at the corners to finish the edges.
- Tidy up the threads by trimming and securing leftover yarn.
Special Features
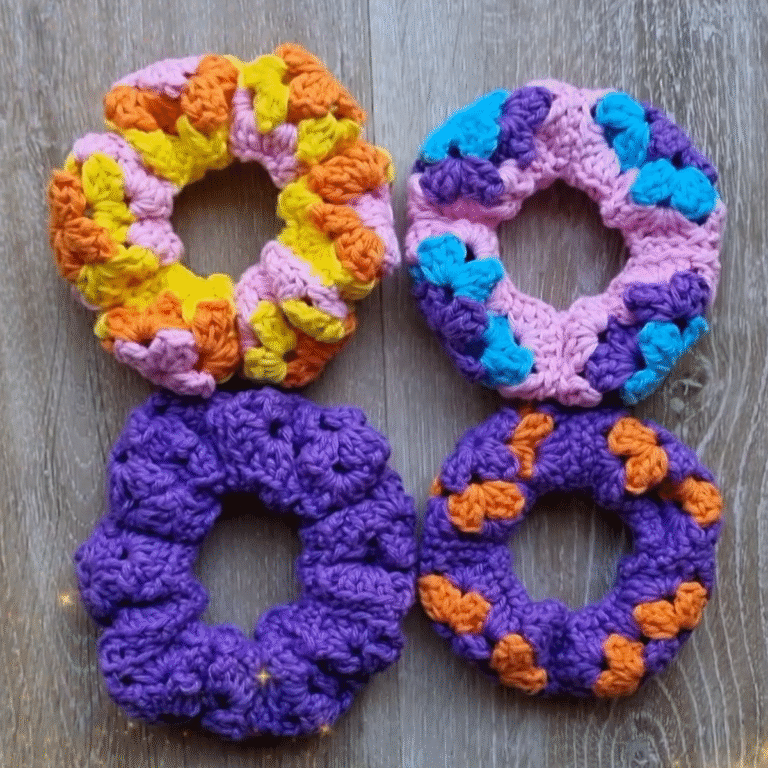
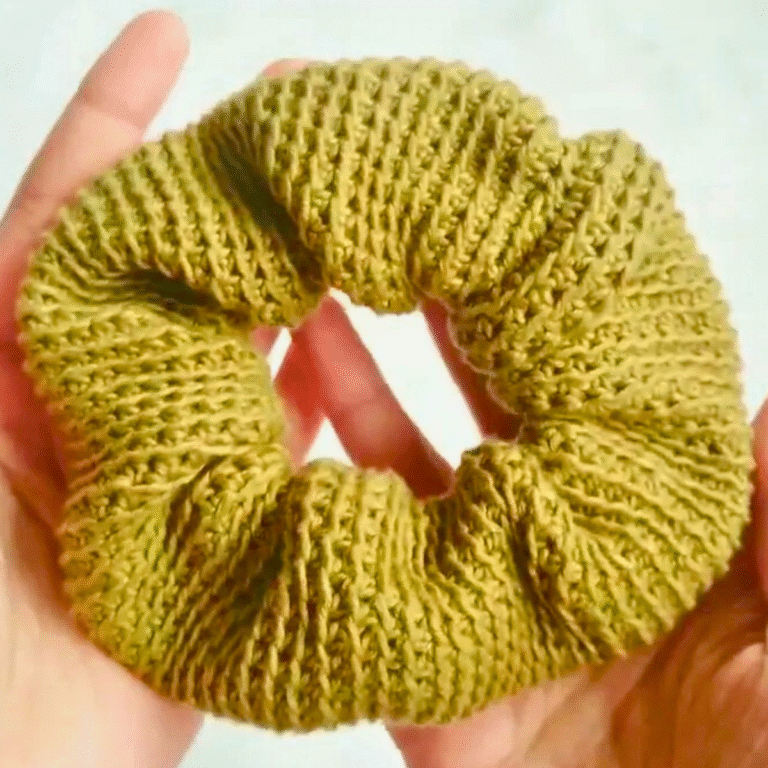
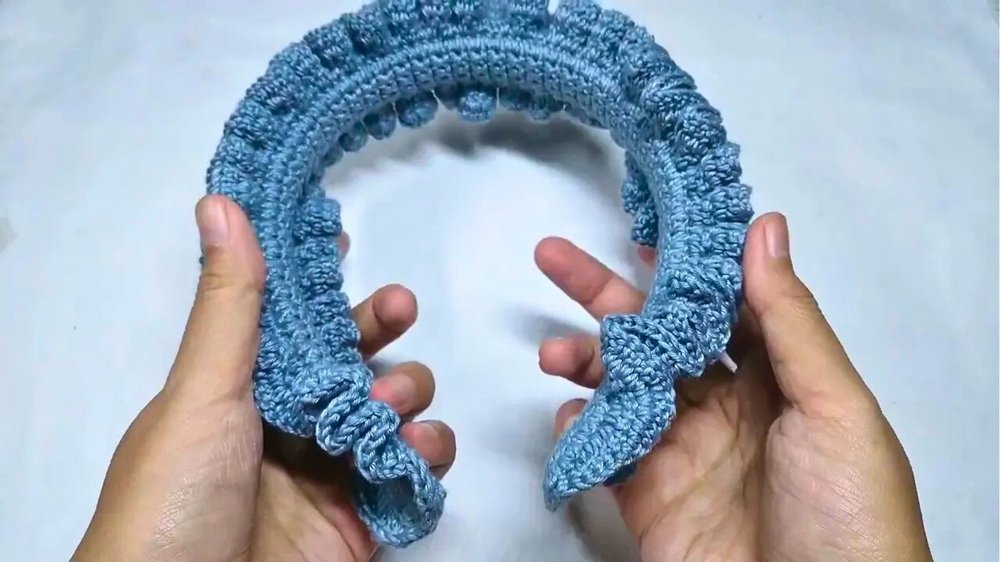
- Curly Texture: The standout feature of this headband is its beautifully curled edges, which add a playful and delicate aesthetic.
- Dual Color Option: You can incorporate additional colors, such as white threads, as decoration.
Level of Difficulty
- Beginner Friendly: While some parts, such as forming curls, may require focus, the tutorial is clear and simple for beginners to follow.
Tutor’s Suggestions
- Measure Accurately: Keep the headband’s base length aligned with the measurement (39 cm or approximately 118 rows).
- Experiment with Colors: Add contrasting colors to enhance the look of the headband.
- Take Your Time: Work patiently, especially during the curly edge section.
Uses
This headband is perfect for:
- Daily Wear: Adds a chic and unique touch to casual outfits.
- Gifting: A thoughtful and handmade gift idea.
- Selling: Ideal for small businesses or craft fairs due to its aesthetic design.
Tip for Success
When creating the curls, focus on keeping your stitches consistent in size and tension. This will ensure the curls look uniform and aesthetically pleasing.
Conclusion
This tutorial teaches you to create a gorgeous curly Crochet Headband step by step. With a bit of practice and patience, you can crochet a stylish accessory or gift that highlights your creativity. Follow the instructions closely, and don’t forget to experiment with colors to make it uniquely yours.