Winter-Ready Crochet Poncho Pattern for Cold Days
Drape yourself in handmade charm with our one-of-a-kind Crochet Poncho Pattern – where cozy meets chic, making every stitch a statement of creativity!
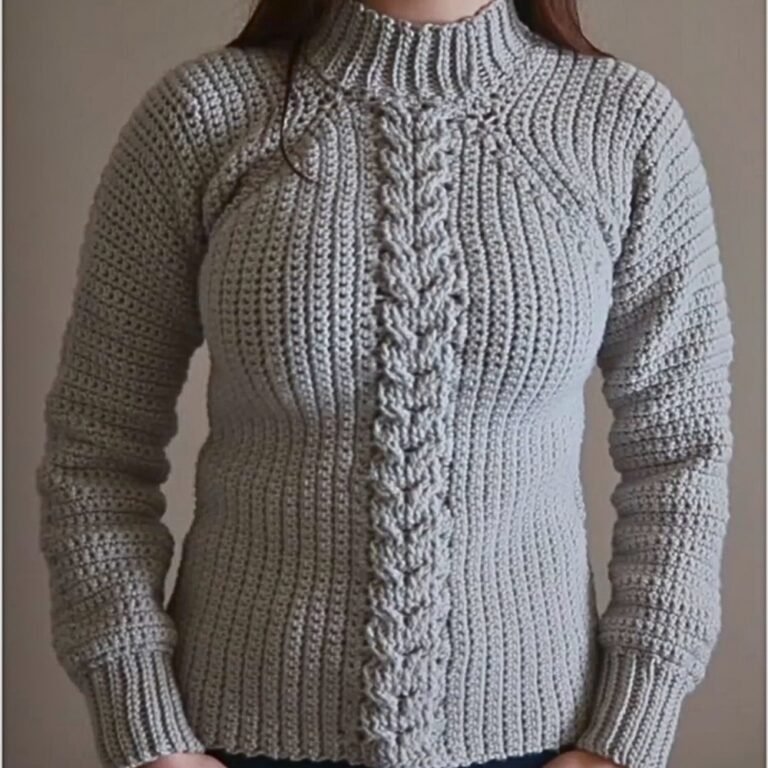
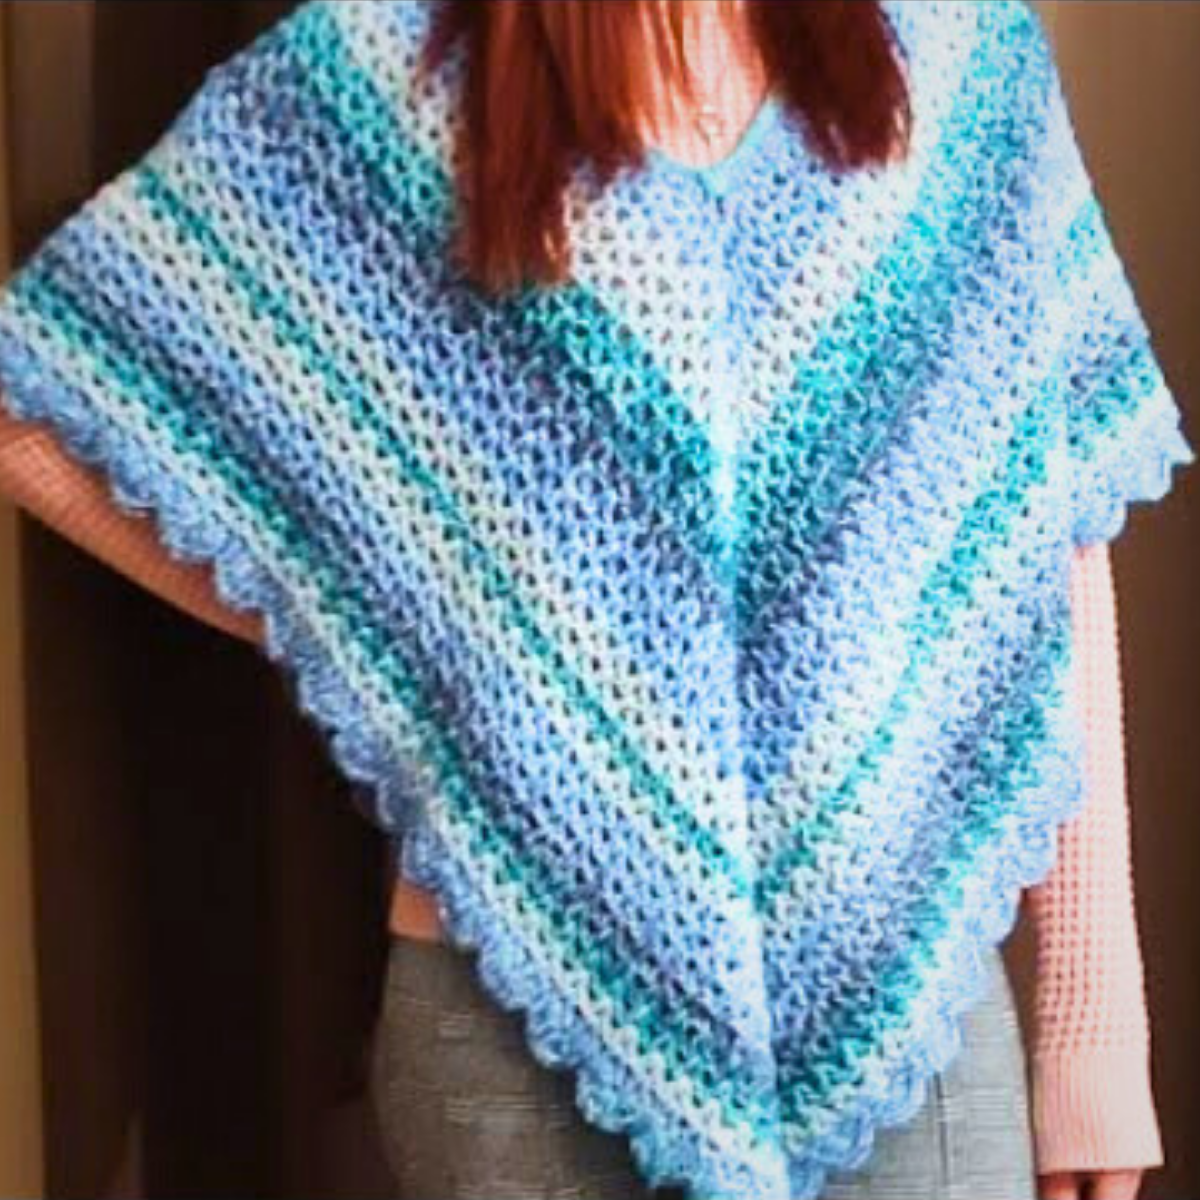
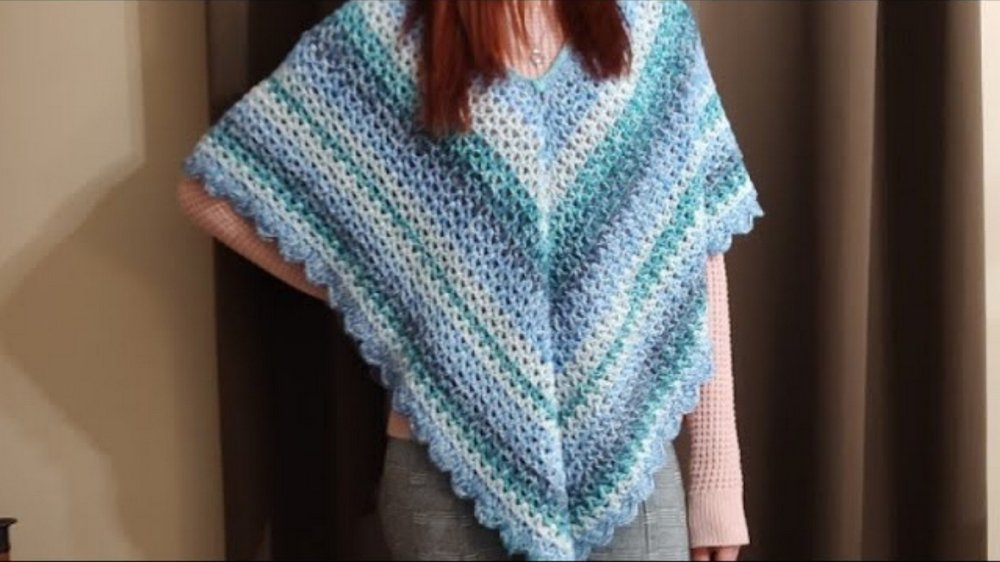
A cozy and stylish layering option, this handmade crochet poncho provides warmth and elegance in one design. Carefully constructed using simple stitches, it features a scalloped border and puff stitch neckline, offering both beauty and practicality for everyday wear. Its design can be adjusted to match various heights and preferences, making it suitable for a wide range of individuals.
Quick & Easy Crochet Poncho Pattern for a Handmade Touch
From cozy casual days to layering for added warmth, this garment seamlessly fits into any wardrobe. Its unique features combine utility and aesthetics, making it a reliable accessory for all seasons. The personalization options also ensure it reflects individual style and preferences while giving a sense of fulfillment in its assembly.
How to Crochet a Beginner-Friendly Poncho
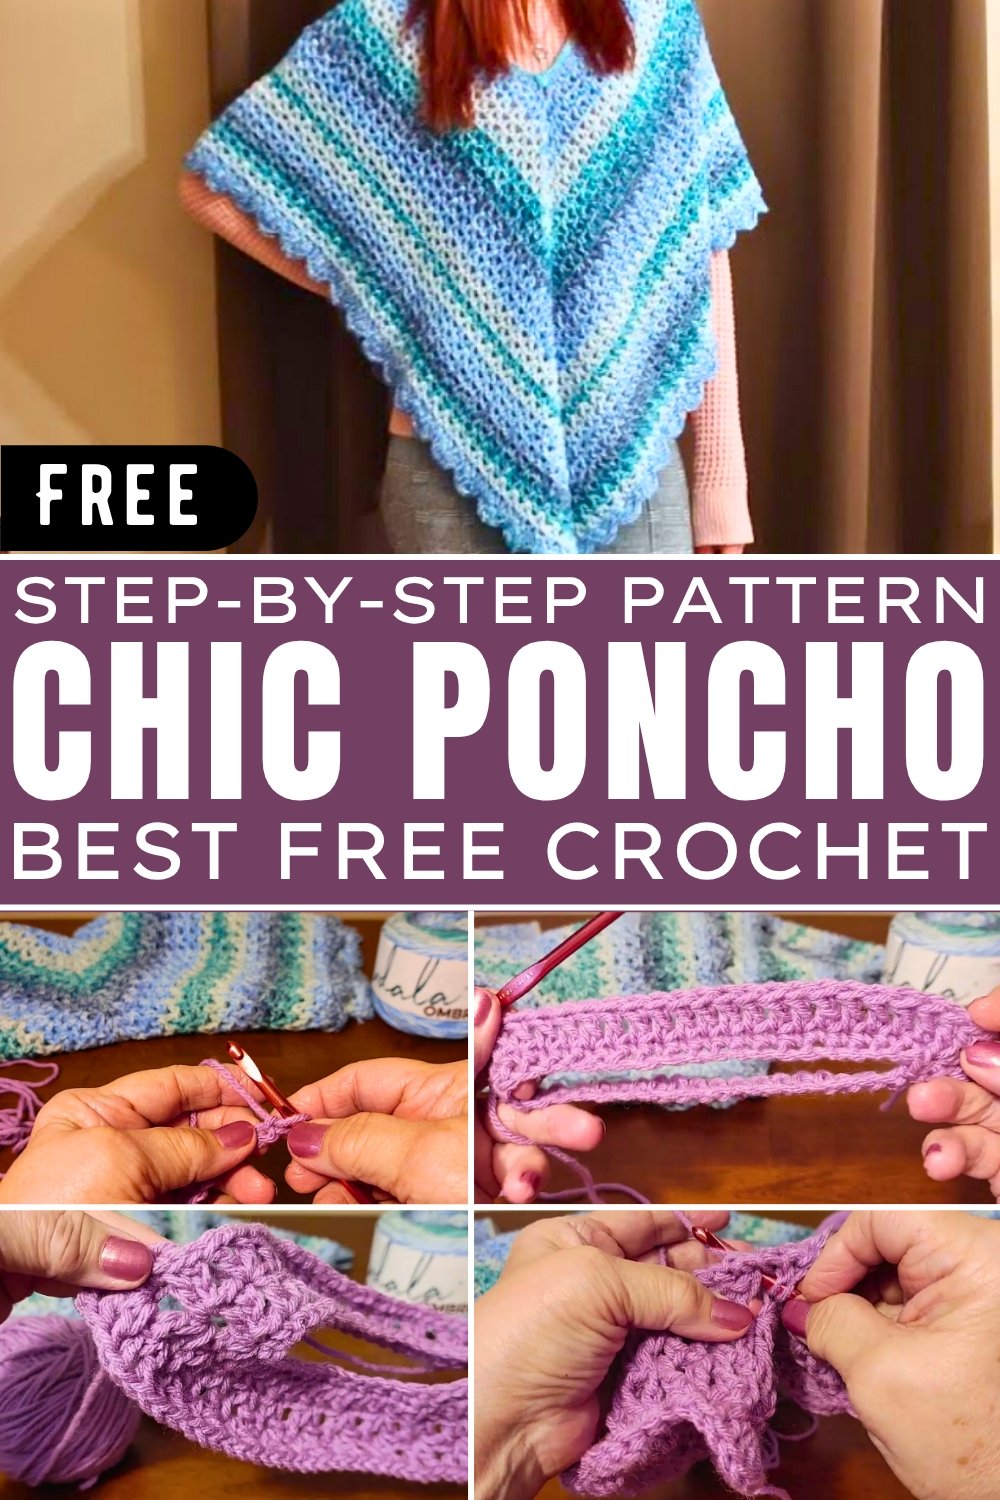
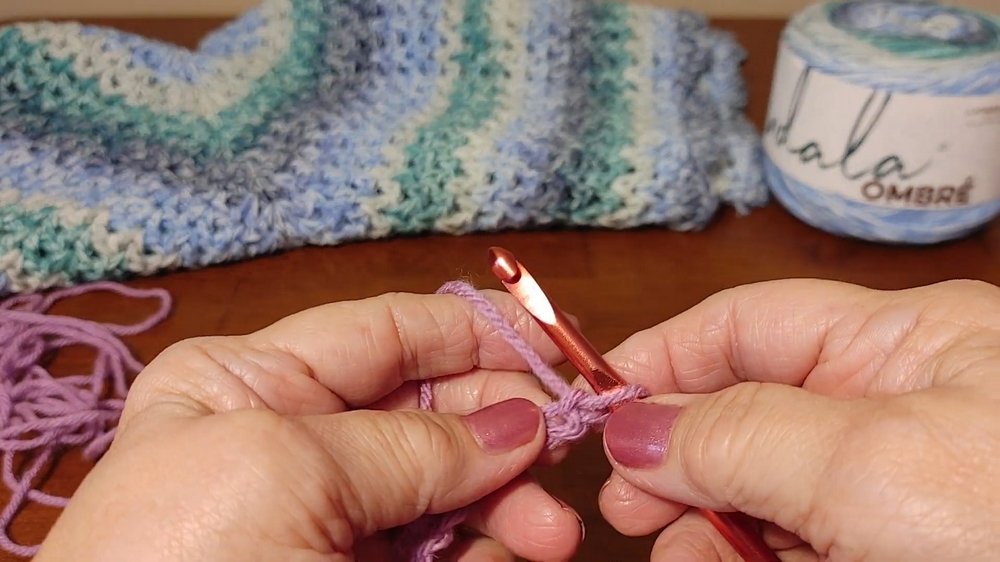
This video tutorial by Jackie from “Chair’s Memories Crochet” explains how to create a beautiful crocheted poncho that is perfect for beginners. The tutorial is detailed and includes step-by-step guidance, suggestions, and helpful tips. The poncho features a scalloped border, puff stitch neckline, and v-stitch pattern throughout, making it not only functional but visually appealing.
Special Features of the Poncho
- First Design by the Creator: Jackie mentions this is the first poncho she has designed, making it a personal and unique tutorial.
- Simple Stitch Patterns: Uses basic crochet techniques like single crochet, double crochet, v-stitch, and puff stitch.
- Beginner-Friendly: Minimal counting and straightforward instructions make it accessible for novice crocheters.
- Scalloped Border: The decorative edge adds an elegant finishing touch.
- Adjustable Length: The tutorial explains how to modify the poncho’s length to suit your height and preference.
- Lightweight Design: Suitable for layering without being overly heavy.
Difficulty Level
Beginner:
The project is designed with simplicity in mind. Jackie specifically explains the techniques in a clear and detailed manner. It’s great for anyone starting their crochet journey while still being enjoyable for experienced crocheters.
Tutor’s Suggestions
- Crochet Hook Size: Use a 5.5mm crochet hook. Adjust only if necessary.
- Yarn Type: A 4-weight yarn is recommended. Jackie used about 2.75 skeins for her poncho.
- Adjust for Height: Jackie advises adding rows if you are taller than her (she’s 5’1″).
- Be Mindful of Neckline Size: Keep in mind that the neckline will stretch slightly due to the weight of the yarn.
- Practice Patience: The final scalloped border may require extra attention to ensure consistency.
Uses and Materials
Materials:
- Crochet Hook: 5.5mm.
- Yarn: Approximately 2.75 skeins of 4-weight yarn in preferred color (Jackie used “Mandra”).
- Scissors: For cutting the yarn upon completion.
- Tapestry Needle: Optional, for weaving in loose ends.
Uses:
- Cold Weather Wear: Provides warmth during chilly seasons.
- Layering: Stylish accessory for indoor or outdoor ensembles.
- Gift: Thoughtful handmade item for friends and family.
Step-by-Step Instructions
Introduction: Create the Neckline
- Start with an Even Number of Chains: Jackie used 40 chains for the demo and 92 chains for her full poncho. Choose based on desired size.
- Slip Stitch to Connect: Join the last chain to the first to form a ring.
- Single Crochet Row: Chain 1 and perform single crochet stitches around the ring. Slip stitch into the first single crochet when complete.
Row 2: Establish Points for Depth
- Create the First Point: Chain 3, double crochet in the same space, chain 2, and perform two double crochets.
- Add Double Crochets: Single crochet until you reach halfway through your total chain count. In Jackie’s demo, she used 19 double crochets after the first point.
- Create Second Point: At the halfway point, perform two double crochets, chain 2, and two double crochets.
- Complete the Row: Continue double crochet stitches for the remaining stitches until you reach the end. Slip stitch into the top of the chain 3.
2
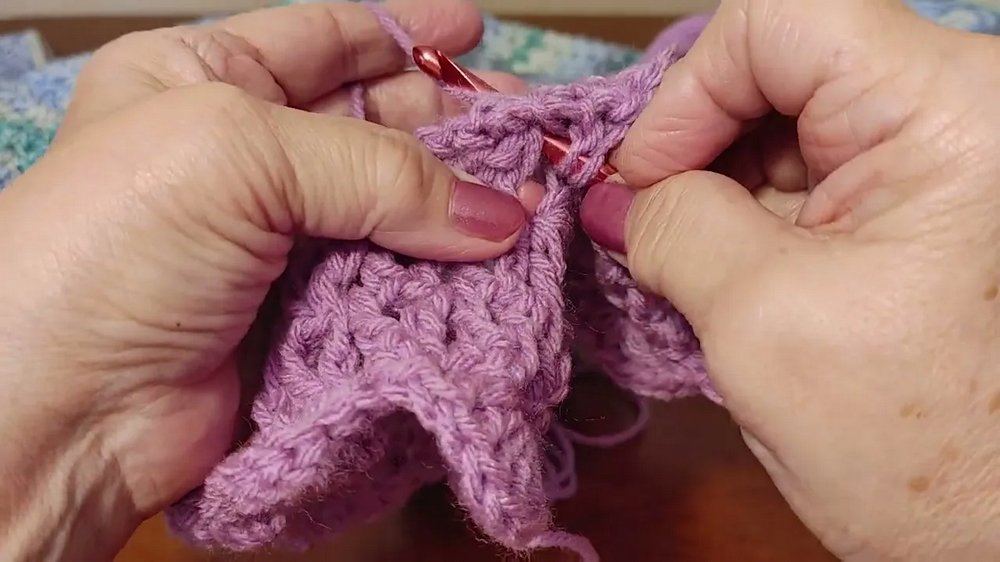
Rows 3-24: V-Stitch Pattern
- Work V-Stitches: Chain 3, double crochet, chain one, and double crochet in every second stitch.
- Maintain Points: At each point (corners), perform two double crochets, chain 2, and two more double crochets.
- Repeat for Desired Length: Follow this pattern for the remaining rows. Jackie completed a total of 24 rows.
3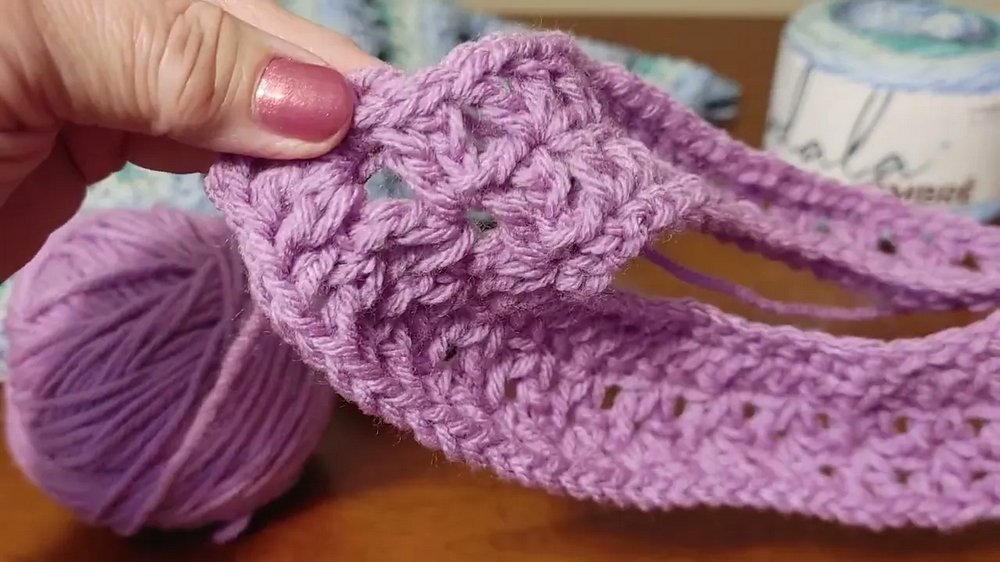
Border
- Foundation Single Crochets: Perform single crochet stitches into v-stitches around the edges. Do three single crochets in each corner.
- Scalloped Edge: Perform a cluster of double crochets (e.g., seven double crochets) spaced evenly. Jackie skipped three stitches between each scalloped cluster. Adjust spacing for desired bulkiness.
Puff Stitch Neckline
- Attach Yarn: Begin at any chain space in the neckline.
- Single Crochets: Perform single crochets all around the neckline until you reach a corner.
- Puff Stitch at Each Point: Yarn over and pull up five loops in the corner space. Yarn over and pull through all loops, then chain 1 to secure.
- Finish Single Crochets: Continue single crochets in the neckline spaces until all points are completed. Slip stitch into the first single crochet and fasten off.
Conclusion: Finishing the Poncho
- Fasten off yarn cleanly and securely.
- Weave in loose ends using a needle or crochet hook.
- Admire your completed work and wear it proudly or gift it to a loved one!
Tip for Success
Practice puff stitches before starting the neckline. Consistent loops will ensure the puff stitches at the neckline look professional and polished.
Final Thoughts
This poncho tutorial is a great opportunity for beginners to develop their crochet skills. The pattern combines functionality and elegance, while providing room for customization. Jackie’s friendly instructions and practical tips make this pattern an enjoyable learning experience. If you’re interested in crocheting wearable items, this poncho is a fantastic project to try!