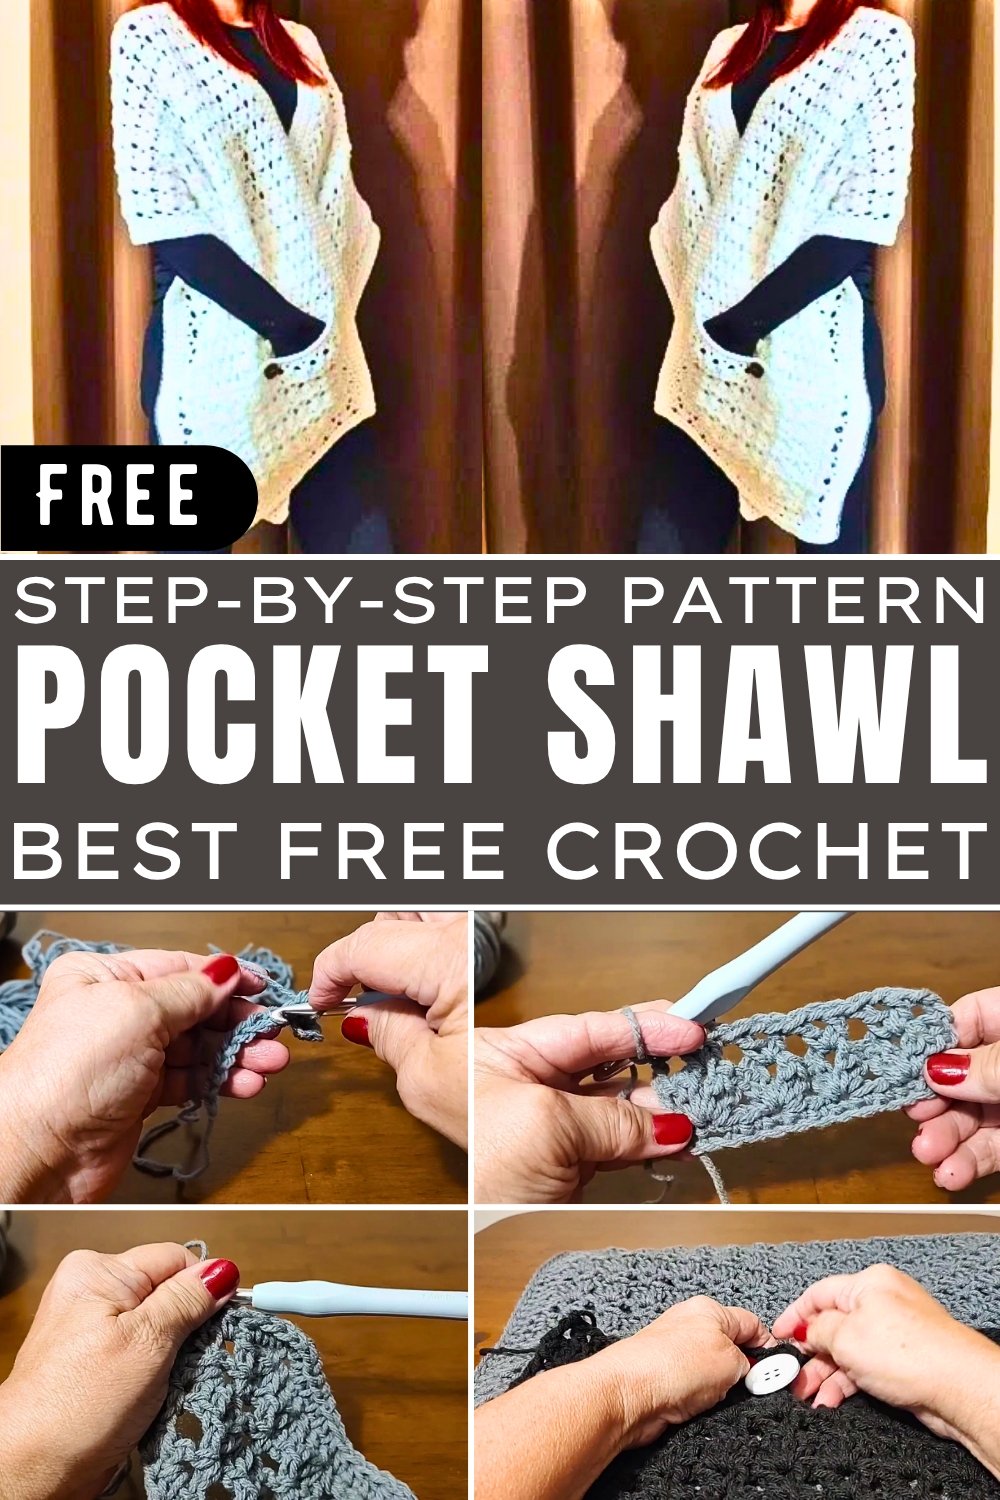
Easy & Stylish Crochet Pocket Shawl Pattern for Fall
Stitch your way to elegance with our Crochet Pocket Shawl Pattern – a stylish design with built-in pockets, combining cozy convenience and timeless charm!
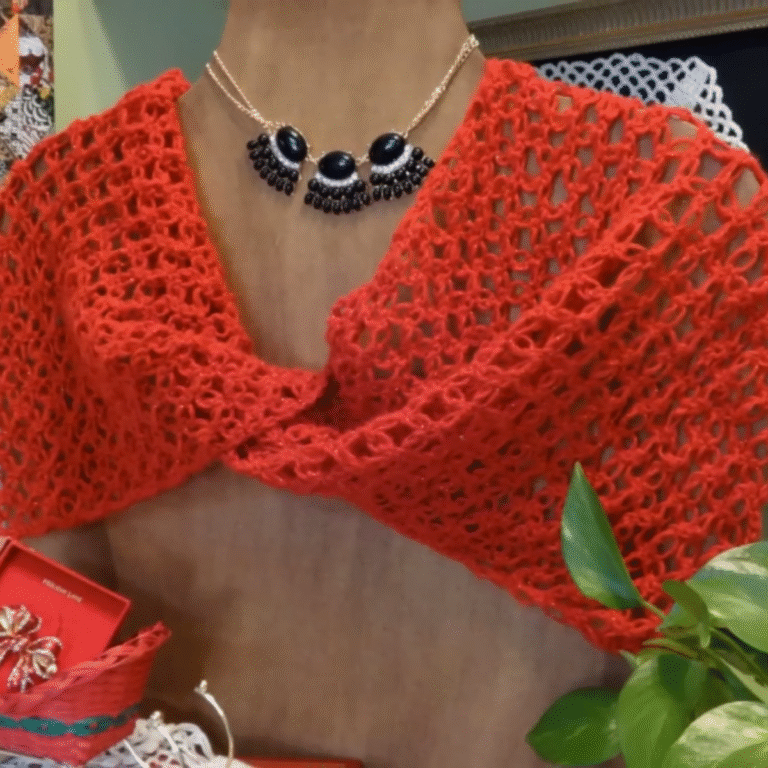
As the weather turns cooler, many turn to timeless accessories to stay warm while adding style to their wardrobe. The Crochet Pocket Shawl is one such treasure, combining functionality with charm in every stitch. Designed with practicality in mind, this shawl not only drapes gracefully over your shoulders but includes pockets to keep your hands cozy or hold essential items like keys, phones, or small trinkets. Whether heading out for a brisk walk or curling up indoors, this shawl serves as the perfect companion for comfort and convenience.
How to Crochet Pocket Shawl Pattern For Beginner’s
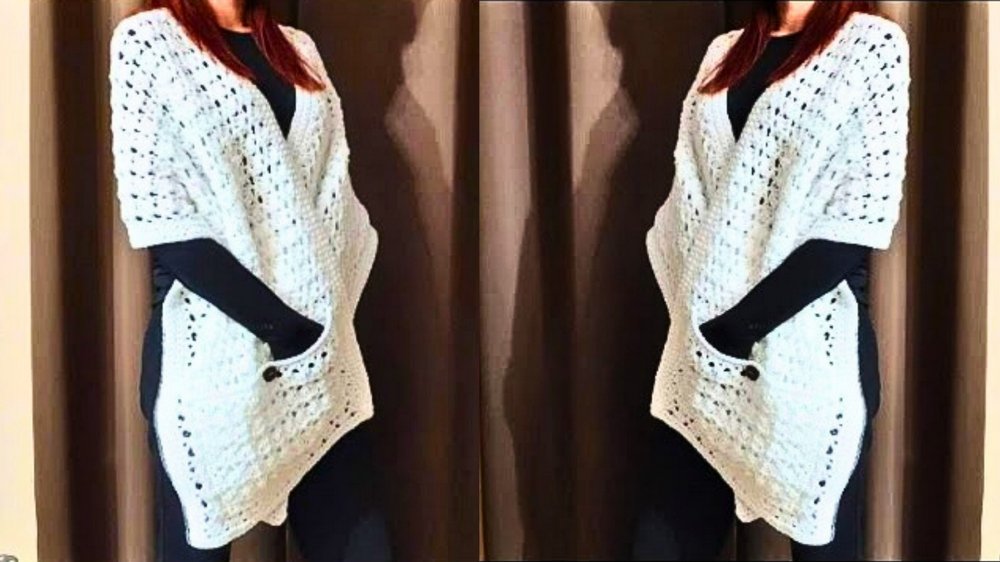
Its versatility extends beyond personal use, making it a thoughtful gift for loved ones. Lightweight yet durable, it offers warmth without bulk and suits a variety of outfits – from casual jeans to elegant dresses. With its texture and aesthetic appeal, this shawl can elevate any look effortlessly.
Moreover, crocheting such pieces fosters a sense of accomplishment and provides a relaxing outlet for self-expression. The Crochet Pocket Shawl proves that style can meet utility without compromise, letting you step out in your own unique design. Whether for its sheer practicality or its artisan beauty, this shawl is an essential accessory for those seeking function wrapped in fabulous design.
Introduction:
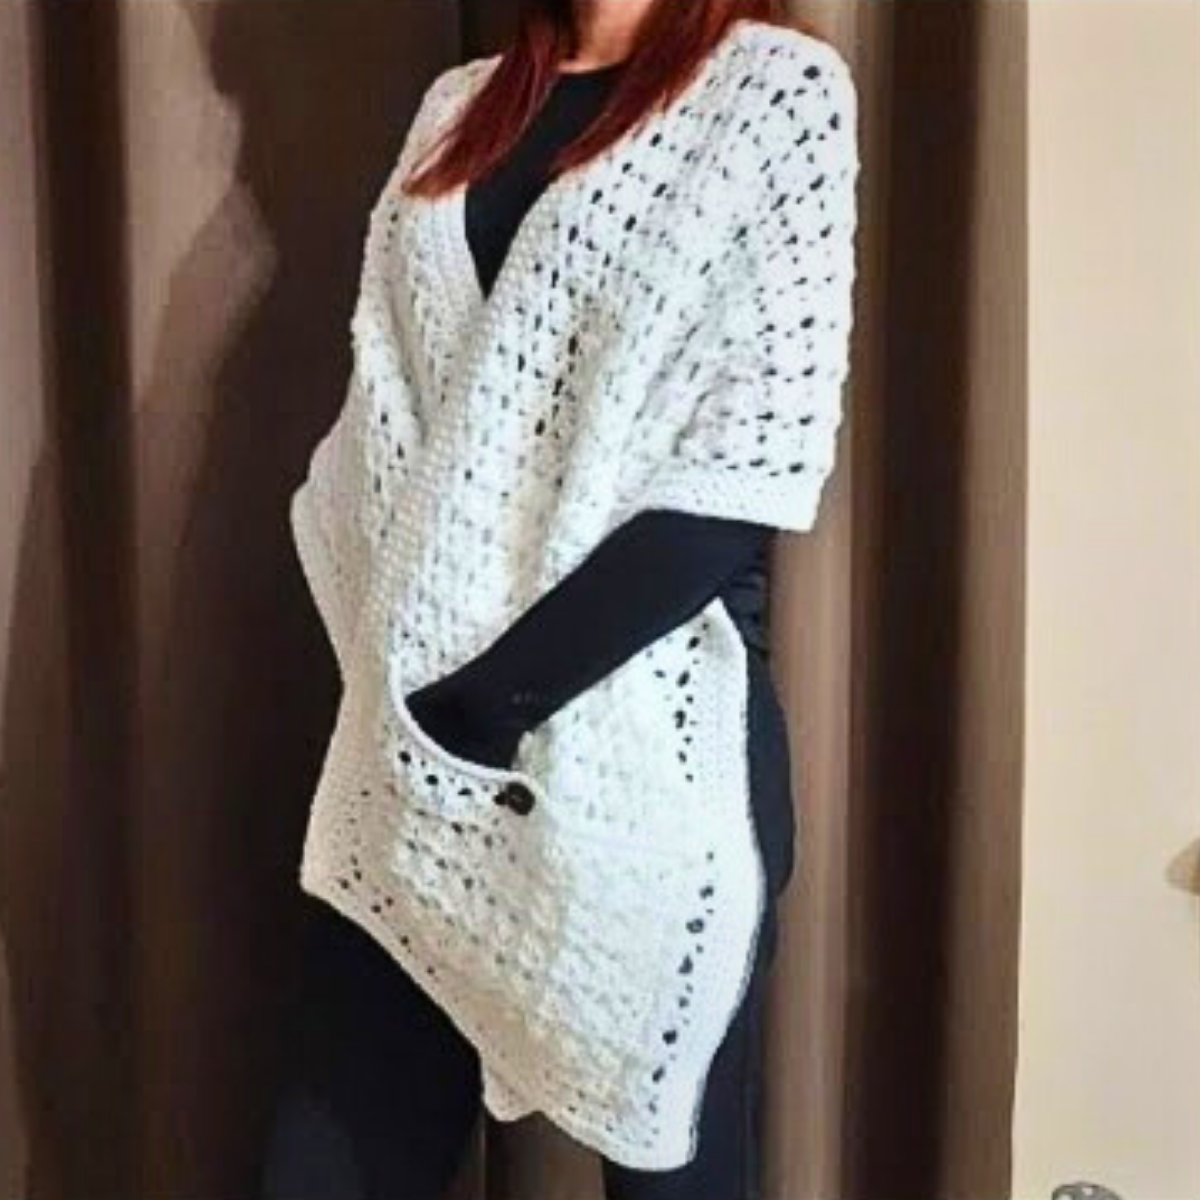
The Serenity Lace Pocket Shawl is a stylish yet simple crochet design, perfect for beginners. This lightweight shawl combines regular V stitches, double V stitches, and half double crochets to create an elegant lace texture. Featuring functional pockets and optional finishing touches like slip-stitched edges and a button closure, this pocket shawl is both practical and beautiful.
Materials Required
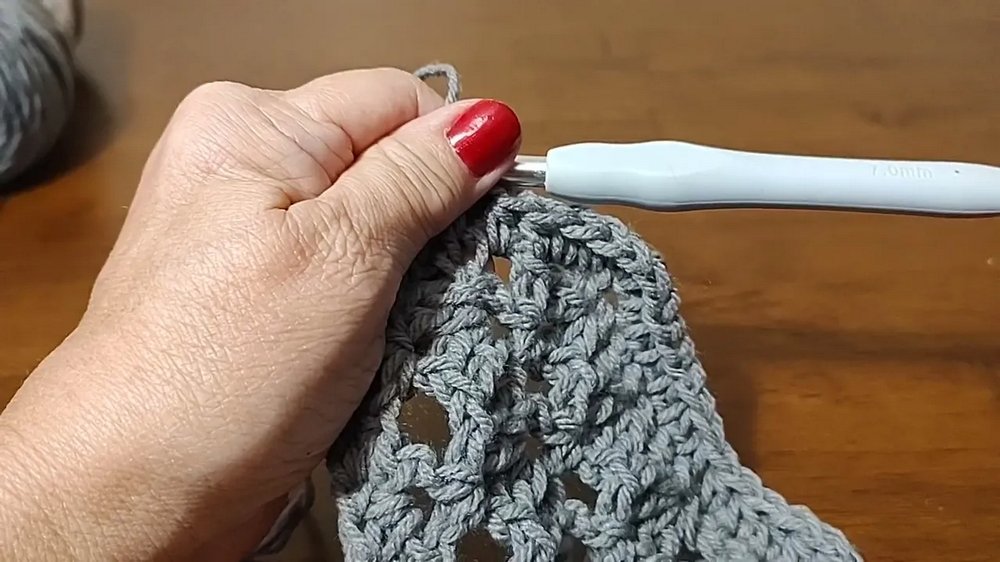
- Hook size: 7 mm crochet hook
- Yarn: Size 4 weight yarn
- Dimensions: Approximately 64 inches long and 16.25–16.5 inches wide (adjustable)
Step-by-Step Instructions
1. Creating the Base Chain
- Chain 39 for the shawl (or adjust depending on desired width; use a multiple of 3).
- For this example, creator worked with 12 chains to demonstrate.
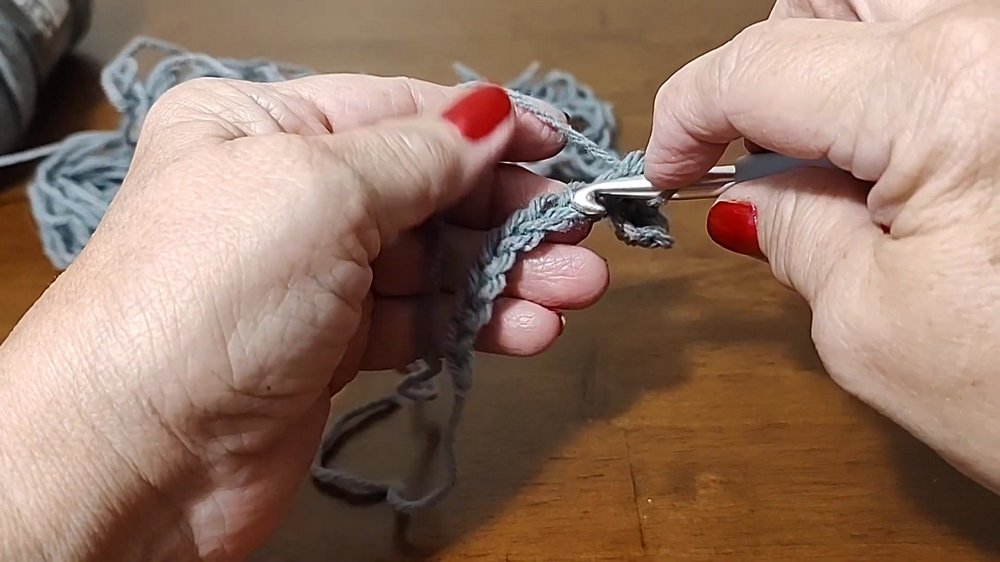
2. Row 0: Single Crochet Foundation
- Chain 1 after completing the base chain.
- Skip the first chain and do single crochet in each chain across.
- For the shawl, you should have 39 single crochets.
3. Row 1: Double V Stitches
- Chain 2 (serves as the first double crochet) and turn your work.
- Skip the first stitch and go to the next stitch to create a Double V Stitch:
- Work 1 double crochet into the stitch, chain 1, then add another double crochet into the same space.
- Skip two stitches, then repeat the Double V Stitch into the third stitch.
- At the end of the row, make a single double crochet in the final stitch.
- You should have 13 Double V Stitches in total.
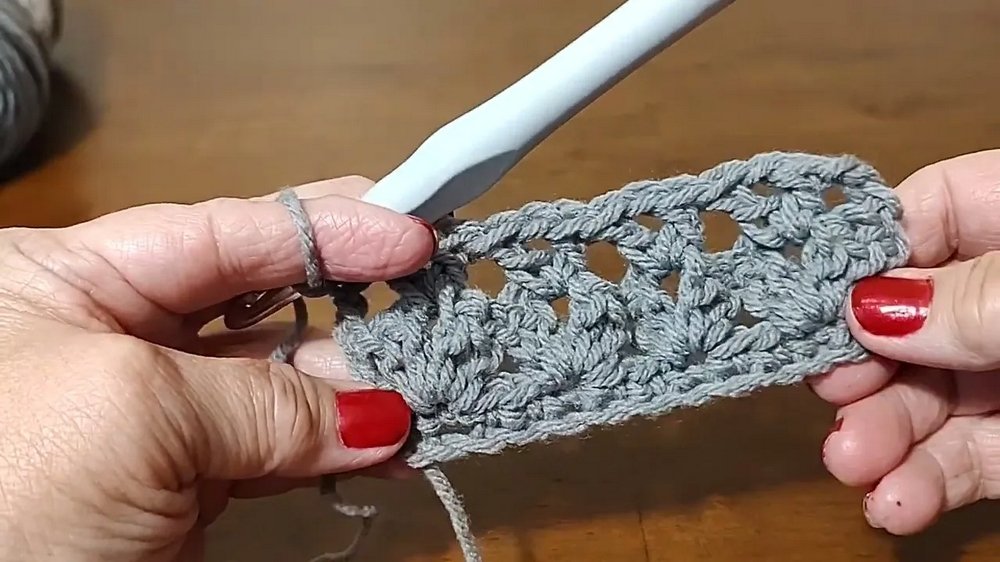
4. Row 2: Regular V Stitches
- Chain 2 and turn your work.
- Skip the first two double crochets. In the chain 1 space of each Double V Stitch, make a Regular V Stitch:
- Work 1 double crochet, chain 1, and add another double crochet into the same chain 1 space.
- Continue across until the end.
- At the final stitch, make 1 double crochet into the top of the chain 2 from the previous row.
- You should have 13 Regular V Stitches in total.
5. Repeat Rows for Desired Length
- Alternate between Double V Stitch rows and Regular V Stitch rows:
- Row 1 (Double V Stitch)
- Row 2 (Regular V Stitch)
- Continue repeating these patterns until the shawl reaches your desired length.
- Jackie created 84 rows, which resulted in a length of 64 inches.
6. Adding a Border
- After completing all rows, add a border for clean edges:
- Row 1: Chain 1, turn your work, and make three half double crochets into the first stitch to form a corner.
- Work two half double crochets in each chain 1 space across the row.
- At the end, chain 2 and make three half double crochets to create another corner.
- Continue working half double crochets along the sides, tops, and bottoms of the shawl, ensuring to add three half double crochets at each corner.
7. Optional Slip-Stitch Edging
- To create a polished finish:
- Slip stitch across every stitch in the border by inserting your hook, pulling up a loop, and slipping it under the existing loop.
- This step adds extra detail but is optional.
Creating the Pocket
1. Pocket Dimension
- Chain 33 plus 1 for the pocket base.
- Complete the same stitch pattern as the shawl, working regular and double V stitches across 11 V stitches per row.
- Make approximately 10 rows.
2. Pocket Border (Optional)
- Add a clean border using single crochet rows and/or slip stitches:
- After completing the rows, chain 1 and go across using single crochets.
- Repeat for two rows, followed by one row of slip stitches for a refined look.
- Fasten off securely.
3. Attaching the Pocket
- Line up the pocket with the shawl:
- Place it so the bottom pocket row aligns with the first row of single crochets on the shawl border.
- Use stitch markers to secure placement before sewing.
- Use a tapestry needle and yarn to sew around the edges.
- Add extra reinforcement at corners by looping through stitches three times.
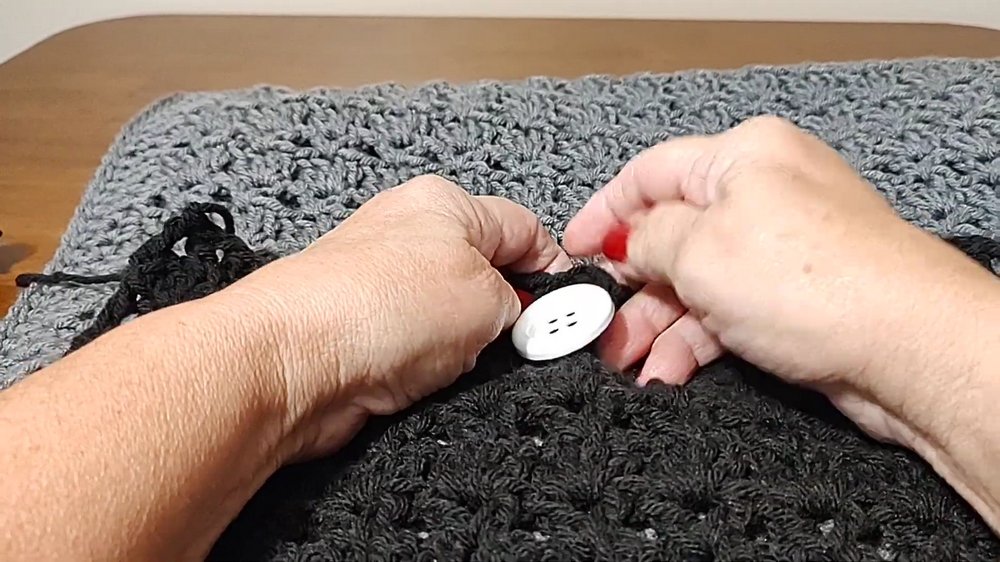
4. Adding Button Closure (Optional)
- Buttons can be added for functionality:
- Position buttons under the sixth V stitch in the pocket rows to ensure they align evenly.
- Sew the buttons using corresponding yarn or thread.
Conclusion
The Serenity Lace Pocket Shawl is a beginner-friendly yet stunning project that combines practicality and style. With flexible dimensions and optional finishing touches like slip-stitch edging, pockets, and button closures, this shawl can be customized according to personal preferences. Whether made short for casual wear or long for elegant draping, this design is sure to become a favorite accessory. Jackie’s simple yet thoughtful walkthrough ensures success for crochet enthusiasts at any level.