Adorable Crochet Pineapple Romper Trend You Can’t Miss
Delight in the beauty of a charming crochet pineapple-themed romper pattern, perfect for girls; offering style, comfort, and customization for any occasion.
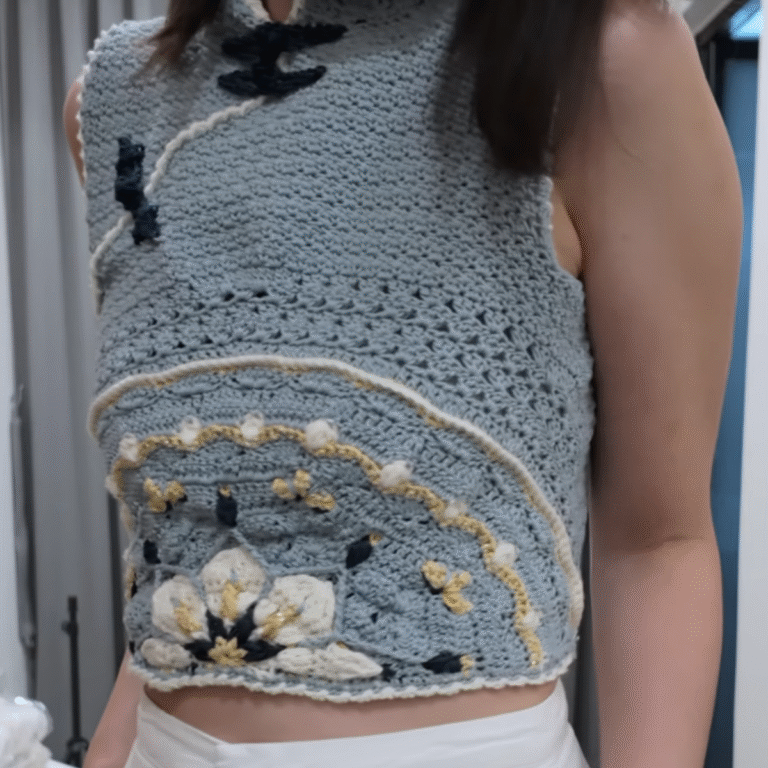
Looking for a standout outfit that blends style with charm? The Free Crochet Pineapple Romper Pattern for girls is a perfect choice. Featuring a lovely pineapple-inspired design, this romper adds elegance and flair to any occasion. Lightweight and breathable, it’s ideal for sunny days, giving wearers the comfort they need while making a fashion statement.
Chic Stylish Crochet Pineapple Romper Pattern

The pattern is simple to follow and allows for color and size adjustments, making it ideal for creating a customized look. This romper is perfect for casual outings, garden parties, or playful photo sessions, showcasing a unique combination of practicality and beauty.
Its intricate details make it a head-turner, while its soft construction ensures ease of movement and durability. Whether made as a heartfelt project for someone special or to brighten up a wardrobe, this pineapple romper captures the spirit of handmade excellence. It’s a delightful fusion of style, effort, and personality, celebrating timeless design with modern relevance.
Introduction
In this beginner-friendly pattern, you’ll learn how to create the top part of a Crochet Pineapple Romper. This elegant design is perfect for anyone looking to crochet a stylish handmade garment with a unique pineapple pattern. creator guides you through the basics of crochet techniques while sharing helpful tips and tricks to keep your work tension-free and neat.
Materials Needed
Before diving into the project, make sure you have the following materials:
- Tapestry Needle: For weaving in ends.
- 4mm Crochet Hook: For working the stitches.
- Pair of Scissors: To cut yarn neatly.
- Acrylic Yarn: Ideal for this project.
 1
1 2
2 3
3 4
4
Steps and Techniques Used
1. Starting the Base
- Make a Slip Knot and chain 5.
- Slip Stitch into the starting chain to form a ring.
- Chain 4 (acts as your first double crochet).
- Yarn over, go into the space to create double crochets with chain spaces.
- Continue until there are 7 double crochets, plus the chain-4 as one double crochet, totaling 8 double crochets.
- Slip stitch into the third chain to close the round.
2. Building the Foundation Row
- Chain 3 (acts as the first double crochet).
- Yarn over, go back into the same space to create a double crochet, chain 2.
- Move to the next available space to make 2 sets of double crochets with chain-2 spaces.
- Repeat this pattern around the round. Slip stitch into the third chain.
3. Creating Shells
Shells are clusters consisting of double crochets and chain spaces:
- Chain 3, yarn over, and create a shell in the current space.
- Chain 1, single crochet, then make additional shells into the corresponding spaces.
- Single crochets are added between shells to define the edges.
4. Working the Pineapple Pattern
The pineapple design is created by combining shells and meshes in a sequence:
- Continue forming shells at the center of previous shells.
- The mesh structure is created with double crochets alternating chain spaces.
- Ensure tension is loose to avoid curling.
5. Increasing Rows
Once the foundation is set, start adding extra rows to build the body:
- Add 8 rows of increases to expand the design.
- Create meshes between shells for a balanced look.
6. Joining Sections
The middle sections of both halves are joined seamlessly:
- Use slip stitches and double crochets to connect shells on both sides.
- Repeat this for each section, ensuring symmetry between connecting points.
7. Adding Shoulder Straps
The shoulder straps feature an alternating pattern of shells and meshes:
- Start by connecting yarn at the designated stitch mark.
- Form shells with chain-4 spaces and mesh segments.
- Repeat for 14 rows (adjust according to your measurement).
8. Completing the Back Section
The back section mimics the same pineapple design as the front.
- Maintain the symmetry by repeating the same techniques (shells and meshes).
- Join the top smoothly across the romper’s back.
9. Crafting Sleeves
- Begin at the armhole with a slip knot and create shells in double crochet clusters.
- Introduce reductions in every 6th round for shaping sleeves.
- Add 7 total reductions, adjusting size to fit your wrist.
10. Final Adjustments
- Ensure edges are neat by slip stitching into the next stitch after rounds.
- Check and weave in ends using the tapestry needle.
- Straighten the work with slight tugging to fix any curl-ups caused by tension.
Conclusion
This Crochet Pineapple Romper (Top Section) is an eye-catching addition to your wardrobe. With the detailed step-by-step pattern, even beginners can successfully complete this project. The elegant shell and mesh design combined with pineapple motifs give this garment a timeless, intricate look. Accessorize or layer it for special occasions!