Chic and Breezy Crochet Sun Hat Pattern for Women
Charge into summer with this chic and breezy crochet sun hat pattern, the perfect accessory for women to stay stylish and comfortable in the sun.
Protecting your skin from the sun while looking effortlessly stylish is not just a priority it’s a necessity during sunny days. A crochet sun hat for women is the perfect accessory that combines practicality and elegance. Designed with a lightweight and breathable structure, this hat provides a cool, comfortable wear even during scorching temperatures, making it suitable for all-day use. The airy design lets you stay fresh while providing much-needed protection against harmful UV rays, ensuring your outdoor experiences remain safe and enjoyable.
Trendsetting Crochet Summer Hat Pattern to Elevate Your Look

What sets this sun hat apart is its versatile appearance. Its chic, breezy design makes it a fashionable pairing with casual summer outfits, beachwear, and even semi-formal outdoor ensembles. Whether you’re taking a walk in the park, enjoying a picnic, lounging at the shore, or attending an afternoon patio party, the crochet sun hat is your trusty companion.
Offering an easy-to-follow pattern, it’s suitable for women who want to try their hand at making their own accessories or simply want a timeless addition to their wardrobe. Beyond style and comfort, this hat represents a blend of purpose and versatility, meeting the demands of leisure, protection, and fashion all in one thoughtfully designed item.
Introduction:
The Hat is a stylish and practical accessory perfect for hot summer weather. This pattern is highly customizable, allowing you to make it snug for windy days or loose to accommodate a full head of hair. The hat combines functionality with a chic design, ensuring you’re both stylish and protected from the sun while enjoying the season.
1. Materials Needed
- Yarn: Mandala yarn in a 3-weight (featured color: “Nifflers”).
- Hook Size: 5mm crochet hook (use a smaller hook size if you’re a loose crocheter).
- Tips: Adjust the fit based on head size or personal preferences (tight for windy days, loose for fuller hairstyles).

Step-by-Step Instructions:
2. Starting the Magic Circle
- Create a magic circle and pull up a loop.
- Chain 2 and place 12 double crochet (DC) inside the magic circle.
- Pull the tail of the circle to close it tightly.
- Find the first stitch and slip stitch (SS) into the top of the first double crochet.

3. Increasing the Crown
- Chain 2, add a double crochet into the same stitch (this marks the final increase).
- In the next stitch, place 2 double crochets (increase).
- Repeat by putting 2 DC in every stitch.
- When you come to the end, add a DC back into the first stitch (at the bottom of the chain 2).
- Slip stitch into the first double crochet.

4. Adding Openwork Spaces
- Row Pattern:
- Chain 2, skip one stitch.
- In the next stitch, add 1 double crochet and chain 2.
- Repeat: Skip one stitch, then place 1 double crochet and chain 2 in the following stitch.
- Next Row:
- Slip stitch into the chain 2 space.
- Add 2 double crochets into the chain 2 space, followed by chain 2.
- Repeat around the row (2 DC + 2 chains in each chain 2 space).

5. Increasing Rows
- Slip stitch twice until you’re in the next chain 2 space.
- Create an increase pattern:
- Add 1 DC, chain 1, and another DC into the same chain 2 space (repeat for all spaces).
- Place regular 2 DC into every chain 2 space between increases.
- Repeat increases based on hat size needs; for larger heads or thicker hair, include more rows of increases.
6. Regular Rows
- Continue crocheting regular rows without increases for approximately two rows. Stop when the top ends about one inch above the ears.
- Adjust the fit before tightening the band.
7. Tightening the Band
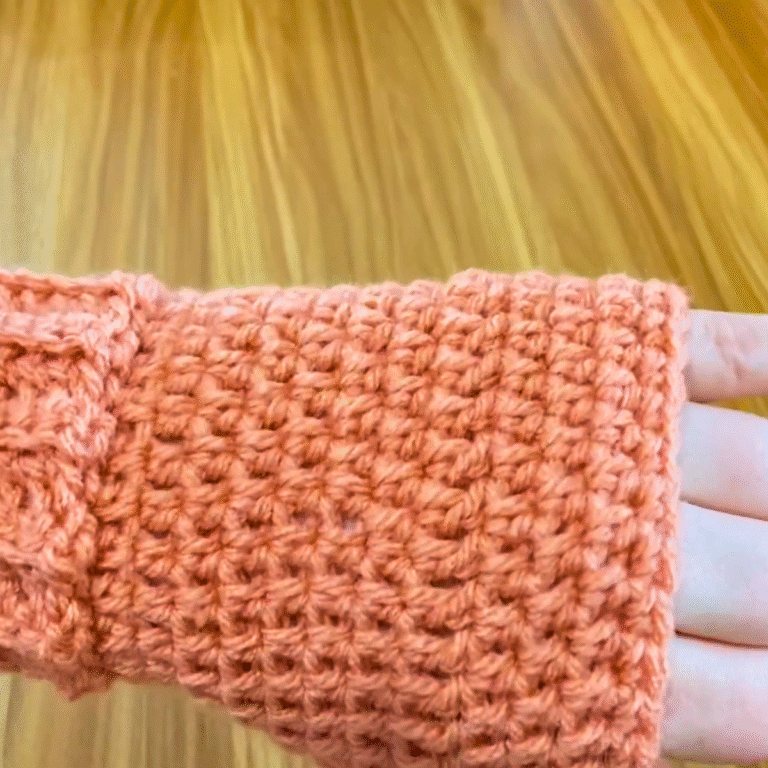
- Single Crochet (SC) Rounds:
- Add either one or two single crochets into each chain 2 space depending on fit preference:
- Loose hat: Put 1 SC into the chain 2 space.
- Tight hat: Add 2 SC into each space.
- Add either one or two single crochets into each chain 2 space depending on fit preference:
- Change colors here for a two-toned design or continue with the same yarn.
8. Decreasing (for a snug fit)
- Start the decrease if needed:
- Insert the hook into the first and second stitches, pull up a loop (3 loops on hook), yarn over, and pull through all 3 loops.
- Place single crochets in between decreases (typically after 8-9 stitches).
9. Adding the Hat Brim
- Ruffled Brim:
- Chain 2, add one DC in the next stitch, followed by 2 DCs into the same stitch. Repeat (1 DC in one stitch, 2 DCs in the next) to create a soft ruffle effect.
- Straight Edge:
- Add 1 DC in every stitch for one row.
- Add another row with increases: (1 DC + 1 DC + 2 DC into the next stitch).
- Finish the brim with a row of single crochet to create a neat edge.

Conclusion:
The Breezy Bucket Hat is a quick and delightful crochet project that offers both practicality and beauty. Its adaptability, from fit to color options, ensures every maker can create a hat to suit their unique style. Whether you’re strolling on the beach, lounging at a garden party, or combatting sunny days, this project combines comfort, UV protection, and flair.


