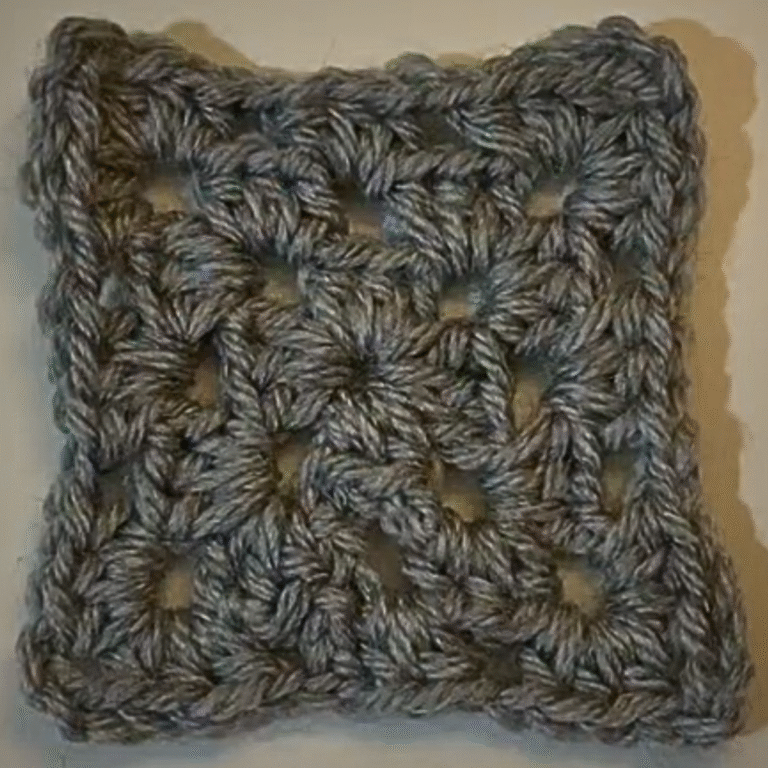
Color-Popping Crochet Granny Square Pattern For Your Projects
Locate vibrant crochet granny square pattern that burst with color, offering endless inspiration to brighten your projects and spark your creativity.
Leftover yarn has long been turned into useful items, but the crochet granny square pattern has grown into something more. Its bold colors and easy stitches make it a favorite for many projects, whether it’s for beginners or those with more experience. This simple square design has become a popular way to add fun and personality to all kinds of handmade items.
Bold and Beautiful Granny Square Pattern That Spark Joy

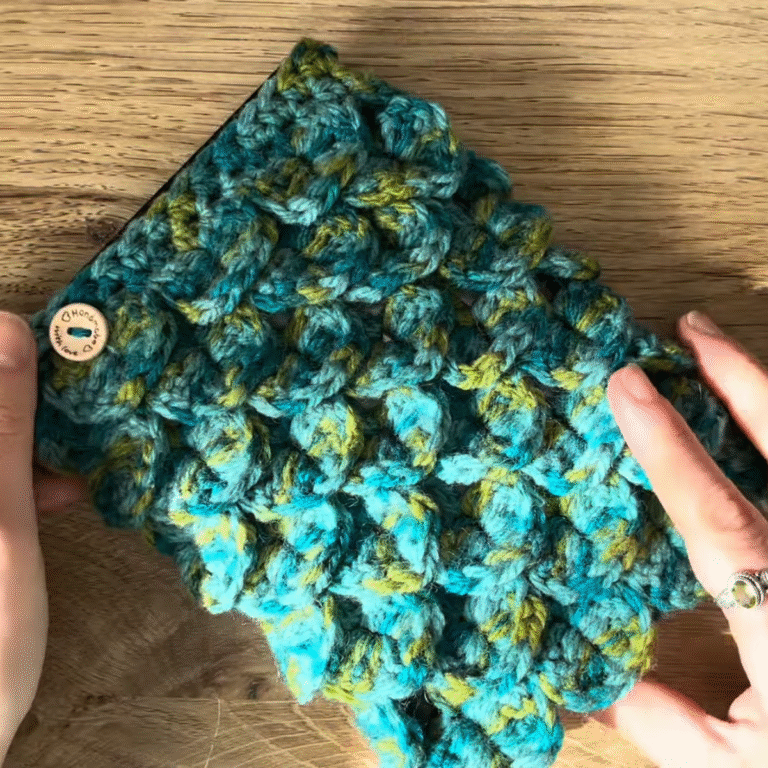
The granny square pattern can be used for many things, like cozy blankets, decorative pillow covers, stylish bags, and even clothing. Its design lets you work piece by piece, making large projects easier to manage. You can pick your favorite colors and create patterns that match your style, giving each item a personal touch.
This crochet work is not just about making useful items; it also offers moments of calm and focus. Stitching colorful squares can be relaxing and enjoyable, making it a great hobby to pick up. When finished, these squares come together to brighten your home or wardrobe with cheerful designs.
Introduction:
Granny squares are versatile, classic crochet designs that can be used to create blankets, bags, clothing, and more! This simple project is perfect for beginners, easy to learn, and a lot of fun. In this step-by-step guide, you’ll learn how to make a granny square using a gradient color pattern. The pattern walks beginners through details on tools, stitches, and techniques to ultimately create beautiful squares with ease.
Materials Needed
- Yarn: Three colors for a gradient pattern (or any color combination of your choice)
- Crochet Hook: 5.5 mm hook (adjust size based on your yarn type)
- Scissors

Step 1: Setting up Your Slip Knot
- Wrap the yarn around two fingers.
- Turn your fingers and grab the back loop over the first finger.
- Pull the working yarn, creating a loop.
- Place the loop onto your crochet hook.
Step 2: Creating the Foundation Chain
- Chain 5 using your hook (yarn over and pull through 5 times).
- Connect the chain into a circle by inserting your hook into the first chain, yarn over, and pull through to form a slip stitch.
- Tighten the circle gently by pulling the tail.

Step 3: Building the Granny Square Base
- Chain 3 (this counts as your first “double crochet”).
- Start your cluster: make two double crochets into the center hole. A cluster is 3 double crochets together.
- Double crochet: Yarn over, insert into the hole, yarn over, pull through, yarn over, pull through two loops, yarn over, pull through the final two loops.
- Chain 1 (to separate clusters).
- Continue making clusters of 3 double crochets into the center hole. You’ll need 4 clusters total with chain 1 between each.
- For added neatness, avoid using overly tight stitches to leave room for inserting the hook easily.

Step 4: Closing the Base Round
- Once you complete your 4 clusters and chain 1, insert your hook into the top of your initial chain 3.
- Create a slip stitch to close the round.
- Tug gently to shape your square’s center.
Step 5: Adding Rows to Your Granny Square
Row 2: Expanding the Square
- Chain 3 at the start of the next round.
- Complete half of a corner in the first chain space by making 2 double crochets into the space.
- Without chaining, move to the next space and create clusters of 3 double crochets. Each corner should have:
- 3 double crochets, chain 1, 3 double crochets.
- Continue this process for all corners and straight edges.
- To end the row, insert your hook into the top of the chain 3 from the previous row, make a slip stitch, and chain 1 to finish.
Row 3 & Beyond: Growing the Square
- Begin each row with a chain 3 and continue with the same process:
- Straight edges will have single clusters (3 double crochets).
- Corners will have 3 double crochets, chain 1, 3 double crochets.
- Keep adding rows until your granny square reaches the desired size.
Step 6: Switching Colors for Each Row
- Cut your current yarn, leaving a long tail (to weave later).
- Create a slip knot with your new color.
- Insert into a different corner space (opposite the previous round’s ending corner). This prevents uneven or “tilted” squares.
- Continue building rows just as before, keeping corners aligned and straight edges consistent.

Step 7: Finishing and Hiding the Tails
- Flip your granny square over and identify the loose yarn tails.
- Weave the tails into the back loops of the clusters:
- Use your hook to guide the yarn through several stitches within the same direction the yarn naturally flows.
- Trim excess yarn after weaving to clean up your square.

Conclusion
Granny squares are a timeless crochet pattern suitable for all skill levels. With just a few simple stitches and some creative color choices, you can create granny squares to fit any project idea. This pattern provides beginner-friendly instructions, ensuring you’ll feel confident tackling your own granny square creations!