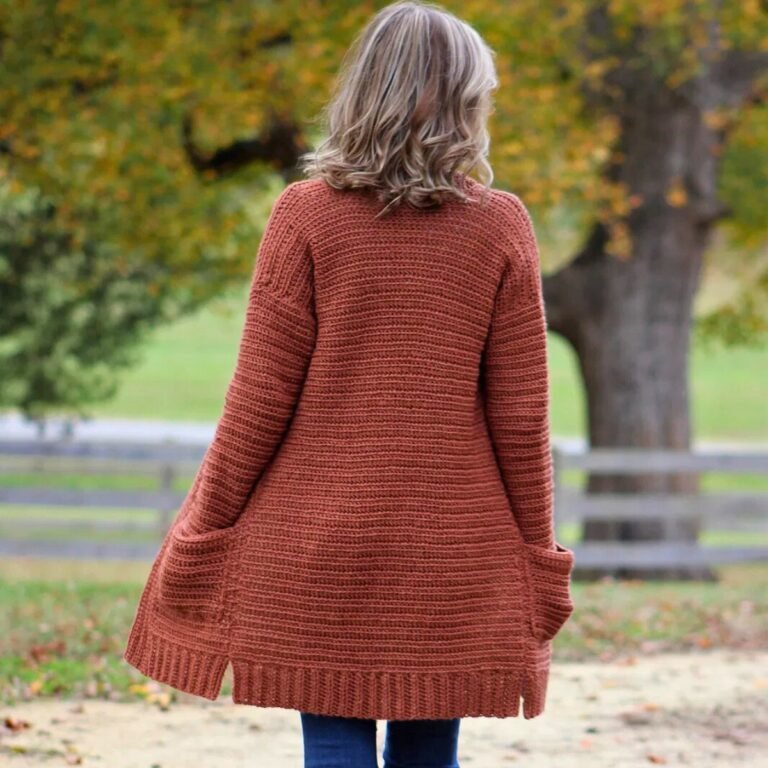
Colorful Crochet Granny Square Vest Pattern for Festival Fashion
Brighten your festival wardrobe with this colorful crochet granny square vest pattern—easy to make, stylish to wear, and perfect for vibrant celebrations.
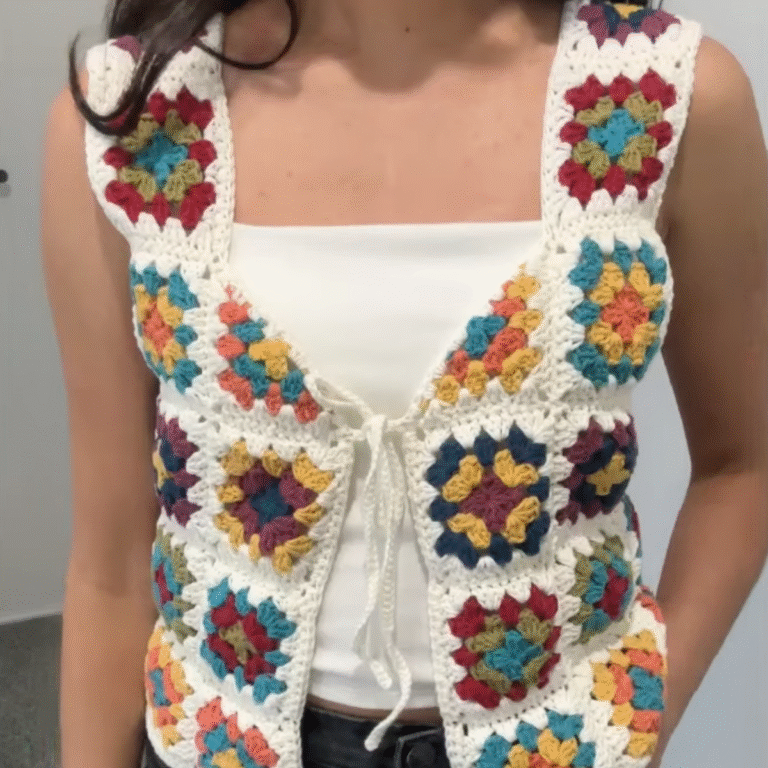
A crochet granny square vest is a creative and functional project that blends timeless crochet techniques with modern fashion. Styled from approximately 38 individual squares, each measuring 4×4 inches, this vest serves as an excellent way to utilize leftover yarn and express personal style through vibrant color combinations. The process incorporates classic crochet stitches, making it suitable for both beginners and experienced crocheters.
Breathable Granny Square Vest Pattern for Warm-Weather

Using an H8 crochet hook and recycled yarn scraps, each granny square begins with a chain loop and slip stitch, followed by structured rows of double crochet stitches to build its iconic design. Once completed, the squares are carefully joined using single crochet seams, ensuring a clean and durable finish.
Ribbing added to the armholes, neckline, and bottom edge enhances the overall structure, offering both comfort and a polished look. Whether intended for festival wear, casual outings, or as a unique addition to your wardrobe, this vest is a versatile piece that celebrates craftsmanship while promoting sustainability.

Step-by-Step Summary of the Granny Square Sweater Vest
This pattern, create a stylish granny square sweater vest using leftover yarn from your stash. The creator’s goal is to inspire sustainable crocheting by repurposing materials. The step-by-step instructions cover crocheting granny squares, assembling them into a vest, and adding ribbing for a polished finish. This project allows for creativity in color combinations and offers flexibility to adapt the design to your measurements.
Materials Needed
- Yarn: Multiple colors, ideally repurposed or leftover yarn.
- Crochet Hook: Choose a size suitable for the yarn weight (the tutor used a size H8 hook).
- Scissors: To cut yarn.
- Measurement Guides: Adjust dimensions and square count based on your sizing (the vest uses approximately 38 granny squares, each 4″ x 4″).
- Optional Tools: Needle for weaving ends.
Step-by-Step Process
1. Creating a Basic Granny Square
- Starting the Square:
- Begin with a slip knot and chain three.
- Form a circle with a slip stitch into the first chain, creating the foundation of the granny square.
- Chain four to start Round 1 (acts as the first “side” and “corner”).

- Round 1:
- In the center of the circle, make clusters of three double crochet stitches to form the “sides.”
- Create corners by chaining two between clusters.
- On the final side, make only two double crochets (instead of three) before slip stitching to complete the square.
- Changing Colors:
- Cut yarn with scissors, pull snugly, and attach a new color with a slip knot.
- Start the new round at the corner opposite from where the previous round ended to keep the square symmetrical.

- Round 2-4:
- Each subsequent round increases the number of clusters per side:
- Round 2: Two clusters per side.
- Round 3: Three clusters per side.
- Round 4: Four clusters per side.
- Continue chaining in corners and weaving ends neatly for a cleaner finish.
- Each subsequent round increases the number of clusters per side:
2. Placement of Squares and Vest Design
- Lay out the squares to form panels for the front and back.
- Each panel consists of 4×4 squares.
- Connect the panels at the shoulders using one square per shoulder seam.
- Use two squares per side seam for a medium-sized vest (adjust as needed).

3. Seaming the Granny Squares
- Use the single crochet seam method:
- Align two squares with their wrong sides facing together.
- Crochet through matching stitches for a flawless look.
- Seam all squares into strips first, then connect the strips horizontally to assemble the vest.
4. Adding Ribbing
- Preparing the Armholes:
- Single crochet around the armhole, skipping one stitch after every three single crochets to reduce the gap size.
- Creating Ribbing Around Armholes:
- Chain four and single crochet back into the previous round’s stitches using only the back loop for a ribbed texture.
- Slip stitch into alternating armhole stitches to create a decrease effect.
- Repeat this process until completing the armhole ribbing.
- Ribbing for the Neckline and Bottom Hem:
- For the neckline, create ribbing in the same manner as the armhole but make it five stitches long for a slightly wider ribbing.
- For the bottom hem, extend the ribbing to seven stitches for greater coverage.

Special Features
- Sustainability Focus: This project promotes using leftover yarn, embracing eco-friendly crafting principles.
- Customizable Design: Adjust the number of squares and ribbing dimensions to fit your measurements.
- Beginner-Friendly Techniques: The use of basic stitches (slip knot, double crochet, single crochet) makes this accessible to crafters at almost any skill level.
Level of Difficulty
This project is suitable for intermediate-level crocheters:
- While granny squares are beginner-friendly, the assembly and ribbing techniques may require moderate experience handling seams and decreases.
Tutor’s Suggestions
- Flexibility in Color Choices: Experiment with yarn combinations to customize the final look.
- Weaving Ends: Weave in ends immediately after completing each square to save time during the final assembly.
- Reduce Gaps: Skip stitches strategically in armhole ribbing to avoid oversized gaps.
Uses
- Fashion Statement: A trendy vest perfect for layering over shirts or dresses.
- Gift Idea: A thoughtful handmade item for loved ones.
- Sustainable Crafting: Great for utilizing leftover yarn and reducing waste.
Tip
When attaching new yarn colors, start at opposite corners—this ensures an even and neat granny square without distortion.
Conclusion
This granny square sweater vest tutorial combines sustainability, creativity, and style for an engaging crochet project. With clear instructions and room for customization, this design is perfect for refreshing your wardrobe or exploring fun, multi-color yarn combinations. Whether you’re an intermediate crocheter or eager to expand your skills, this project provides an enjoyable challenge.