Colorful Granny Square Crochet Pattern You’ll Adore
Bring versatility to your projects with Crochet Granny Square Pattern – easy, stylish, and perfect for blankets, bags, or any creative design!
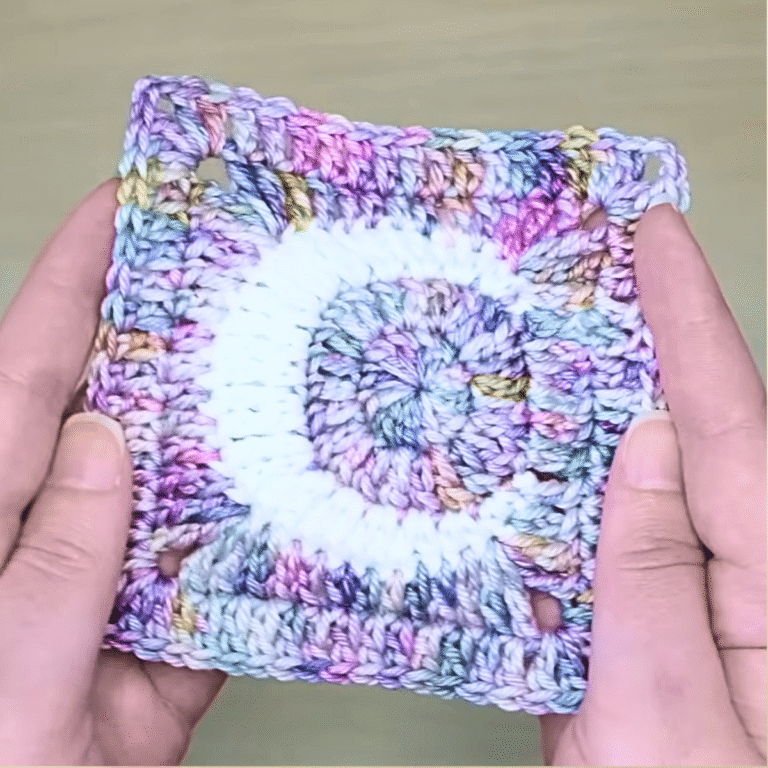
Once considered a symbol of cozy tradition, granny squares have evolved into a versatile and stylish element in modern crochet projects. These charming squares serve as the building blocks for countless designs, ranging from blankets and cushions to bags and clothing items. Their simple construction allows crocheters to mix and match colors, textures, and stitches to create pieces that reflect personal style and creativity.
What makes granny squares truly special is their accessibility. Beginners find them an excellent starting point to practice and refine basic crochet techniques, while seasoned enthusiasts admire their adaptability and limitless potential. Whether used as stand-alone motifs or combined for a larger masterpiece, these squares bring life to any project with their unique visual appeal.
Bright Summer-Inspired Granny Squares to Try!
One of the greatest benefits of mastering granny square tutorials lies in their resourcefulness. They’re perfect for using up leftover yarn, making them a sustainable choice for eco-conscious crafters. Additionally, their repetitive structure offers a calming and meditative crochet experience, making them ideal for relaxation while being productive.
With endless opportunities to personalize designs and experiment with color combinations, granny squares seamlessly blend practicality with artistic expression. Their enduring popularity speaks volumes about their charm and usefulness for crocheters of every level.
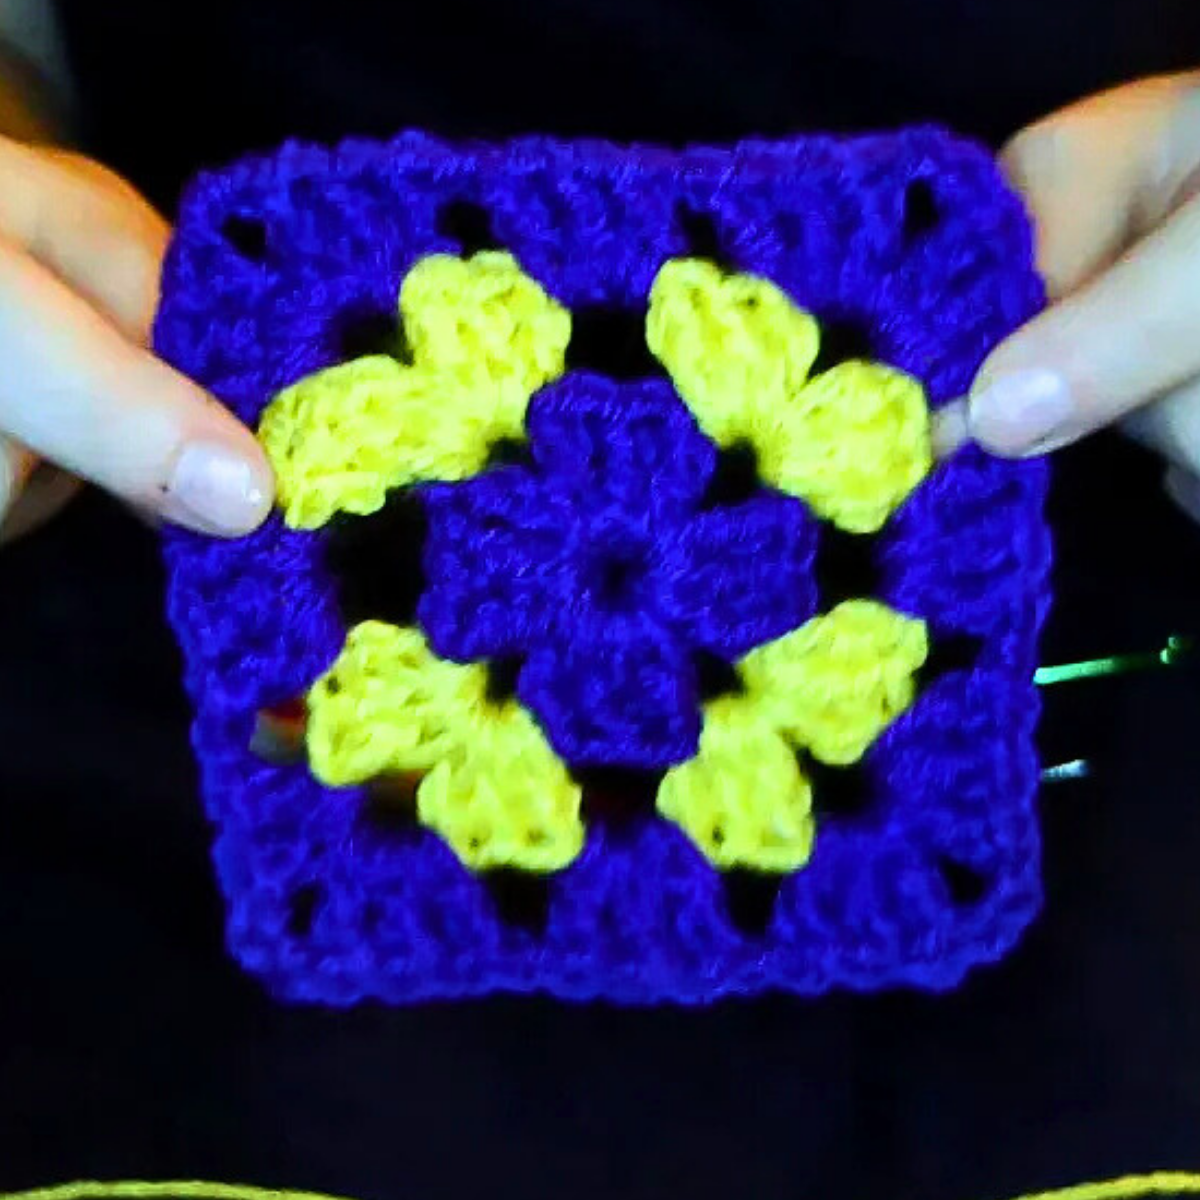
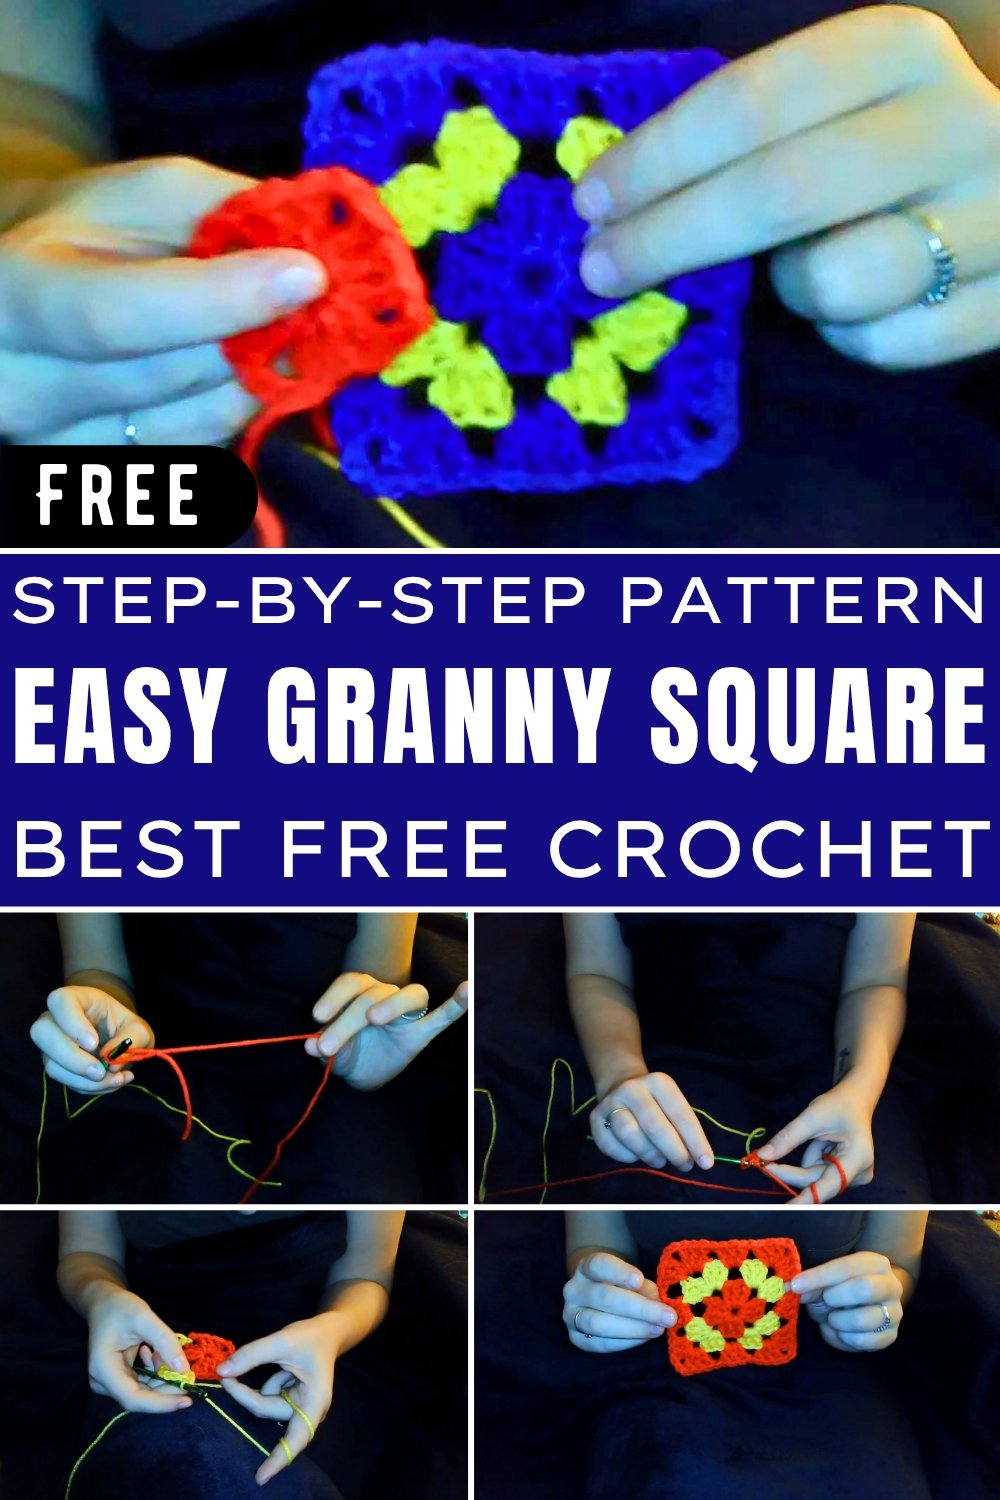
How to Make a Granny Square: Step-by-Step Guide
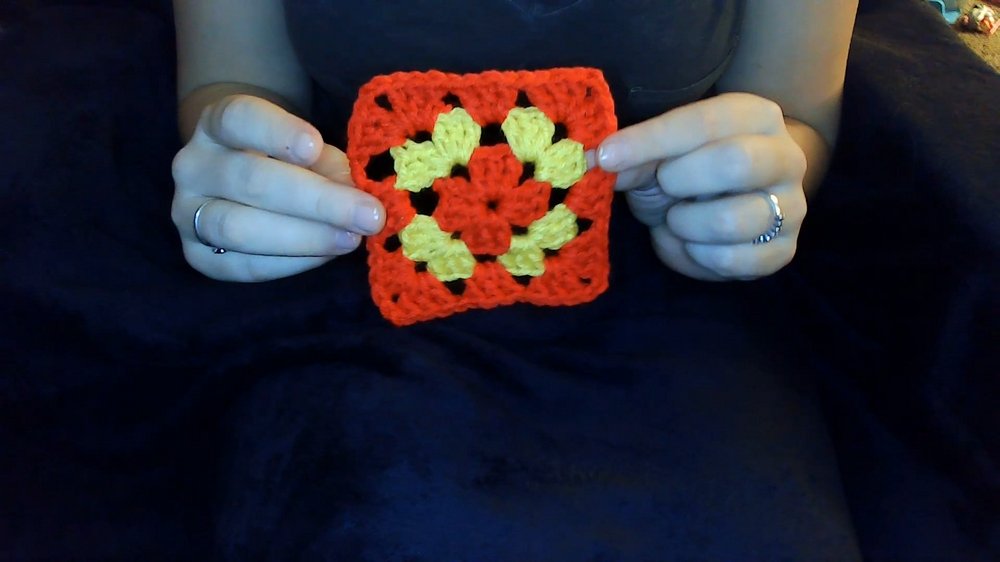
This is a detailed explanation of the steps, materials, and insights from the video “How to Make a Granny Square” by Kelsey. The tutorial focuses on creating a crochet granny square, which is both beginner-friendly and versatile for various projects like blankets. Below are the step-by-step details, along with specific techniques and tips highlighted in the video.
Materials Needed
Kelsey emphasizes gathering these materials before starting:
- Yarn: At least two colors for variety, though more can be added to each layer.
- Crochet Hook: She uses a 5.25 mm (I) hook, which works well with her tension.
- Yarn Needle: For weaving in ends. Metal yarn needles are preferred for threading ease.
- Scissors: Any sharp pair will do, though Kelsey recommends her trusty Amazon scissors.
Step-by-Step Instructions
1. Create a Slip Knot and Begin the Chain
- Select the center color of the granny square.
- Make a slip knot, ensuring the working yarn (attached to the yarn ball) tightens around the hook.
- Chain 4 stitches to form the base.

2. Form a Circle
- Insert the hook into the first chain to form a loop.
- Yarn over and pull through both loops to close the circle.
- This creates the base circle that you’ll crochet into.

3. Create the First Round
- Step 1: Chain 3 stitches (this acts as your first double crochet).
- Step 2: Yarn over, insert the hook into the circle, pull up a loop, and complete a double crochet stitch. Repeat this two more times to complete the first 3-stitch shell.
- Step 3: Chain 2 to form the corner.
- Step 4: Crochet another shell (3 double crochets), followed by a chain of 2. Repeat this process two more times to complete four shells separated by chain-2 spaces.
4. Close the Round
- At the end of the round, slip stitch into the top of the initial chain-3 to close the circle.
- Trim the yarn with scissors and pull the thread tight to secure the round.
5. Add a New Color
- To change colors, attach the new yarn by pulling it through one of the chain-2 spaces.
- Tighten the yarn and chain 4 (this acts as a corner).
- Crochet 3 double crochets into the same space.

6. Crochet the Second Round
- Each corner now consists of 1 shell (3 double crochets) plus chain 2, followed by another shell.
- For side spaces, chain 1 between each shell.
- Continue this pattern for the entire round, alternating between corners and sides.
7. Repeat for Additional Rounds
- Add as many rounds as desired, changing colors if you like. Follow the same corner and side construction.
Special Features of the Granny Square
- Granny squares can be endlessly customized with colors and patterns.
- Simple to learn but can form the basis for large, complex projects.
- Constructed using repetitive patterns, making it easy to memorize and adapt for crochet enthusiasts of all skill levels.
Level of Difficulty
- Beginner-Friendly: Kelsey reassures viewers that the granny square is not intimidating. She considers it a straightforward project, even for those just starting out.
- The repetitive double crochet and chain pattern make it a stress-free introduction to crocheting.
Tutor’s Suggestions and Tips
- Tension Control: Hold the yarn in a manner that’s most comfortable to maintain uniform tension.
- Weaving Ends: Kelsey prefers crocheting over yarn tails while working to save time weaving them in later.
- Be Creative: Experiment with different colors for each round to create vibrant designs.
- Crochet Hook Size: An I/5.25 mm hook works best for this tutorial, but you can adjust based on your preferred yarn and tension.
Uses for Granny Squares
- Combine multiple squares into blankets, scarves, bags, or pillow covers.
- Use a single square as a coaster, dishcloth, or patch for clothing.
Materials Recap
- Yarn (multiple colors if desired).
- Crochet Hook (I/5.25 mm recommended).
- Yarn Needle.
- Scissors.
Conclusion
The granny square is a true crochet classic with endless versatility. Kelsey concludes by encouraging viewers to keep practicing and experiment with colors, as the process gets easier with time. Once you master the basic square, you can expand your creations into beautiful handmade items for yourself or as thoughtful gifts.
Bonus Tip
When transitioning to a new color, secure the knot firmly but avoid cutting the yarn too close to avoid unraveling. Always weave in the ends neatly for a polished and durable finish.