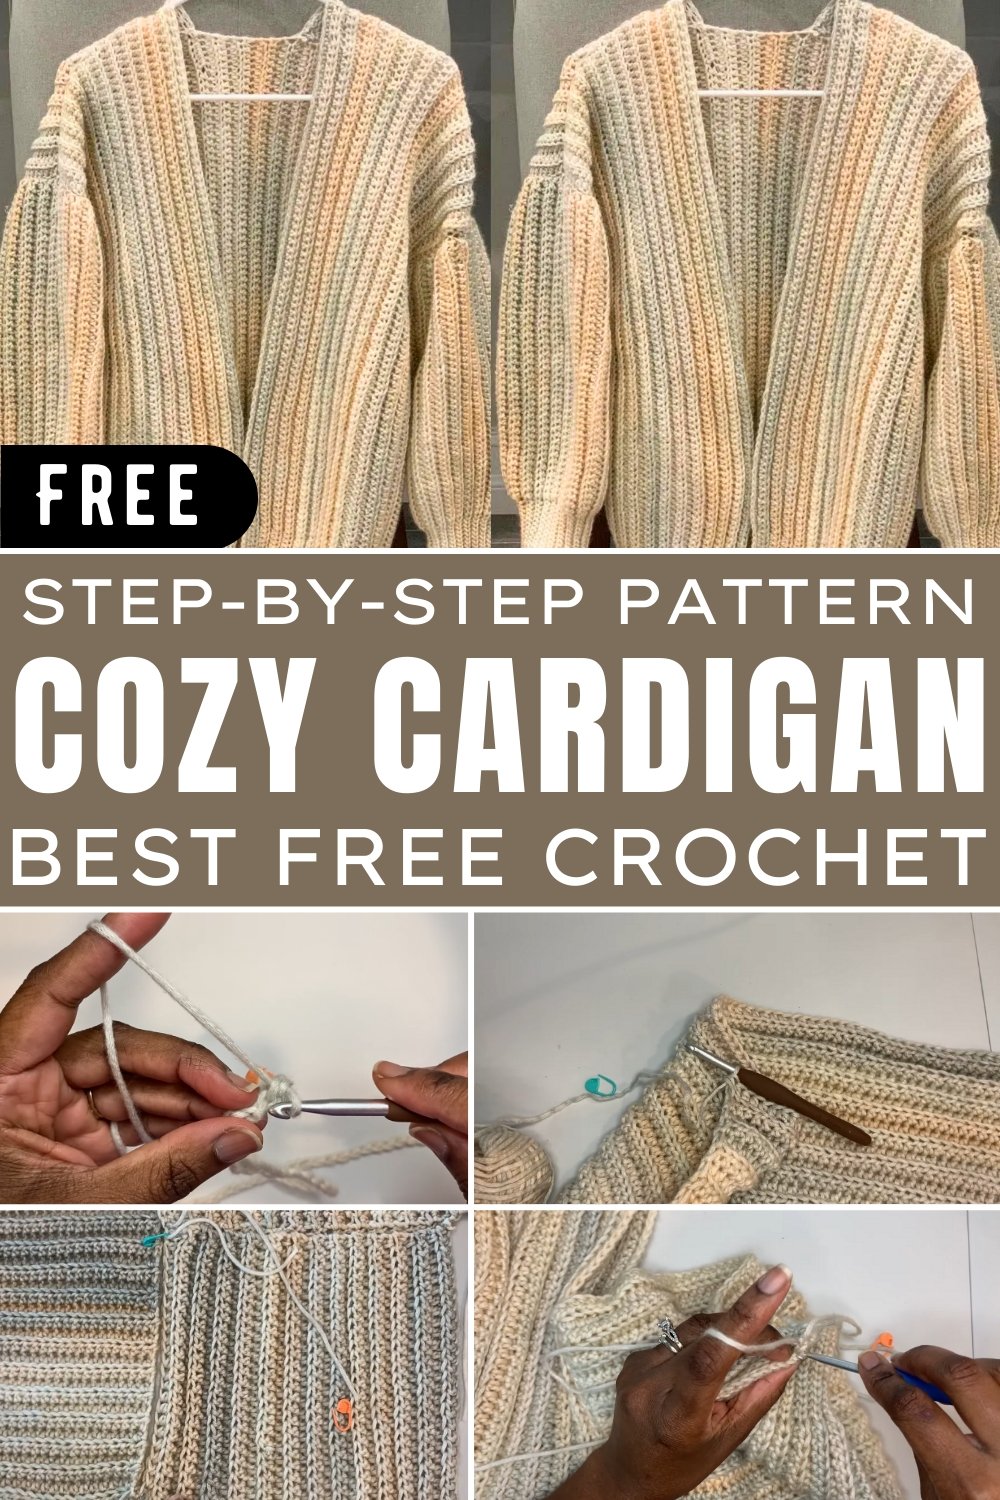
Detailed Crochet Cardigan Pattern To Sprinkle Some Style
Show off your creativity with stunning crochet cardigan pattern that blend comfort and style, perfect for all skill levels and unique wardrobe flair!
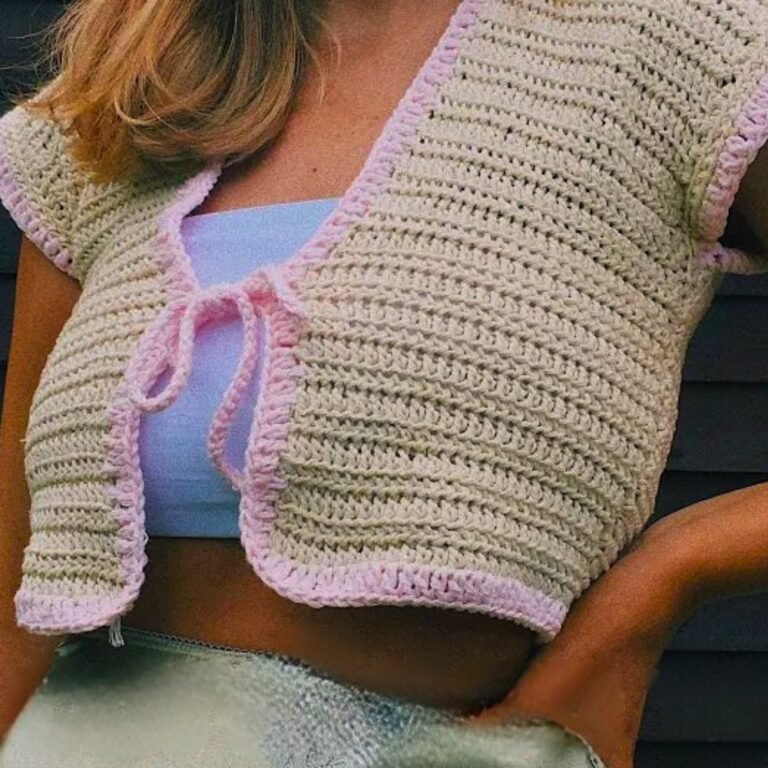
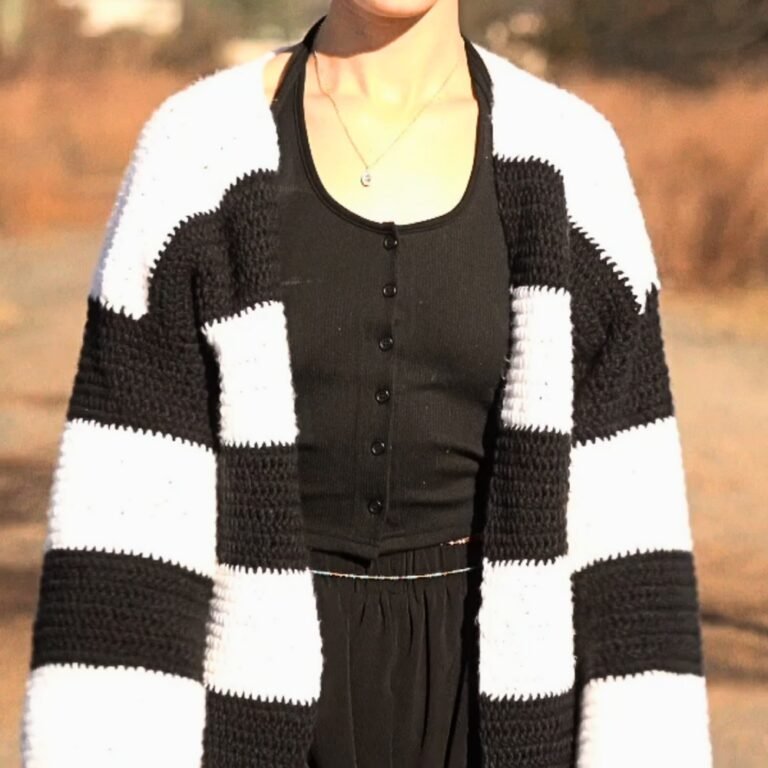
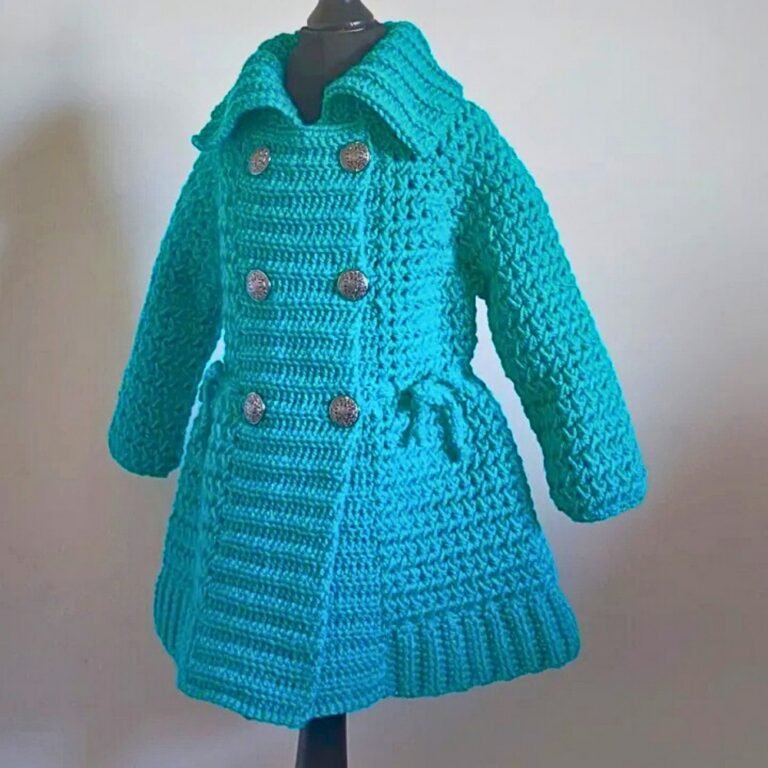
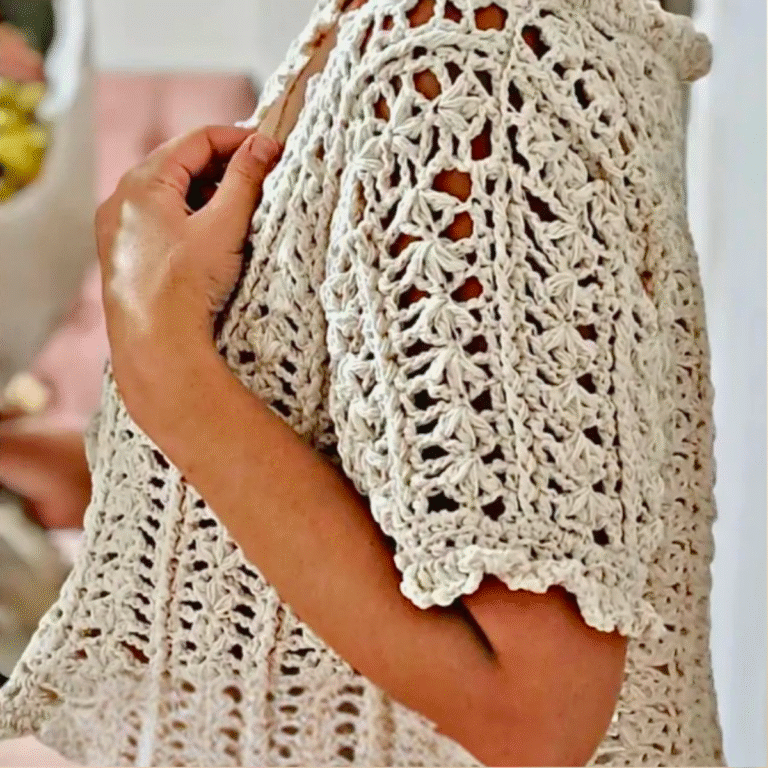
What a beautiful way to combine creativity and practicality! Crochet cardigan pattern offer endless opportunities to design stylish and comfortable garments that suit every season. With the freedom to choose colors, textures, and intricate designs, these cardigans effortlessly become a reflection of individuality and personal taste.
Cozy and Comfortable Crochet Cardigan Pattern – Simple Step
It’s a lightweight piece for summer evenings or a cozy layer for winter chill, their adaptability ensures they fit seamlessly into any wardrobe. The benefits extend beyond fashion. Working on crochet cardigan pattern provides relaxation, improves focus, and sharpens hand-eye coordination, making it an enriching hobby.
These handmade garments also carry sentimental value, becoming cherished keepsakes or thoughtful gifts for loved ones. From casual outings to layering for formal gatherings, crochet cardigans add charm and warmth to every ensemble. With a combination of style, functionality, and emotional significance, they truly stand as timeless creations for makers and wearers alike.
Introduction
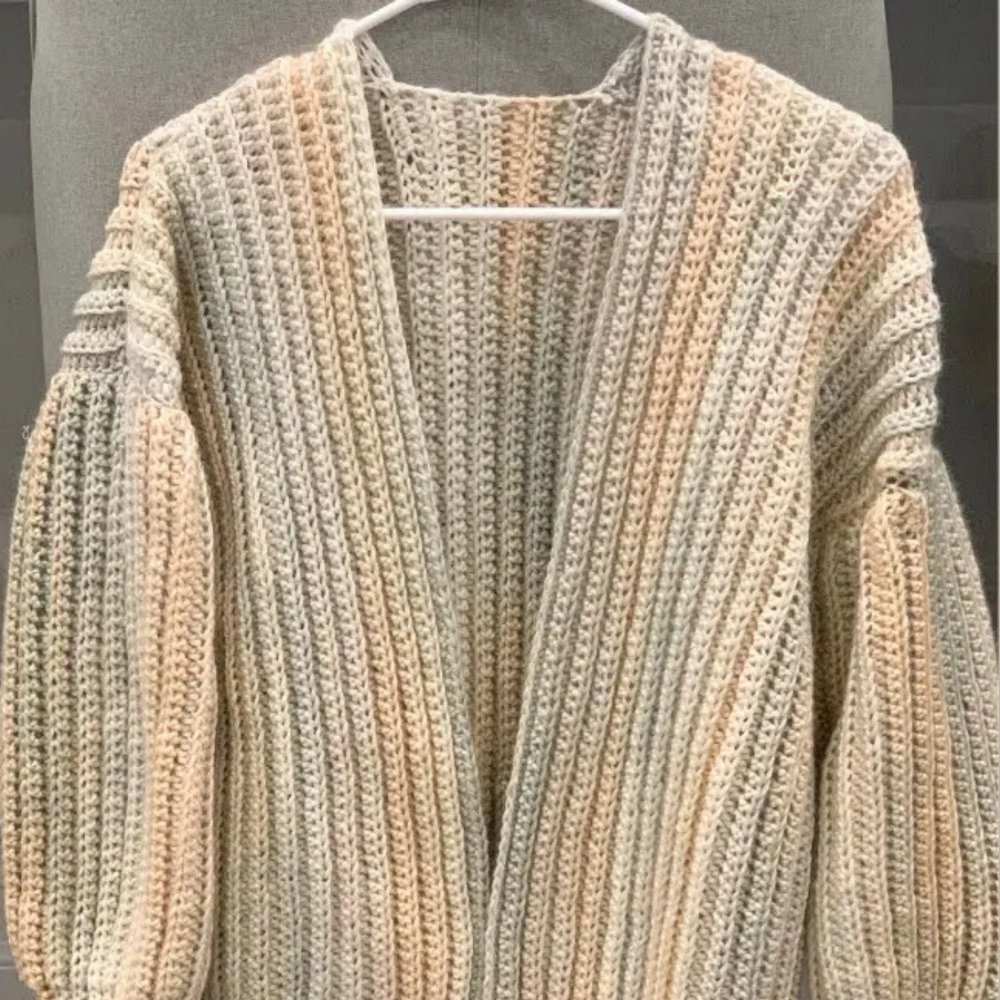
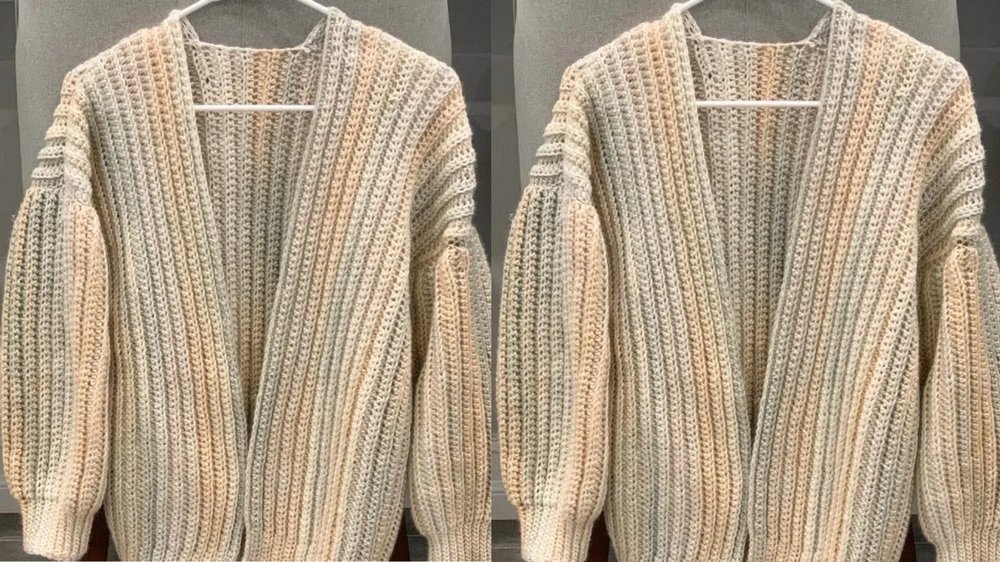
This pattern walks you through creating a simple, customizable crochet cardigan designed to fit all sizes, thanks to its “made-to-measure” approach. Using slip stitches for ribbing and half double crochet stitches for the body, the cardigan offers a perfect balance of comfort and style.
Materials Needed
- Yarn: Two skeins of Caron Blossom Cakes yarn, medium-4 weight, cotton blend in “Yak Club” color.
- Hook: 6mm crochet hook (recommended hook size is 5mm).
- Tools:
- Darning needle
- Scissors
- Stitch markers
- Measuring tape
Crochet Cardigan Step-by-Step Guide
Cardigan Overview
This cardigan is worked in five separate panels:
- Back Panel: The largest section forming the base of the design.
- Two Front Panels: Smaller panels making up the front pieces.
- Two Sleeves: Attached perpendicular to the main panels.
Step-by-Step Instructions
1. Back Panel
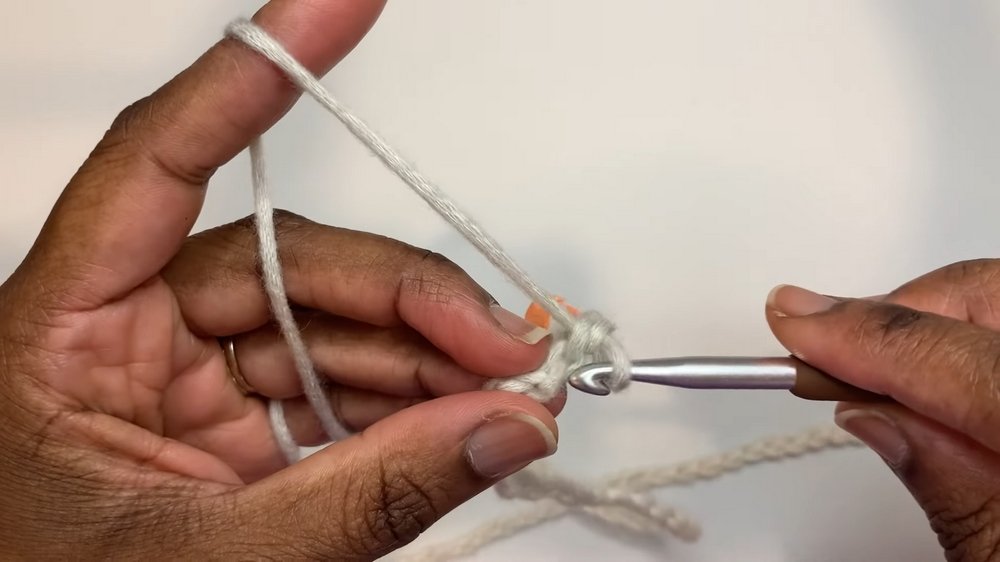
- Foundation Chain: Create a slip knot and chain 90. This length determines your cardigan size.
- Row 1:
- Insert the hook into the back bump of the second chain from the hook.
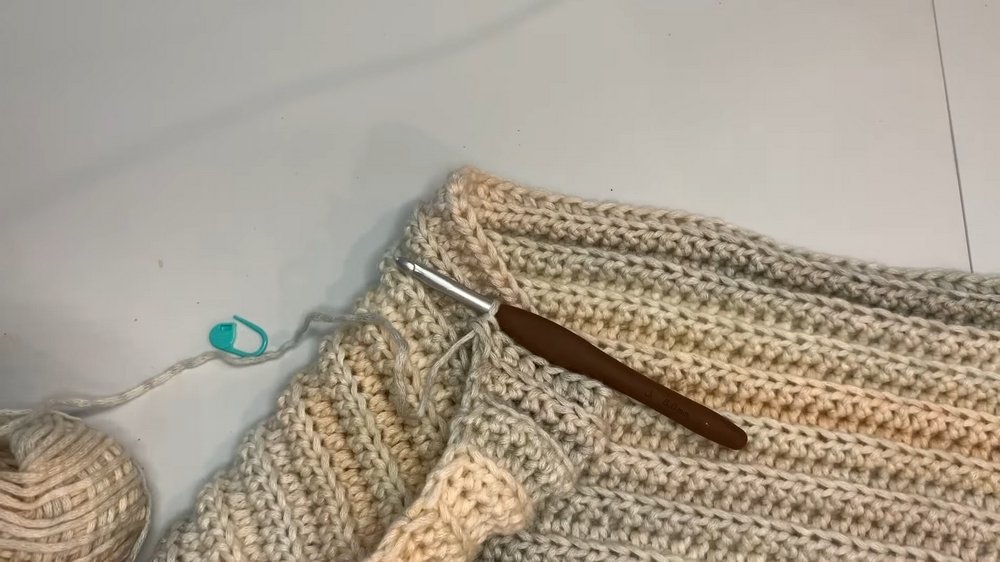
- Work 12 slip stitches (to create ribbing). Use a stitch marker to mark the first stitch.
- Follow with 77 half double crochets in the back bump of the foundation chain.
- Row 2:
- No turning chain. Work a half double crochet in the first stitch and use a stitch marker to mark it.
- Work half double crochets across the row (89 stitches total).
- Rows 3–60: Alternate between rows of ribbing (12 slip stitches, then 77 half double crochets) and plain half double crochets. Complete 60 rows in total.
- Finishing: Cut the yarn, fasten off, and set the panel aside.
2. First Front Panel
- Foundation Chain: Start with a slip knot and chain 90 (same length as the back panel).
- Row 1:
- Work 12 slip stitches (ribbing), marking the first and last slip stitches with stitch markers.
- Follow with 77 half double crochets.
- Row 2:
- No turning chain. Work half double crochets across the row (89 stitches total).
- Rows 3–26: Alternate between ribbing rows (Row 1 pattern) and plain half double crochet rows (Row 2 pattern).
- Finishing: Fasten off once 26 rows are completed.
3. Second Front Panel
Follow the same instructions as the first front panel to create a mirror image.
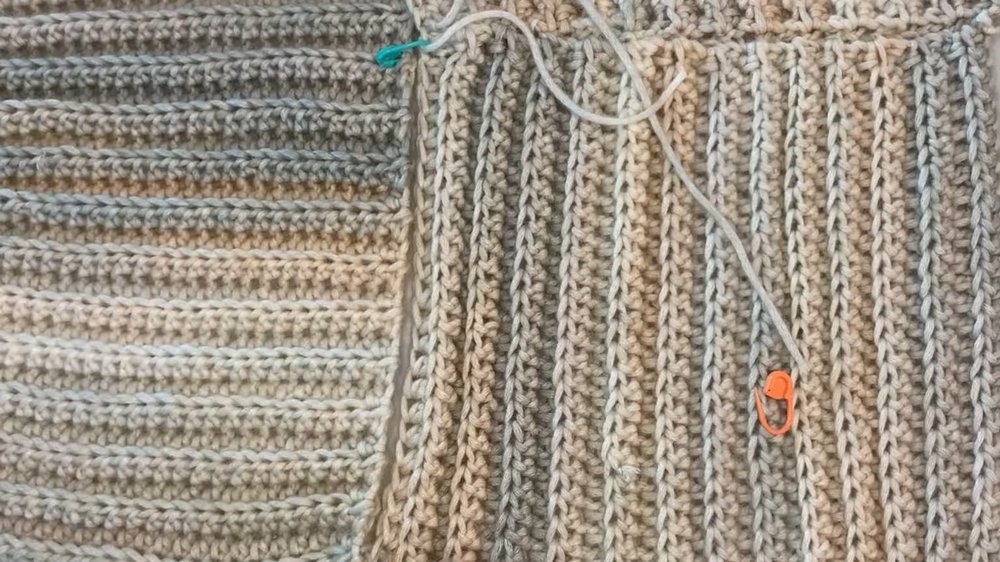
4. Joining the Panels
- Placement: Lay the back panel flat with the wrong side up. Position the two front panels on top of the back panel.
- Shoulder Seams:
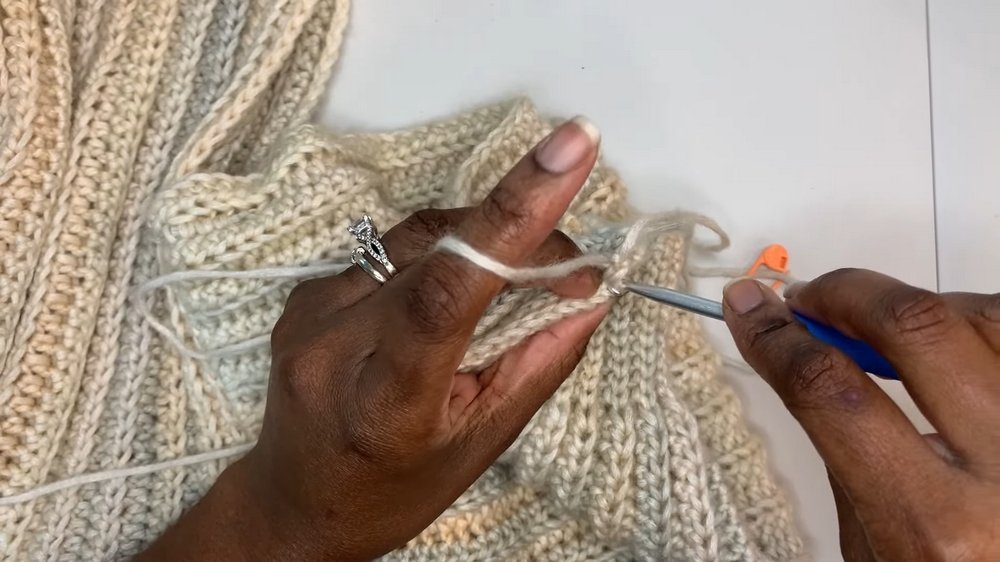
- Join the panels at the shoulders using the whip stitch method.
- Thread a darning needle with yarn and sew through the edges of the stitches.
5. Sleeves
- Foundation Chain: Begin with a slip knot and chain 59 (length of the sleeve).
- Row 1:
- Work 12 slip stitches for ribbing and follow with 46 half double crochets.
- Mark ribbing and alternate between slip-stitch rows and plain half double crochet rows.
- Rows 2–42: Repeat the pattern until 42 rows are completed for the sleeve.
- Second Sleeve: Create an exact copy of the first sleeve.
6. Attaching Sleeves
- Positioning: Place each sleeve perpendicular to the edge of the assembled panels.
- Joining: Use the mattress stitch method to attach the sleeves to the back and front panels.
7. Joining the Sides
- Start at Sleeve: Use slip stitches to seam the sleeve to the cardigan’s body, working your way down to the bottom hem.
- Finish the Other Side: Repeat for the second sleeve and side.
8. Optional Border
If desired, add a border around the neckline of the cardigan using single or half double crochet stitches.
Conclusion
This versatile cardigan is easy to make and fully customizable by adjusting the foundation chain length and row count. The elegant ribbing detail adds a polished look, while the alternating slip stitch and half double crochet rows create a comfortable and durable texture. Once completed, you’ll have a lovely handmade piece you can wear with pride!