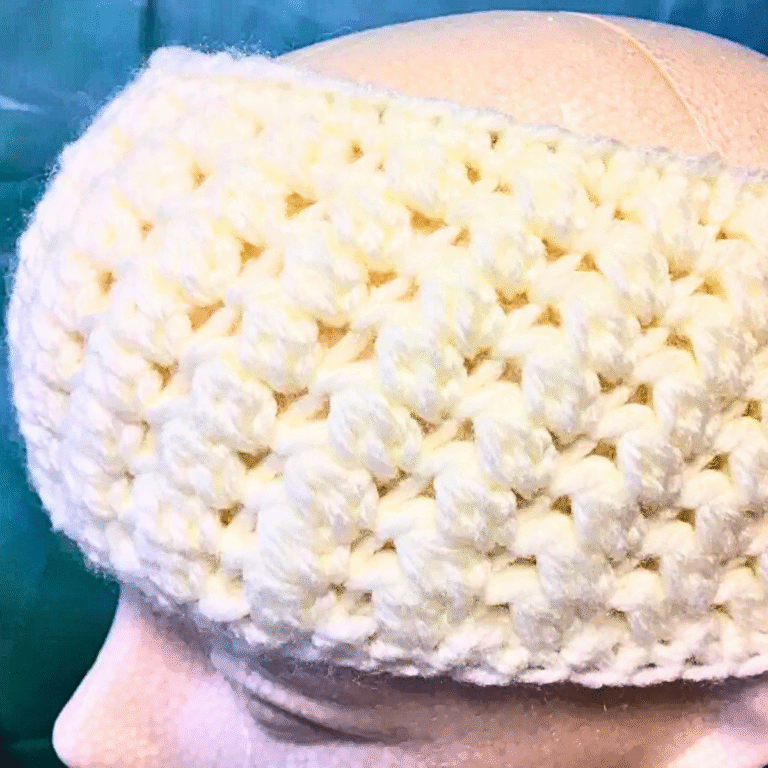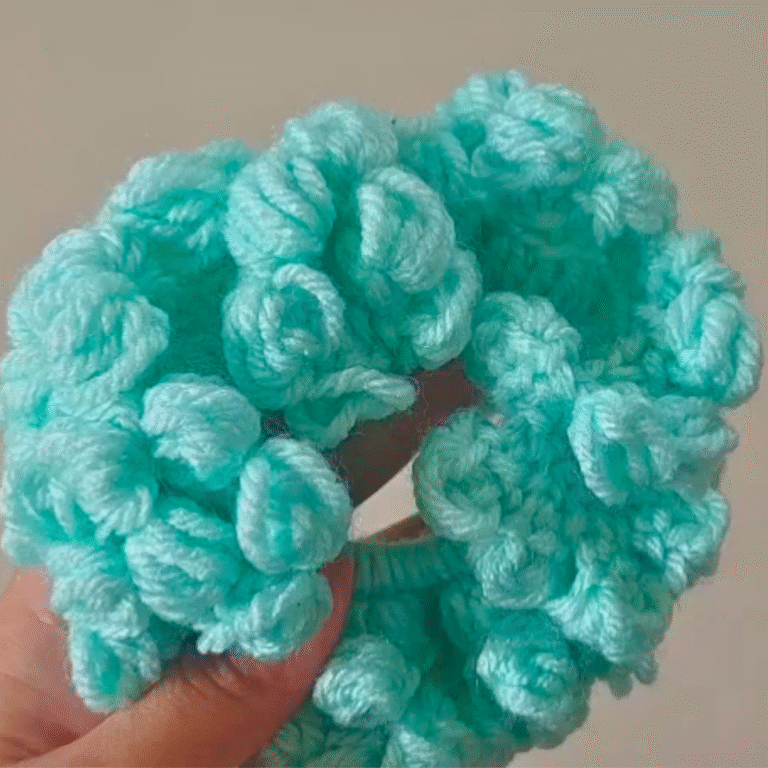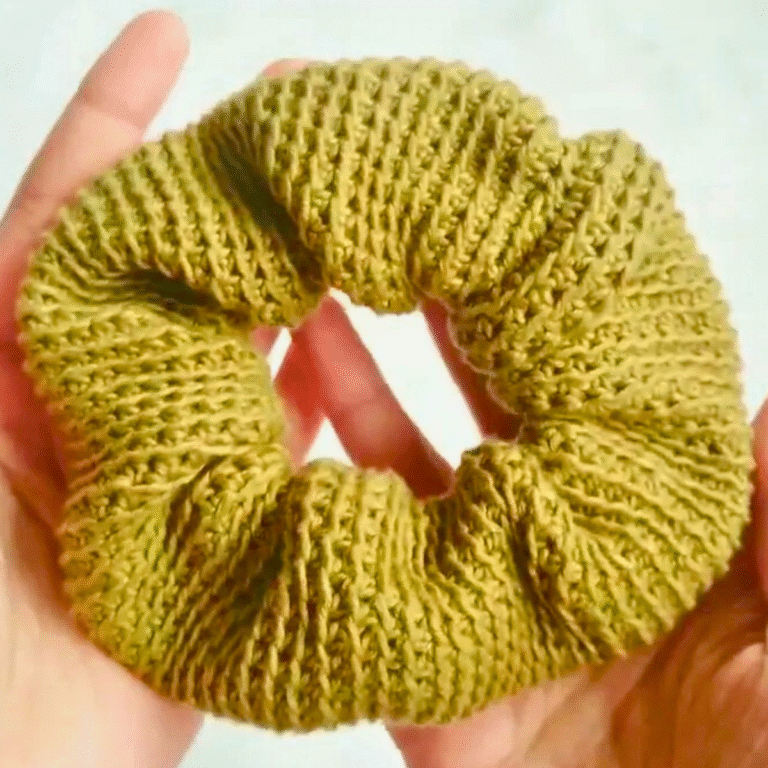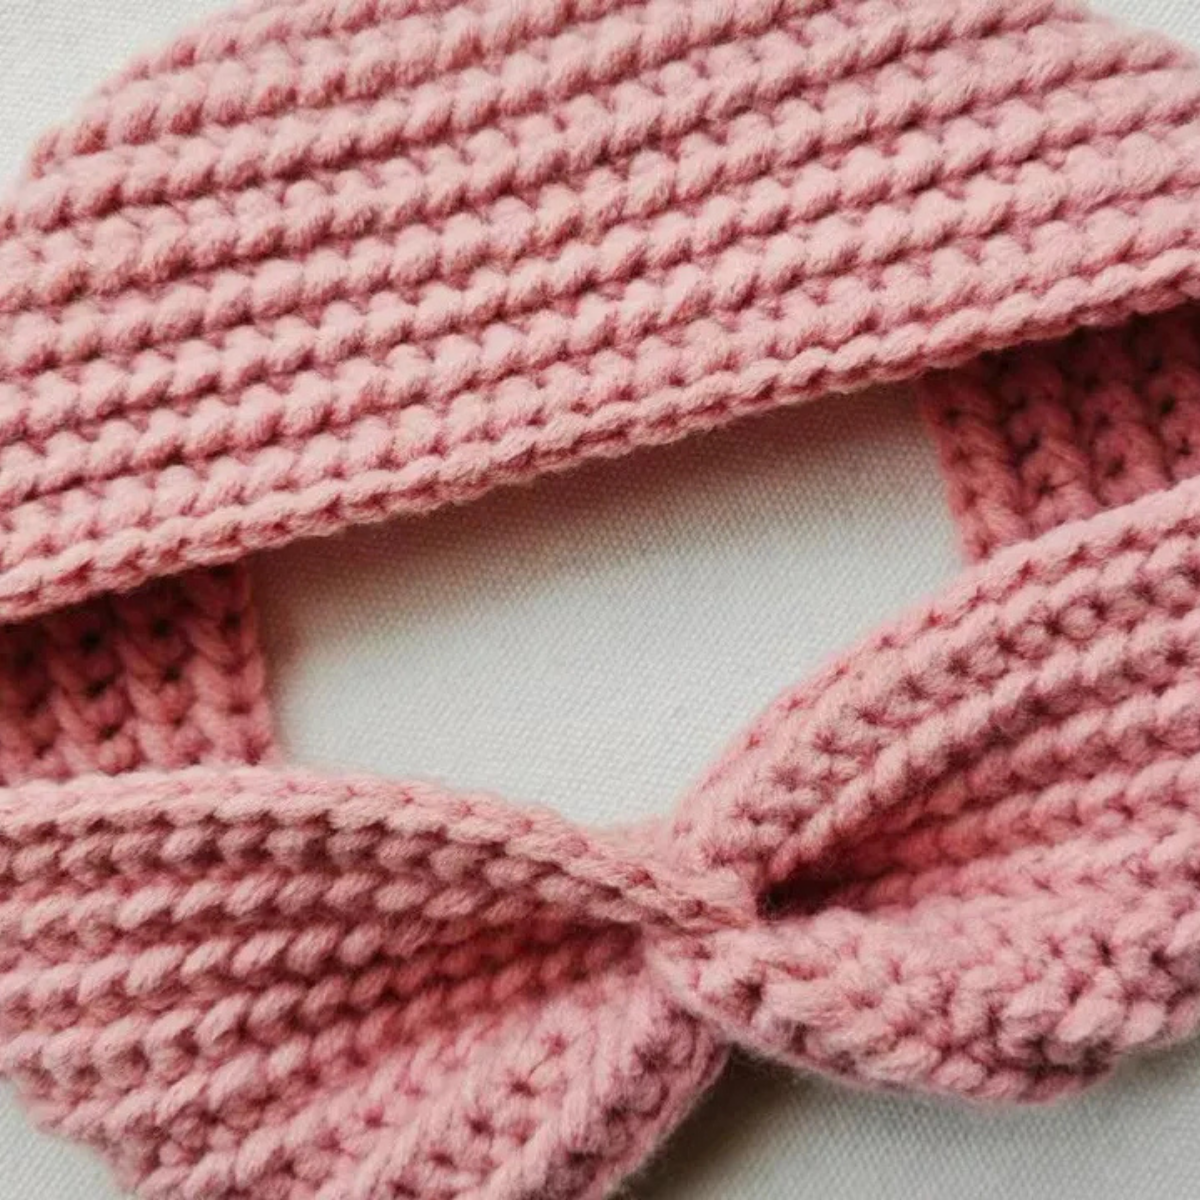
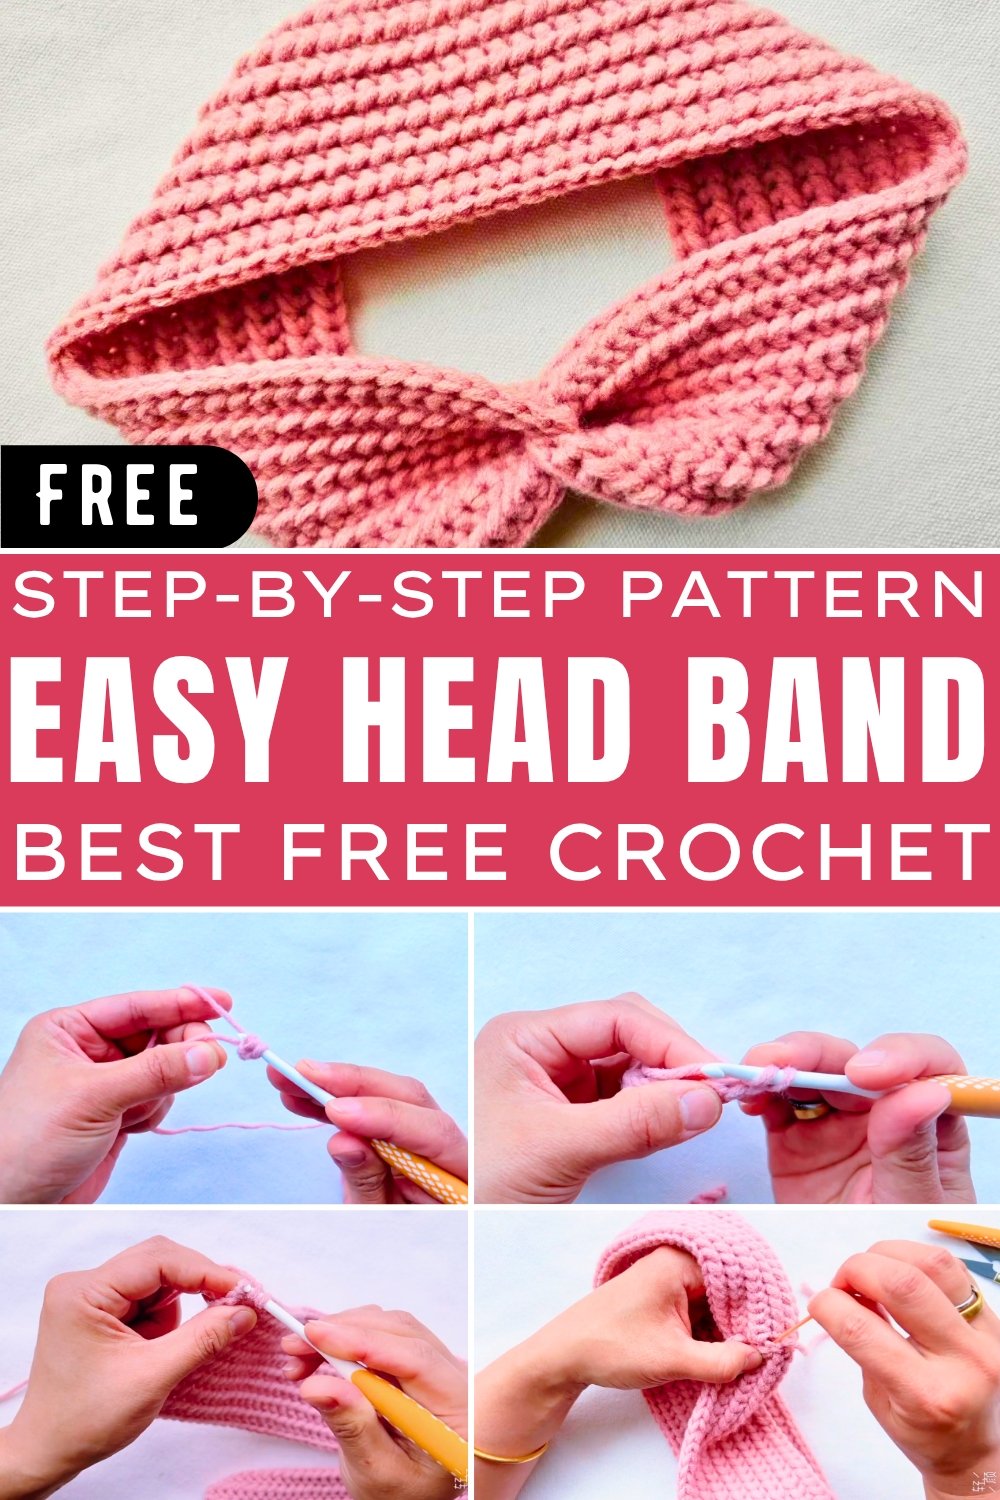
Elegant Crochet Headband Pattern For Trendy Looks
Connect your artistry with this elegant crochet headband pattern—ideal for trendy looks, easy to make, and a delightful accessory to crochet.
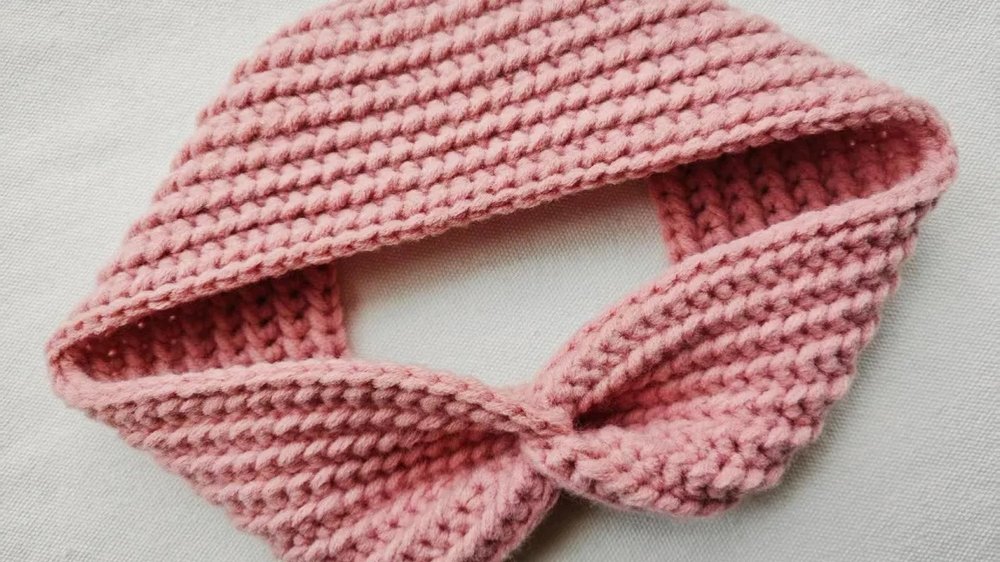
Timeless accessories have long been a staple in wardrobes, and a meticulously created crochet headband exemplifies this perfectly. With its soft texture and intricate design, this versatile piece functions as more than just decoration, offering practicality for managing hair while adding a touch of charm to any outfit. Comfortable enough for daily wear and elegant enough for formal occasions, it transitions effortlessly between different styles and settings.
Must-Try Crochet Headband Pattern for Every Skill Level
Beyond its visual appeal, the headband is a functional tool that helps keep hair neat and stylish, even during the busiest days. Its adaptability allows users to choose colors and stitch variations that suit their personality and preferences, making it a uniquely personalized addition to any collection. Soft to the touch and lightweight, it guarantees comfort while maintaining durability for long-lasting use.
For those valuing sustainability, handmade items like this crochet accessory are a step toward eco-friendly fashion choices. Its value extends beyond its physical form, as it makes for a heartfelt gift, showcasing thoughtfulness and care in every stitch. Elegance, practicality, and individuality converge in this headband, ensuring it remains timeless while empowering confidence and style in daily wear.
Step-by-Step Details
Materials Needed
- Yarn of your choice
- Suitable crochet hook
- Scissors
- Measuring tape
Instructions
Starting the Headband
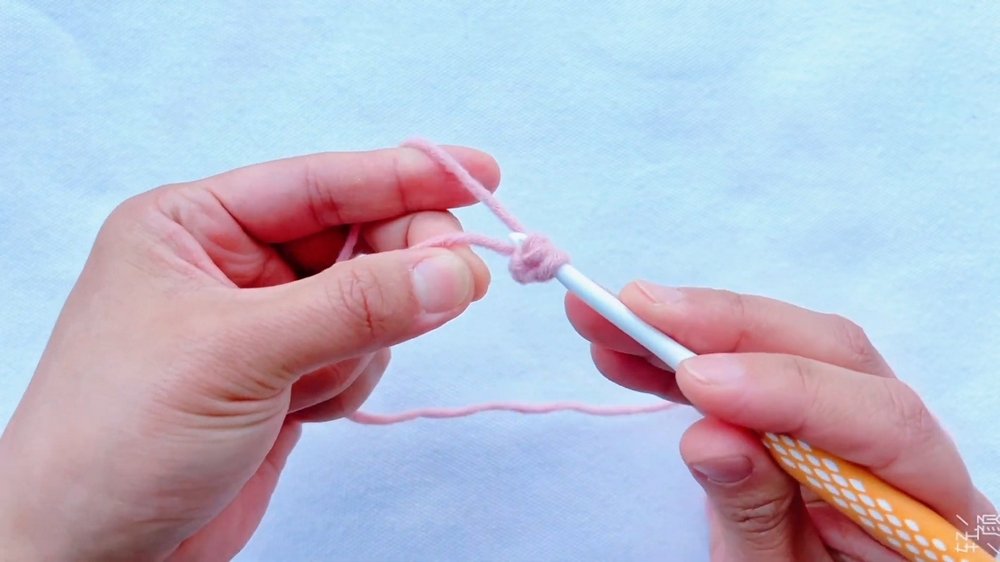
- Leave a Long Tail: Start by leaving a long tail of about 120 cm.
- Make a Knot: Make a knot and then chain one.
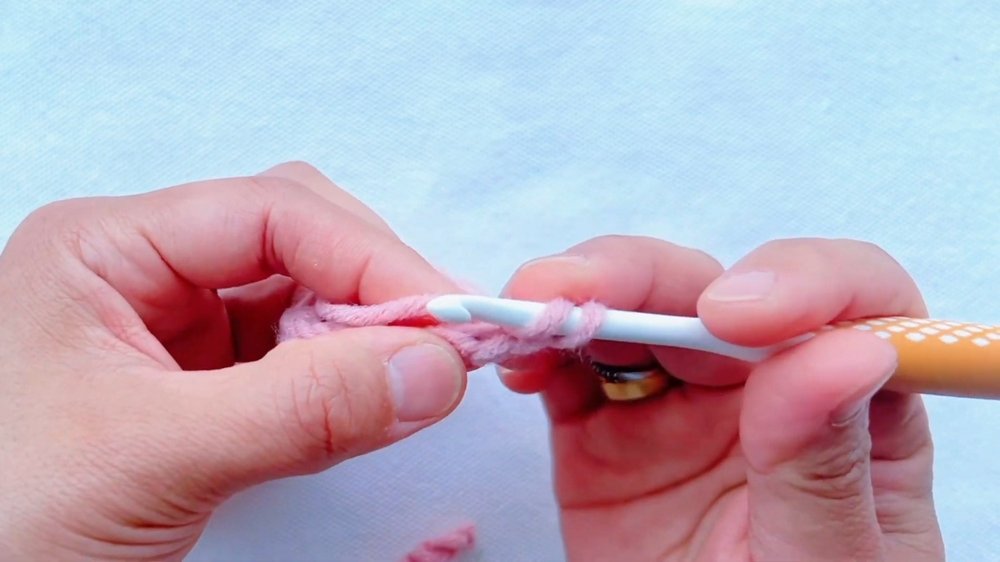
- First Row:
- Take the tail yarn over, then pull the original yarn. This forms the first stitch.
- Repeat the process: Take the tail yarn over and pull the original yarn until you get the desired length. Measure the length according to your needs.
- Chain One: This prepares you for the second row.
Crocheting the Second Row
- First Stitch of the Second Row:
- Yarn over into the last stitch of the first row, pull yarn through it.
- Pull the same loop through the other loops on the hook. This completes the first stitch of the second row.
- If you are a beginner, it’s helpful to mark this stitch.
- Subsequent Stitches:
- Yarn over, pull yarn, then pull the loop through the two loops together.
- Repeat this process to the end of the row. You can rotate the hook for ease.
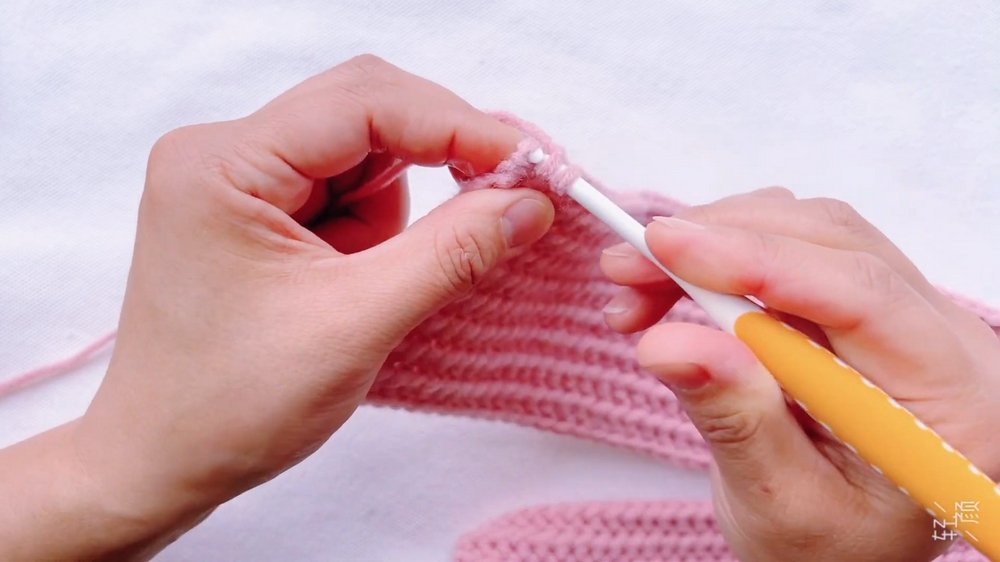
Continuing Rows
- Chain One and Turn Work:
- Yarn over and start from the second ‘V’ stitch, making stitches similar to the first row.
- Continue repeating this process until you achieve the desired size.
Completing the Headband
- Fasten Off: Leave a long tail for sewing.
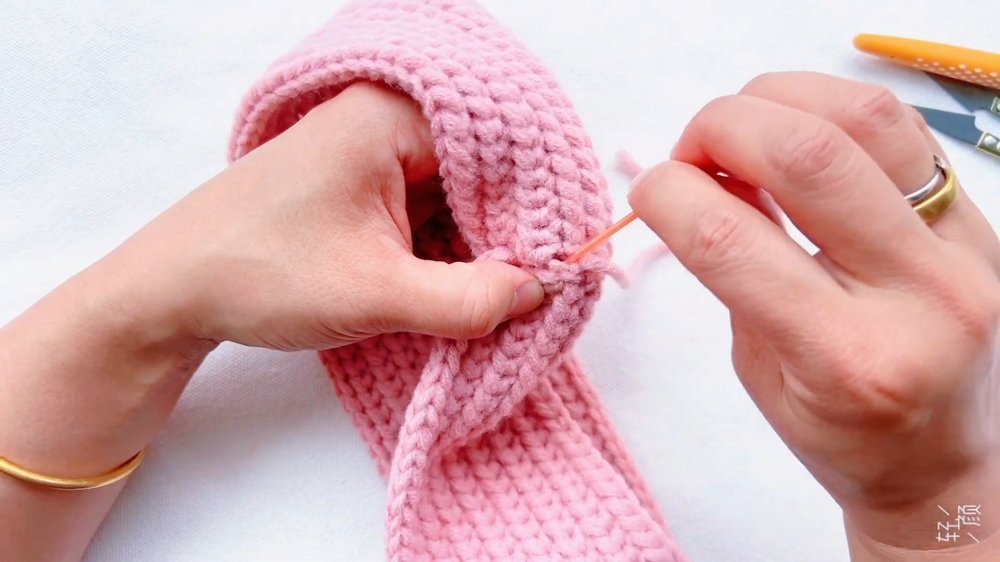
- Sew the Middle: Follow the instructions on how to sew the middle.
- Final Touches: Adjust the headband to ensure both sides are flat and look perfect.
Special Features
- Elegant Pattern: Despite its simplicity, the resulting design is stylish and suitable for various occasions.
- Beginner-Friendly: Uses basic stitches and straightforward instructions that make it easy for beginners to follow.
Level of Difficulty
This pattern is designed for beginners. The use of basic stitches ensures that even those new to crochet can complete the headband successfully.
Tutor’s Suggestions
- Measure Accordingly: Adjust the length of the first row to match your head size for a perfect fit.
- Mark Stitches: Marking the first stitch of the second row can be helpful for beginners.
Uses and Materials
- Versatile Yarn: You can use any type of yarn and a matching hook.
- Customization: The headband can be customized in terms of size and color to suit your style.
Conclusion
By following these simple steps, you will have crocheted a beautiful and elegant crochet headband. This project is perfect for beginners, allowing you to hone your basic crochet skills while creating a stylish accessory.
Tip
For added convenience, rotate the hook slightly while pulling the yarn through the loops; this can make the stitches easier to manage and more uniform.