Elegant Crochet Hot Pad Pattern for Your Kitchen
Spice up your kitchen with this Crochet Hot Pad Pattern—easy, fun, and perfect for gifting or protecting surfaces in style.
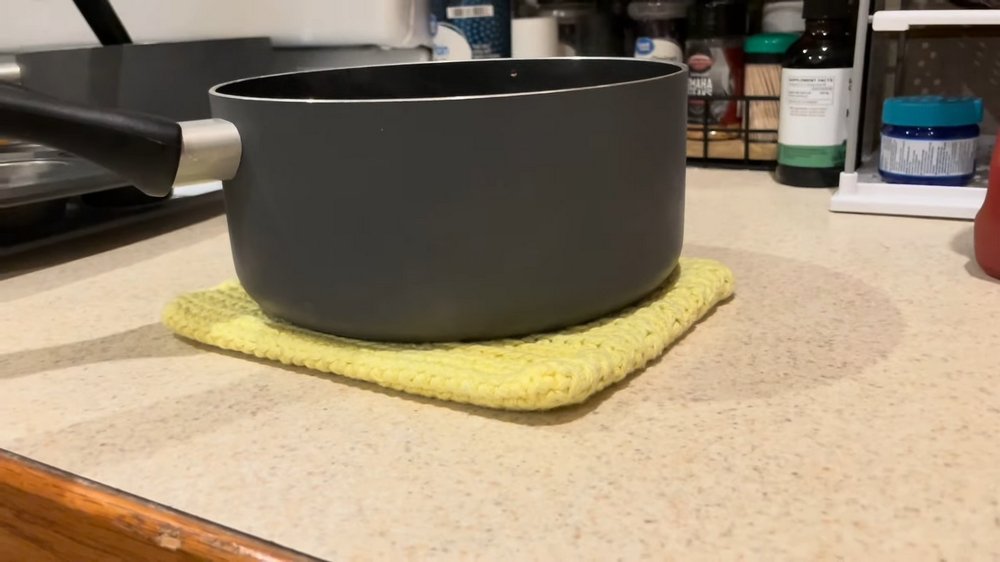
The charm of a handmade item often lies in its ability to merge beauty with purpose, and a crochet hot pad is a perfect example of this balance. This heat-resistant kitchen essential is designed to protect tables, countertops, and hands from the heat of pots or pans while adding a cozy and artistic touch to the environment. With its soft texture and intricate stitch work, it serves as both a functional tool and a decorative accent in any home.
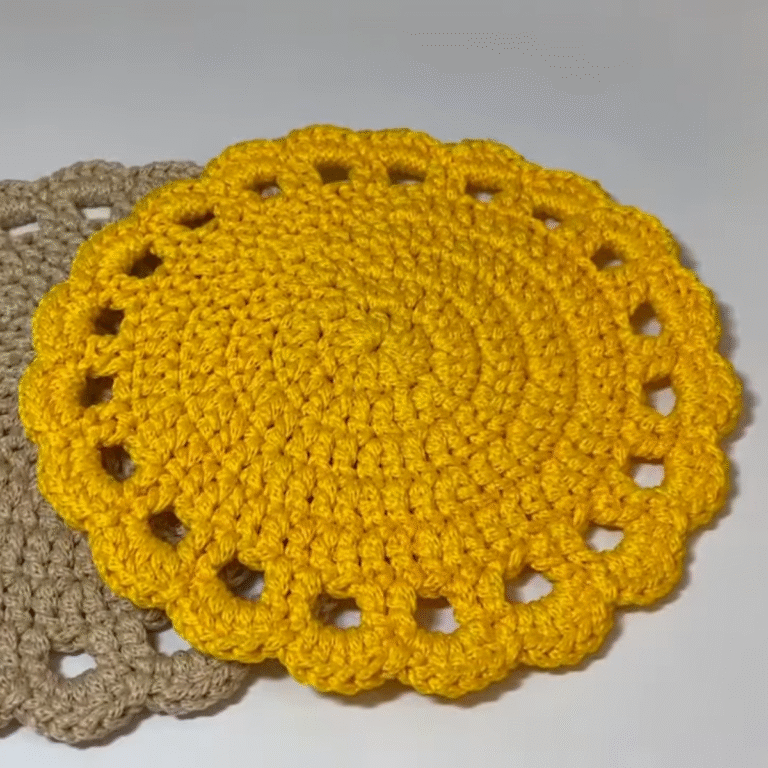
Colorful Crochet Hot Pad Pattern for Home Décor
Made from sturdy yarn, a crochet hot pad offers durability and reliability with every use. Its benefits go beyond practicality, as it provides an eco-friendly alternative to disposable options, promoting a more sustainable lifestyle. Whether used during daily meals or special occasions, it enhances the dining experience with its handmade appeal and thoughtful design.
This versatile piece can also be a meaningful gift, reflecting care and creativity that resonates with loved ones. Easy to clean, store, and reuse, it becomes a long-lasting companion in the kitchen. A crochet hot pad is not just about utility it’s a simple yet impactful way to bring warmth and individuality into a household. Its delightful combination of function and charm makes it truly timeless.
Step-by-Step Instructions to Make a Crochet Hot Pad
The pattern provides a beginner-friendly tutorial on how to crochet a practical and durable hot pad. Hot pads make wonderful gifts for housewarming parties, wedding showers, or even personal kitchen use. This project also serves as a way to practice basic crochet stitches while creating something functional.
Why Cotton Yarn Is Important
Before starting the project, the creator emphasizes the importance of selecting the correct type of yarn: 100% cotton yarn. Cotton is heat-resistant, easy to wash, and does not melt when exposed to hot pans. Avoid synthetic fibers like acrylic, nylon, and polyester, as they contain plastic components that melt under heat.
Alternatives: Wool yarn can also be used, but cotton is cost-effective and widely available.
Materials Needed
- Yarn:
- 100% cotton yarn (avoid acrylic, nylon, and polyester).
- Size 4 yarn is recommended for faster work, but size 3 yarn works as well (though more chains will be needed).
- Hook:
- For size 4 yarn: 4.5 mm hook or size G.
- For size 3 yarn: 3.75 mm hook.
- Optional Tools:
- Stitch marker (or a piece of extra yarn).
- Yarn needle for finishing and weaving in ends.
- Scissors.
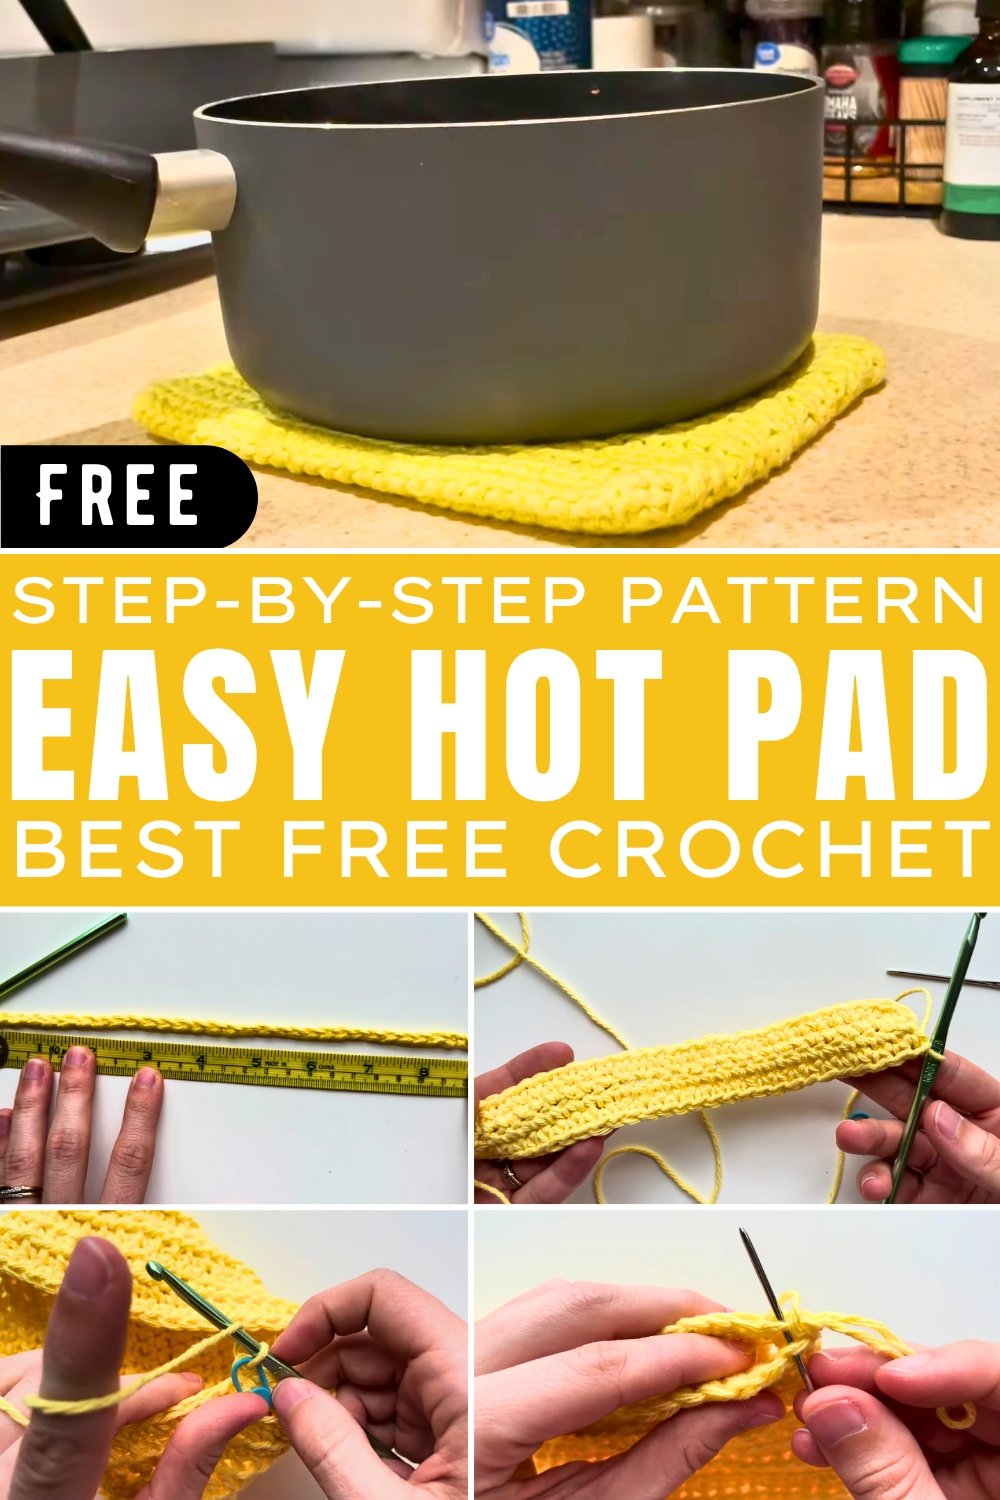
Step 1: Create a Slip Knot and Chain
- Create a Slip Knot:
- Use the hook or your fingers to form the slip knot on the yarn. Ensure it is snug on the hook but not too tight.
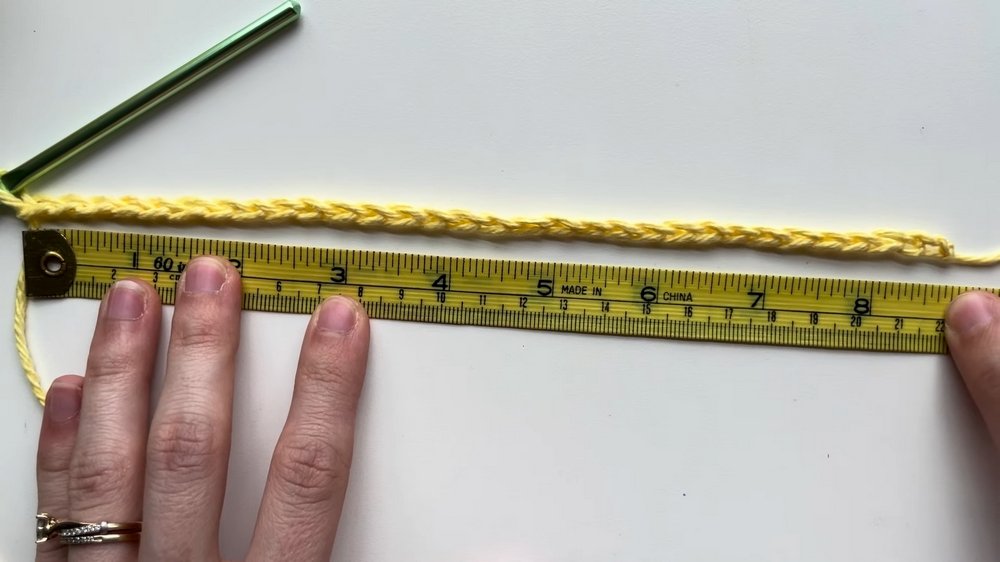
- Chain 31 Stitches:
- Wrap the yarn around the hook (clockwise) to perform the “yarn over.”
- Pull the yarn through the loop. Repeat until you have 31 chains.
- Your chain should measure approximately 8¾ inches (22 cm). Adjust the number of chains for a different size hot pad.
Step 2: Work Single Crochets Along the Chain
- Start Single Crochet on Row 1:
- Insert the hook into the second chain from the hook (skip the first chain).
- Yarn over and pull up a loop (two loops on the hook).
- Yarn over again and pull through both loops on the hook.
- Repeat this process for all 30 stitches along the row.
- Check Stitch Count:
- Count the V’s along the top to ensure you have 30 single crochets.
- Count the V’s along the top to ensure you have 30 single crochets.
Step 3: Add Single Crochets on the Back Side of the Chain
- Flip Your Work:
- Turn your piece over so the hook is now on the right side.
- Work on the Back Loops:
- Insert the hook into the back loop of each stitch on the underside of the original chain.
- Yarn over, pull up a loop, and complete the single crochet as before.
- Count Your Stitches:
- You should now have 60 stitches total (30 stitches on the top and 30 on the back loop).
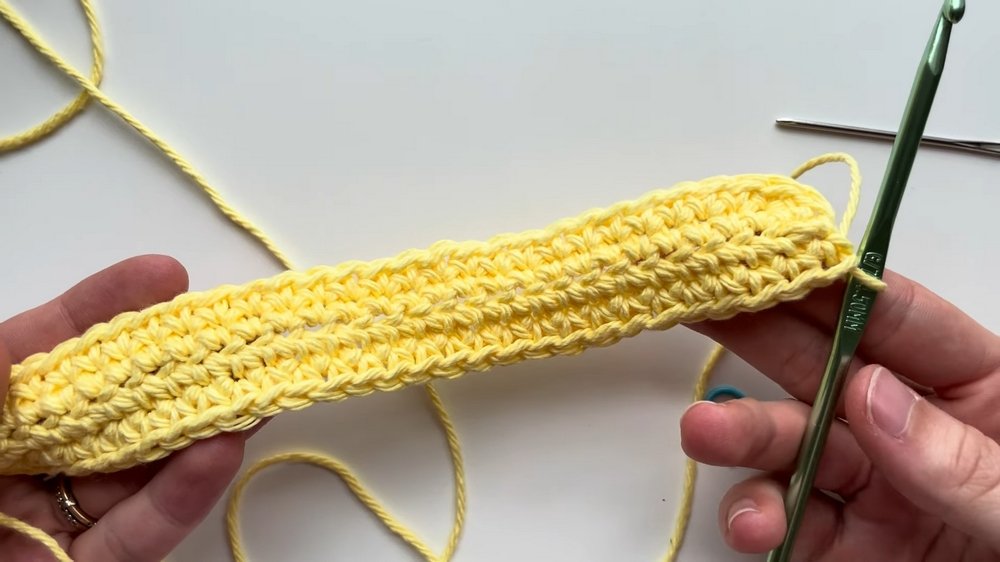
Step 4: Begin Working in Rounds
- Round 1: Full Single Crochets (Both Loops):
- Start working single crochets in the V’s, going through both loops of the stitch.
- Use a stitch marker to mark the first stitch for each round.
- Round 2: Half Double Crochets in the Back Loop Only:
- Yarn over before inserting the hook into the back loop only.
- Pull up a loop (three loops on the hook) and yarn over again to pull through all three loops.
- Round 3: Single Crochets in the Back Loop Only:
- Instead of both loops, work into just the back loop throughout this round.
- Instead of both loops, work into just the back loop throughout this round.
Step 5: Repeat Pattern Until Desired Length
The pattern alternates as follows:
- Single Crochets in Back Loop Only.
- Single Crochets in Both Loops.
- Half Double Crochets in Back Loop Only.
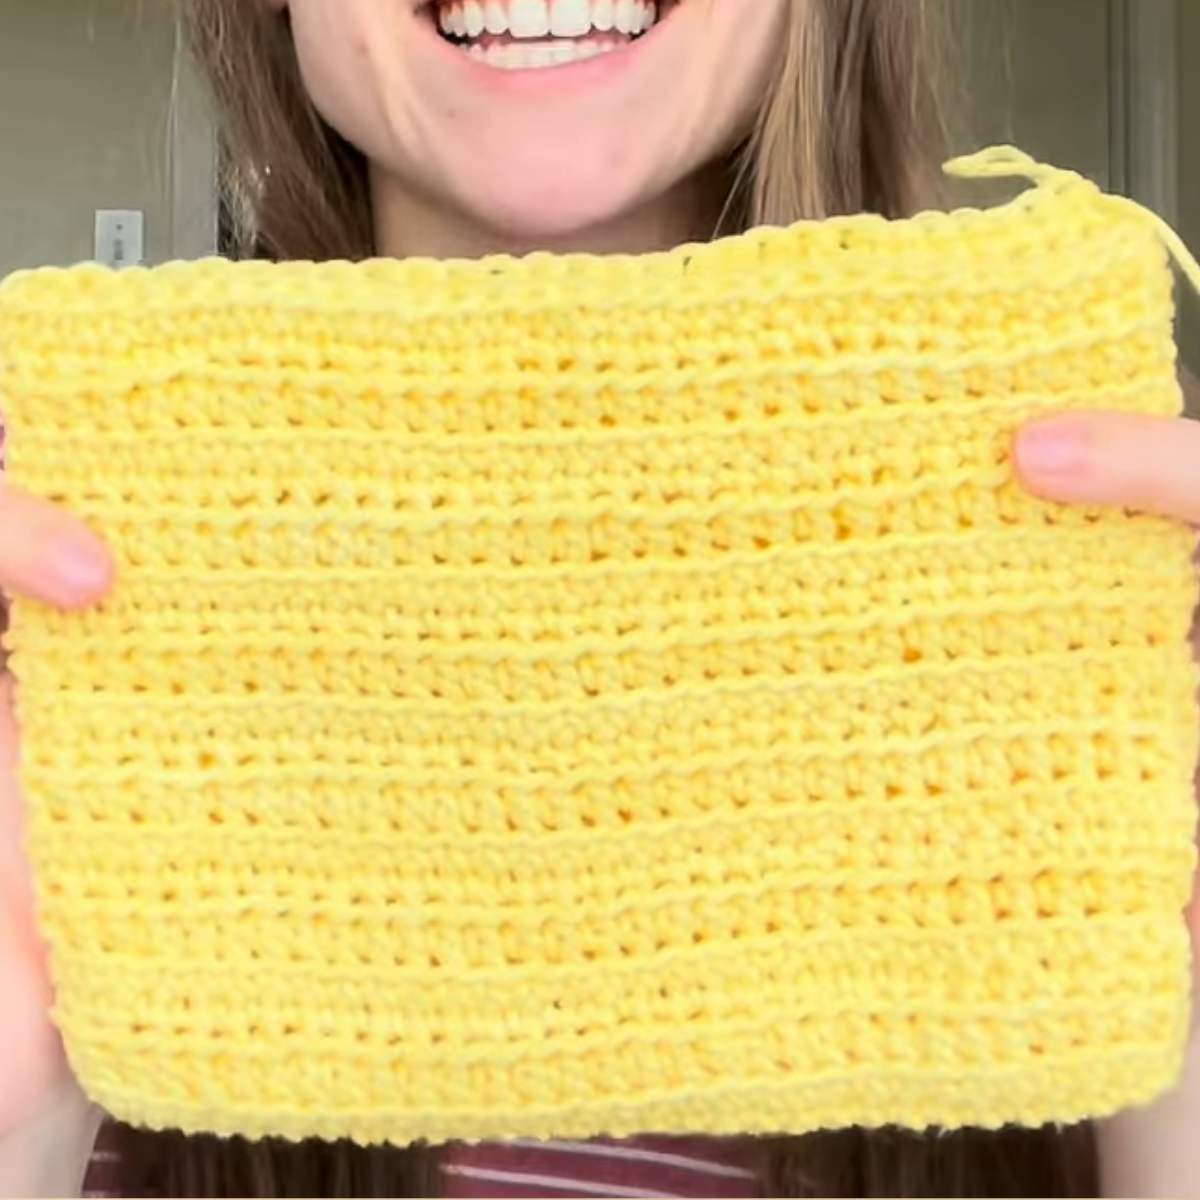
Continue repeating this sequence until the tube is the desired length. The creator’s hot pad measured 16 cm tall (6¼ inches) and 20½ cm across (8 inches).
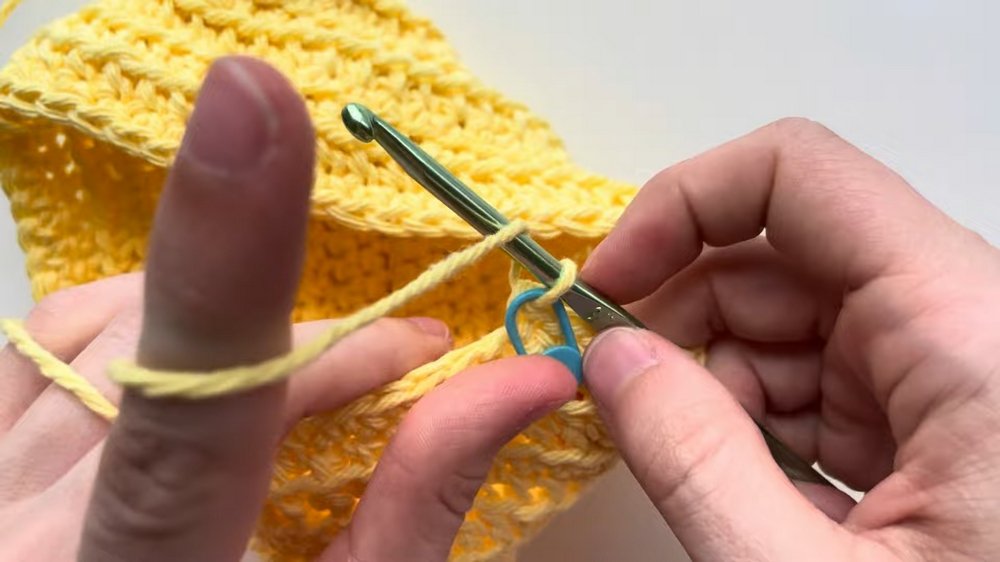
Step 6: Closing the Hot Pad
- Fold the Tube:
- Fold the tube in half, ensuring that the edges align.
- Single Crochet Across the Opening:
- Insert the hook into the back loop of the stitch closer to you and the front loop of the stitch further away.
- Yarn over and pull through both loops, then yarn over again and pull through the two remaining loops.
- Repeat this process all the way across to close the pad.
- Alternatively, for a tighter seal, you can use a sewing machine or manually weave yarn through both sides and knot it.
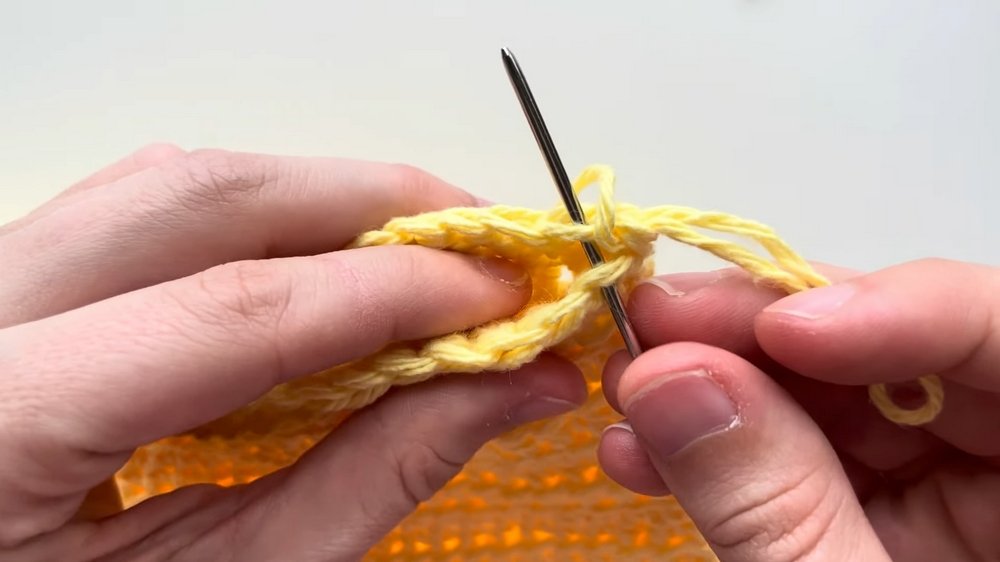
Step 7: Weave in Loose Ends
- Tie Off the Yarn:
- Create a chain stitch, cut a foot-long piece of yarn, and pull the loop through tightly.
- Weave in the Ends:
- Use a yarn needle to weave the loose end into nearby stitches.
- Knot the yarn securely by pulling it through a stitch and looping it before tightening fully.
- Trim any remaining excess yarn.
Special Features
- Beginner Friendly: Focuses on basic stitches such as single crochet and half-double crochet.
- Skill Building: Includes working in the back loop only and practicing how to count stitches.
- Durability: Uses cotton yarn for heat resistance and easy cleaning.
- Versatile: Allows customization in size, design, and stitch combinations.
Tutor’s Suggestions
- Material Preference: Stick to size 4 yarn for quicker results and easier handling. Size 3 yarn may take longer and feel slightly tedious due to its delicate fibers.
- Customization: Adjust the stitch count depending on the size of the hot pad you need. Experiment with different stitch patterns for a unique design.
- Remember: Don’t rush the process. Crocheting takes time and patience—expect a couple of hours for completion.
Uses and Applications
- Heat Resistance: Protects hands and surfaces from hot pans and dishes.
- Gift Idea: Perfect for gifting at housewarming parties, wedding showers, or even as handmade holiday presents.
- Kitchen Décor: Adds a personal, aesthetic touch to kitchen counters.
Materials Needed
- 100% Cotton Yarn (Preferred brands mentioned in the video include Walmart, Joann Fabrics, Michaels, and Hobby Lobby).
- Crochet Hook Size: 4.5 mm for size 4 yarn; 3.75 mm for size 3 yarn.
- Stitch Marker: Optional but helpful for round tracking.
- Yarn Needle: For finishing and sewing loose ends.
Level of Difficulty
Beginner Level: This project is ideal for individuals new to crochet. It introduces basic stitches, working in the back loops, and rounds, making it a great learning exercise.
Tip to Remember
When switching yarn types or sizes, double-check the fiber composition to ensure heat resistance. Using non-cotton, synthetic fibers could melt and compromise the purpose of your hot pad.
Conclusion
This beginner-friendly hot pad tutorial combines practicality and skill development, allowing you to create a durable and customized kitchen essential. It’s a great item for gifting or personal use, ensuring you put a little touch of creativity into your home. Practice the recommended stitch patterns, enjoy the meditative process of crochet, and create a piece that will serve you well for years.