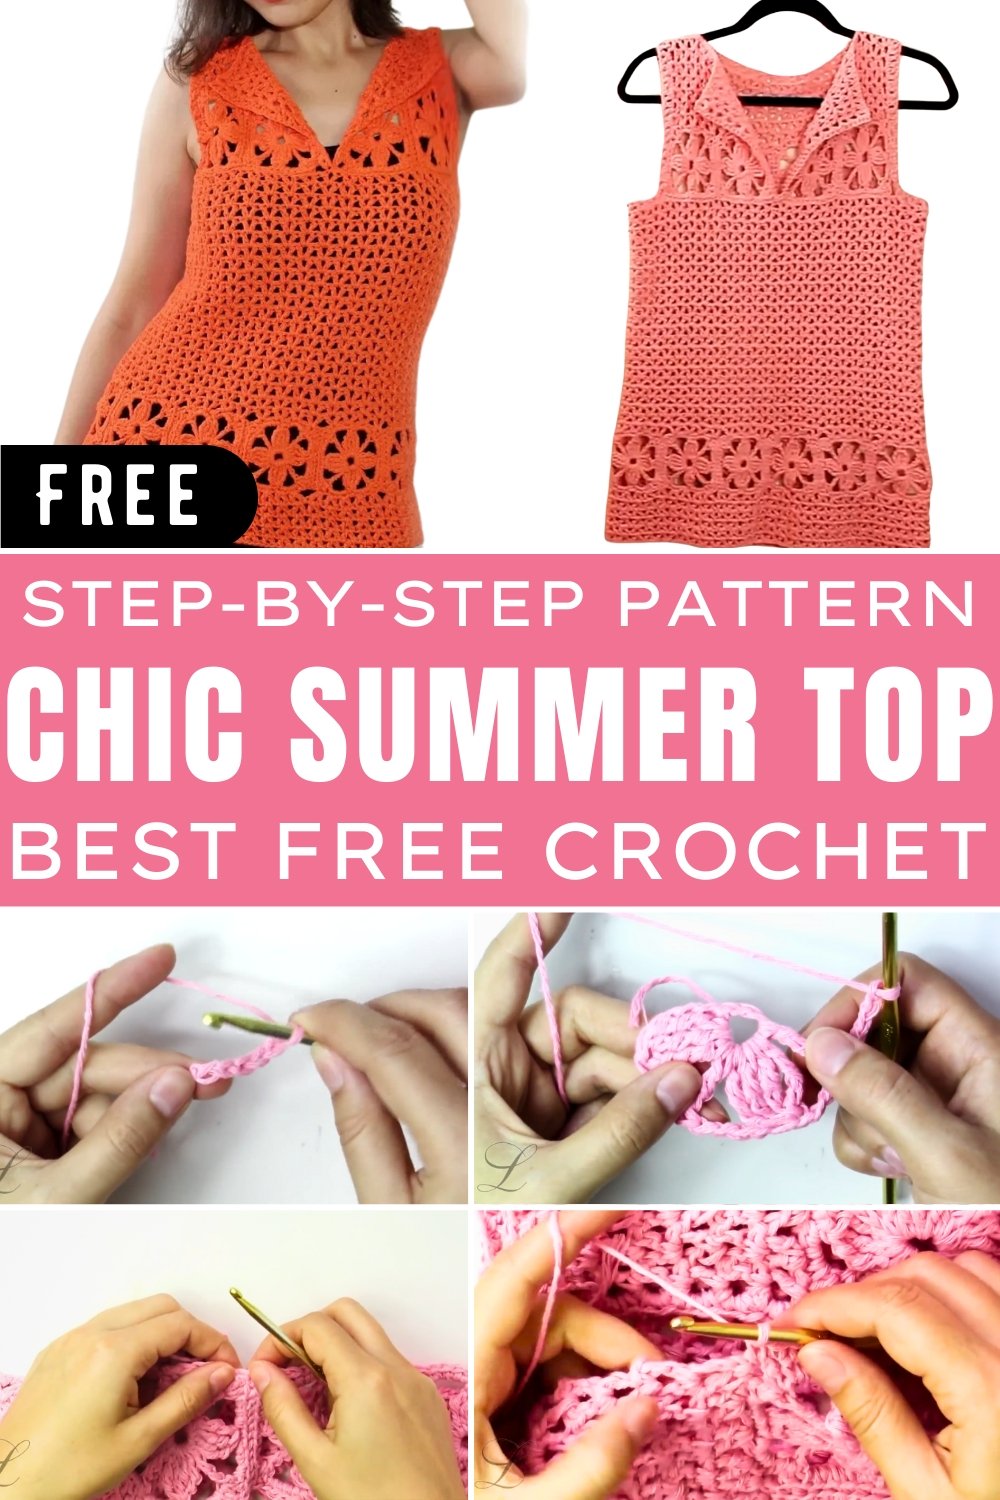
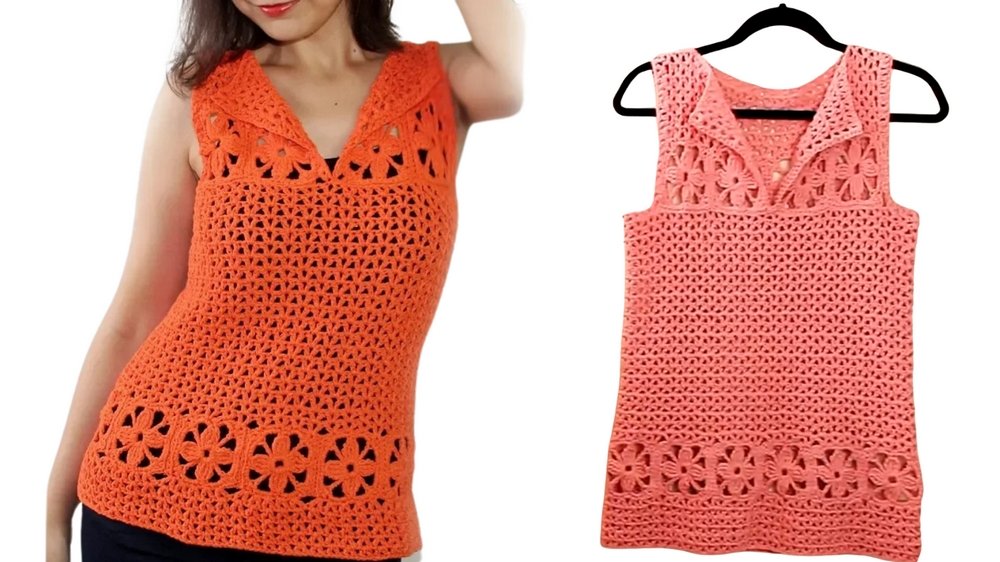
Playful Design for Crochet Summer Top Free Pattern
Renew your summer style with a chic crochet summer top pattern, breezy and perfect for creating your own standout warm-weather look.
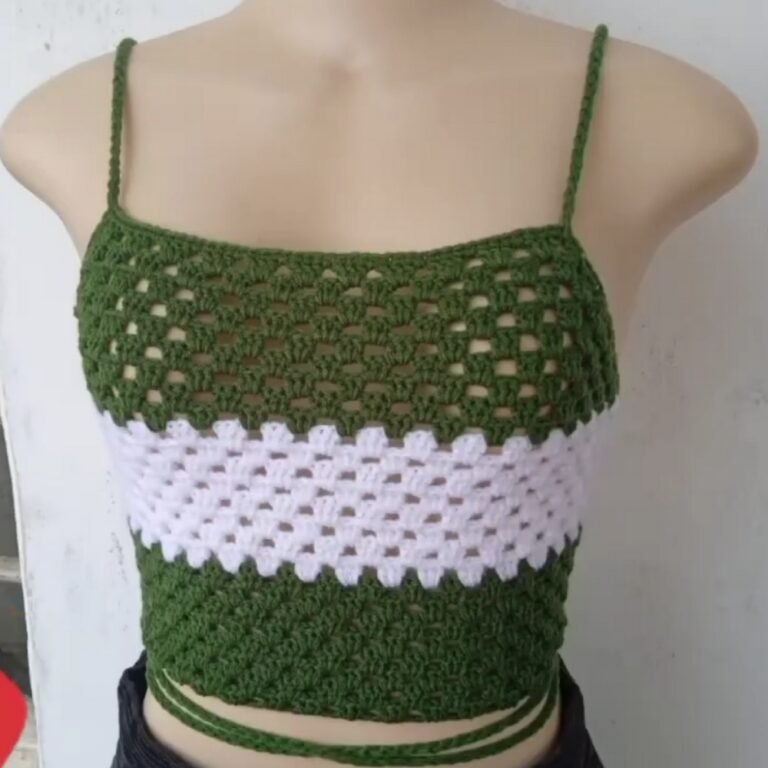
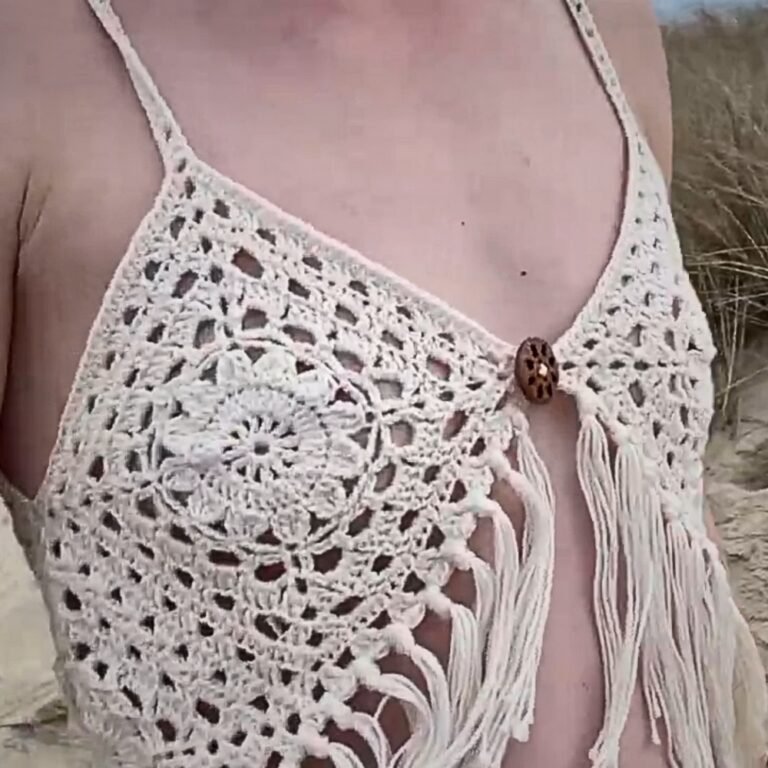
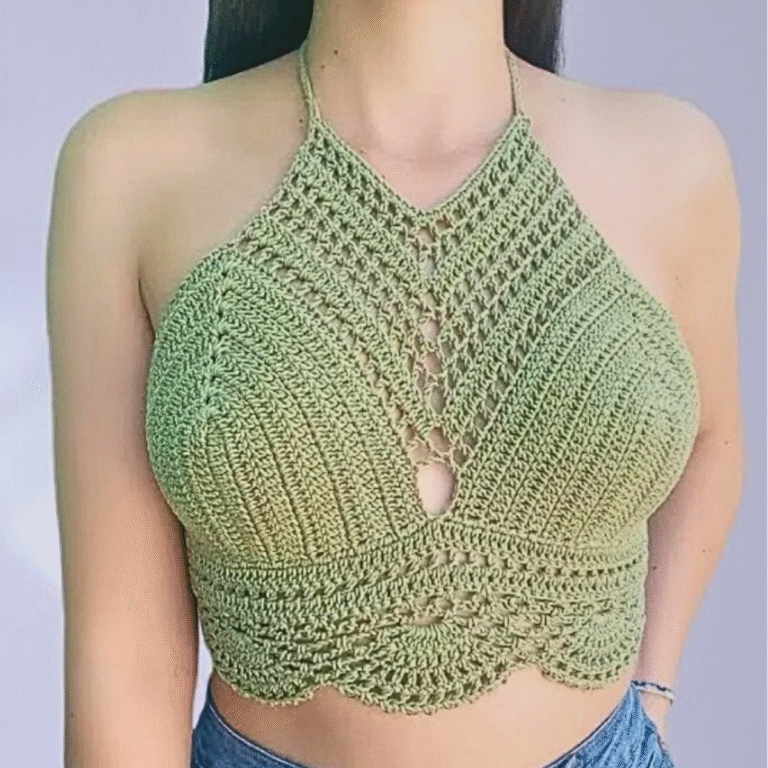
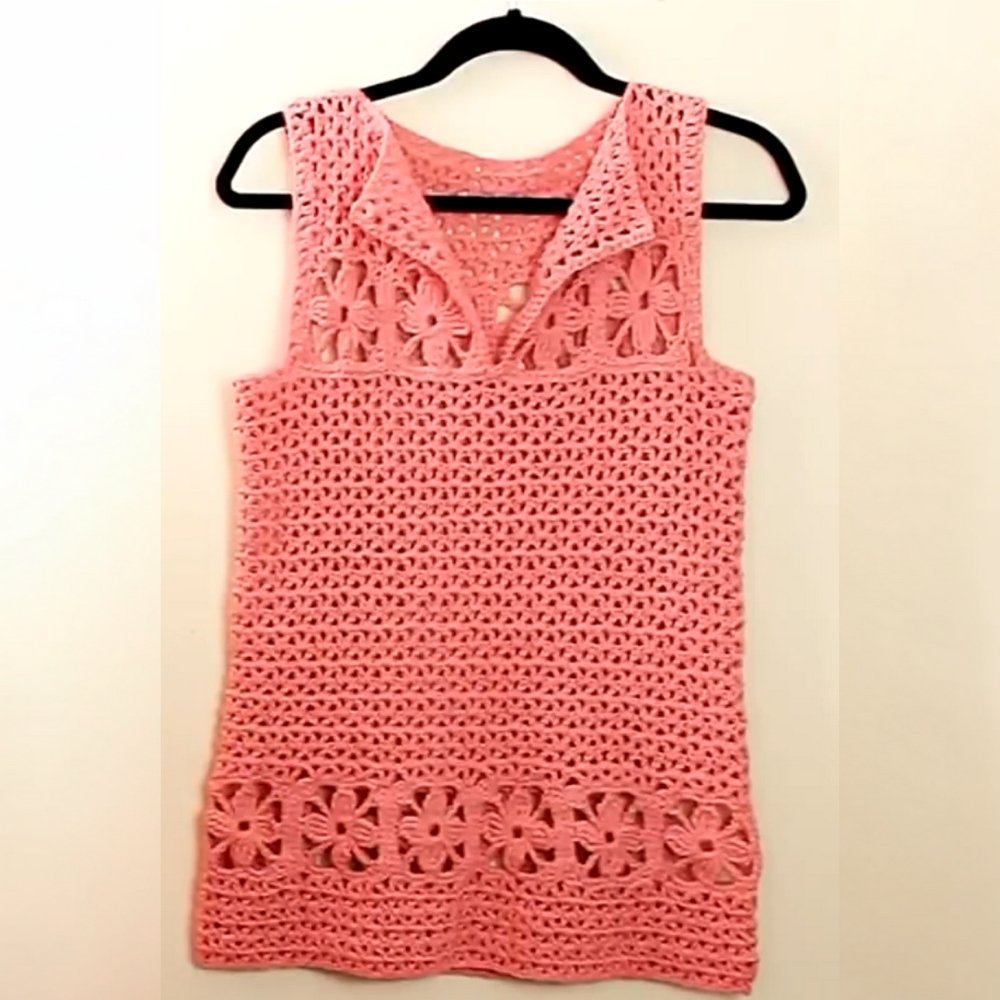
What makes a summer outfit stand out while keeping it comfortable and lightweight? Crochet summer top pattern provide the perfect solution with their airy designs and stylish appeal. This top is ideal for warm-weather outings, whether paired with casual denim or layered over swimwear for beach days. Their versatility makes them a wardrobe favorite, combining practicality with undeniable charm.
Statement Crochet Summer Top Pattern for Every Style
Beyond enhancing your summer style, working with this pattern can be a relaxing and fulfilling activity. The process encourages focus and precision while offering an outlet for creativity. Each finished top reflects your personal preferences, from the colors you select to the pattern you choose. It’s an opportunity to tailor clothing exactly to your taste, resulting in a piece that feels uniquely yours.
Crochet summer top also serve as heartfelt gifts, showcasing the dedication and care behind each stitch. Their lightweight structure ensures comfort during hot days, while their intricate designs add personality to any outfit. Whether you’re trying a simple design or tackling a more advanced pattern, this top provide an exciting way to brighten your wardrobe.
Introduction
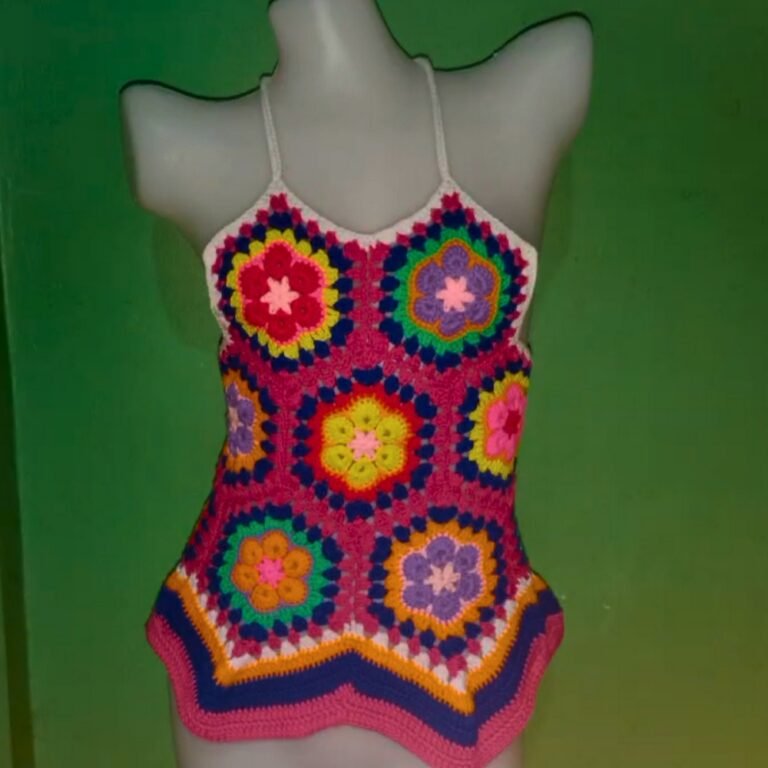
The crochet square top design is a versatile project that transforms simple crochet squares into a stylish blouse or tunic. The construction focuses on creating individual squares stitched together, followed by adding panels and edging to enhance its look and structure. Beginners can use this pattern to explore basic stitches, while advanced crocheters may enjoy experimenting with variations.
Materials Needed
- Cotton yarn (medium weight recommended)
- A 5mm crochet hook (H8)
- Darning needles (for sewing squares together)
- Stitch markers
- Scissors
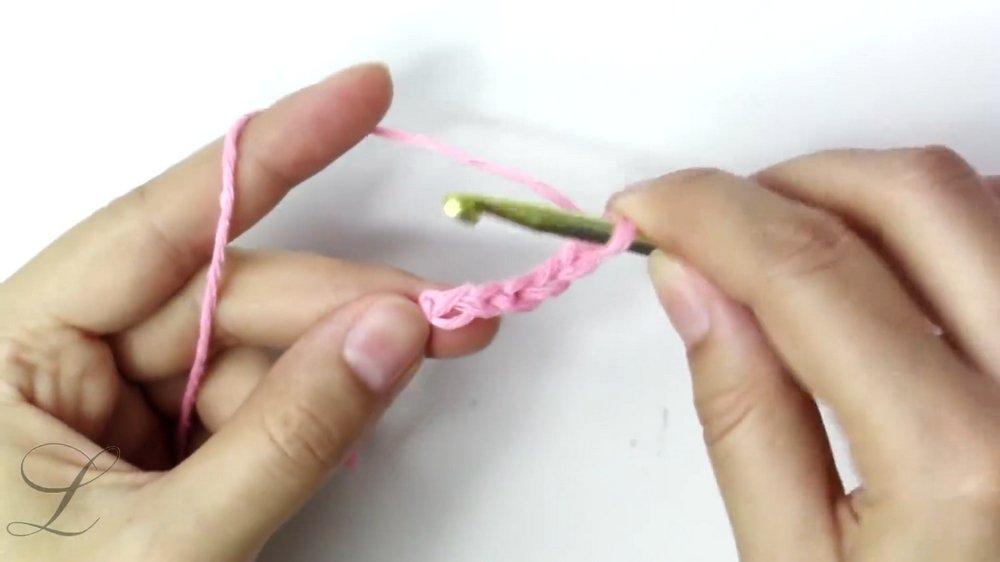
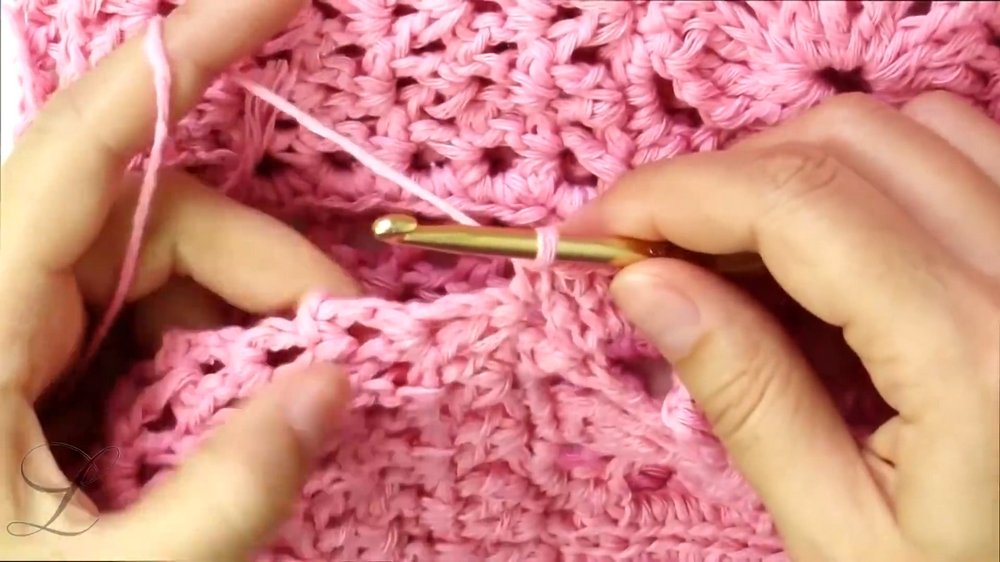
Step 1: Create Crochet Squares
- Foundation Round:
- Begin with a slip knot and chain 6.
- Close the ring with a slip stitch into the first chain.
- First Layer: Treble Clusters and Chain Loops:
- Chain 4 (counts as first treble stitch).
- Yarn over 3 times to create a treble cluster (repeat steps to make 3 more treble stitches, keeping all clusters unfinished).
- Pull through all loops and secure by chaining 4 before starting the next group.
- Create a total of 4 treble clusters separated by chain loops with individual standalone treble stitches.
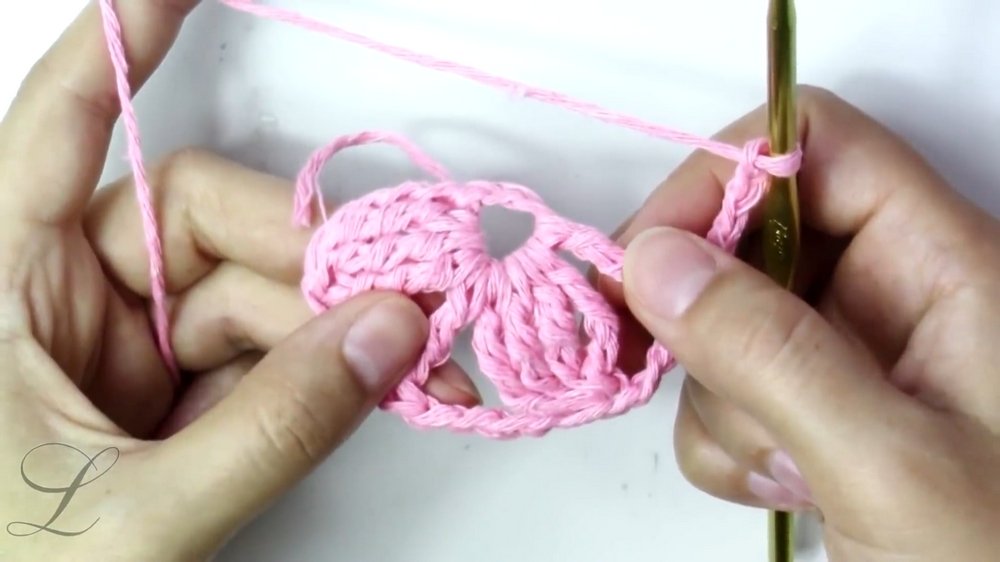
- Second Layer: Add Corners and Single Crochet Filler:
- Chain 1 and work 4 single crochets into the chain spaces.
- Insert double crochet, chain 1, and double crochet cluster at corner areas.
- Repeat for all 4 corners to complete the square pattern.
- Final Steps for Squares:
- The completed square should have single crochets forming its body with visible “corners” defined by V-stitch clusters.
- Fasten off, leaving a long tail for sewing.
Step 2: Calculate Number of Squares
Determine the size of your project:
- Measure the circumference needed (e.g., hips or bust).
- Divide the measurement by the size of your finished square to determine how many squares you’ll need.
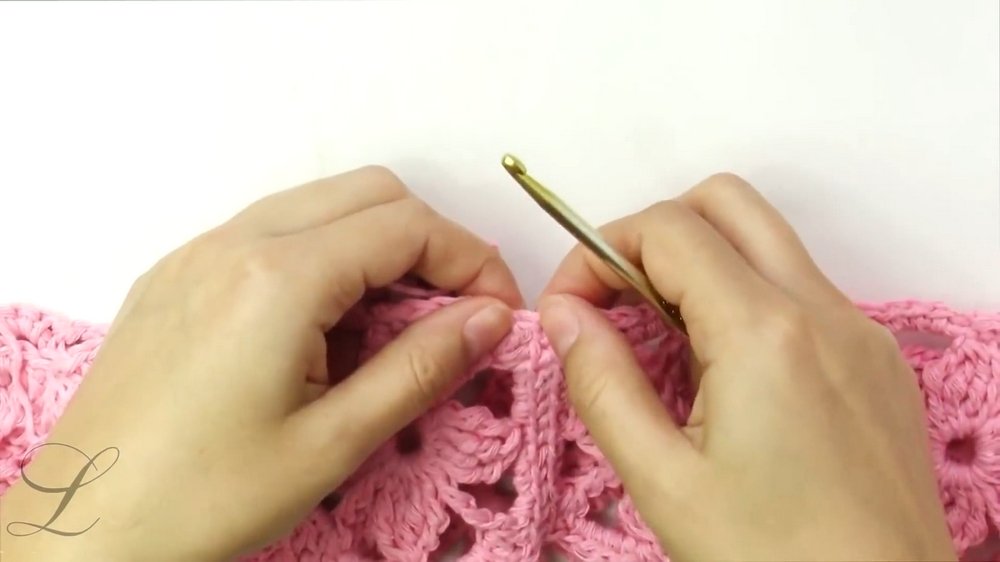
Step 3: Assemble Squares
- Sew Squares Together:
- Use the darning needle to join squares into a strip that matches the circumference measurements.
- Ensure squares are aligned closely, sewing through corresponding loops while leaving no gaps.
- Form Tube Shape:
- Once the strip is ready, sew the first and last squares together to form a circular band.
Step 4: Add Upper Panels
- Build Upwards:
- Start from any square edge and chain three to create a V-stitch in between each cluster along the top.
- Work additional rows of V-stitches until reaching the desired height (typically ending near the bust or armpit area).
- Add Squares for Front and Back:
- Attach additional crochet squares to the front and back panels using the same sewing technique as before.
- Ensure equal distribution of squares to balance the garment’s structure.
Step 5: Join Shoulder Seams
Attach the front and back panels together:
- Use darning needles to sew the top edges together at the shoulders.
- Leave adequate spacing between shoulder seams for arm openings.
- Secure with knots and cut the extra yarn.
Step 6: Add Sleeves and Edging
- Sleeves:
- Starting from the arm opening, crochet V-stitches around.
- Distribute stitches evenly to maintain pattern symmetry.
- Edging:
- Work rows of single crochet or V-stitches around the neckline and bottom hem to finish the garment.
- Add additional rows to lengthen the piece if desired.
Step 7: Final Touches
- Block and Steam:
- Steam or iron the finished squares and garment for a clean, polished finish.
- Work in Loose Ends:
- Use a darning needle to weave in all yarn tails securely.
Conclusion
This crochet square top combines a simple construction technique with endless customization options for size, shape, and design. From creating squares to stitching panels together, the pattern ensures flexibility and visual appeal. Whether you’re making a blouse or extending it into a dress, this pattern provides the skills needed for a beautiful handmade addition to your wardrobe.