Fresh Crochet Turtleneck Sweater Pattern for Spring
Snuggle up in style with this crochet turtleneck sweater pattern—where cozy meets classy and your hooks create magic with every stitch!
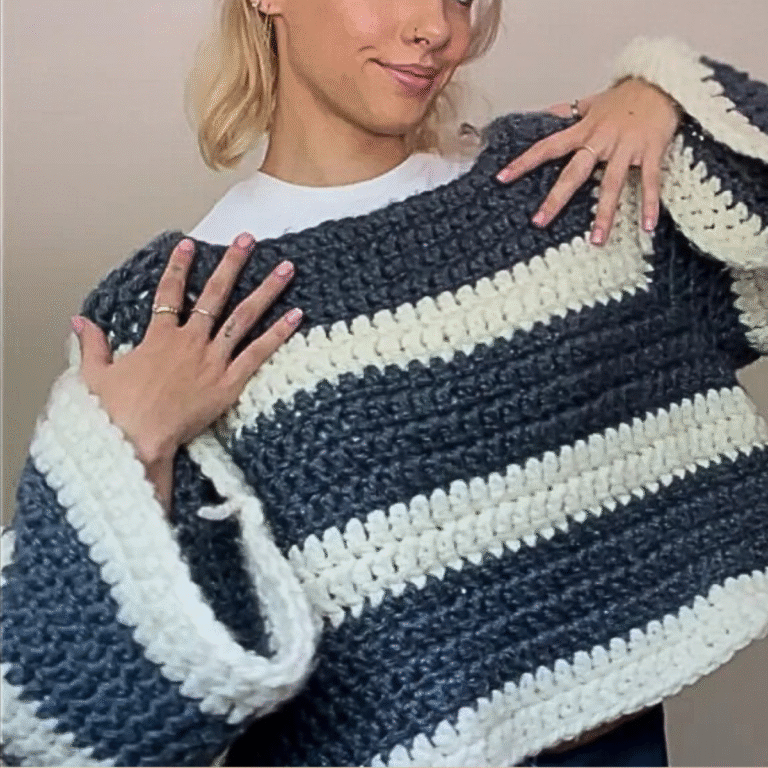
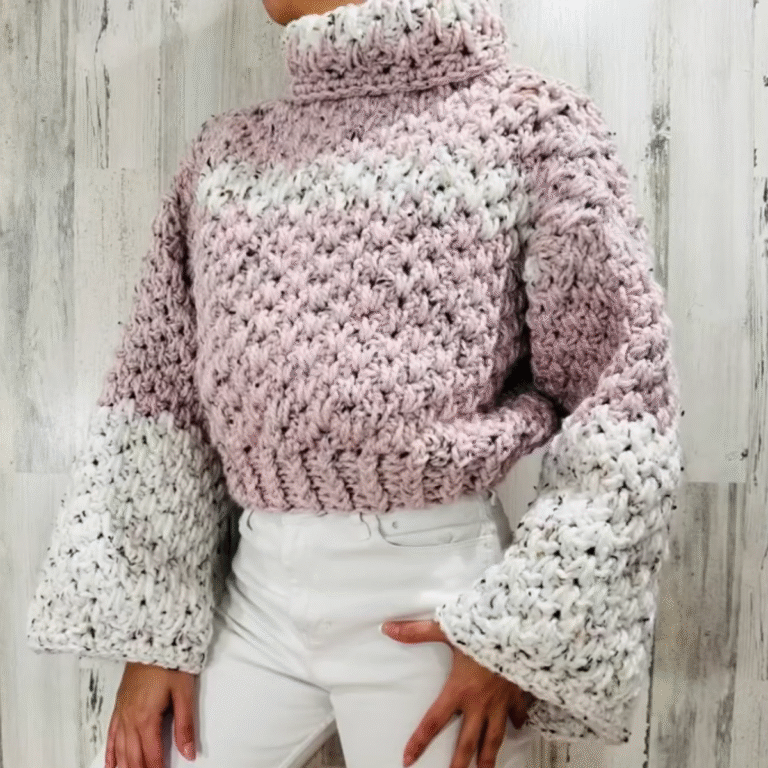
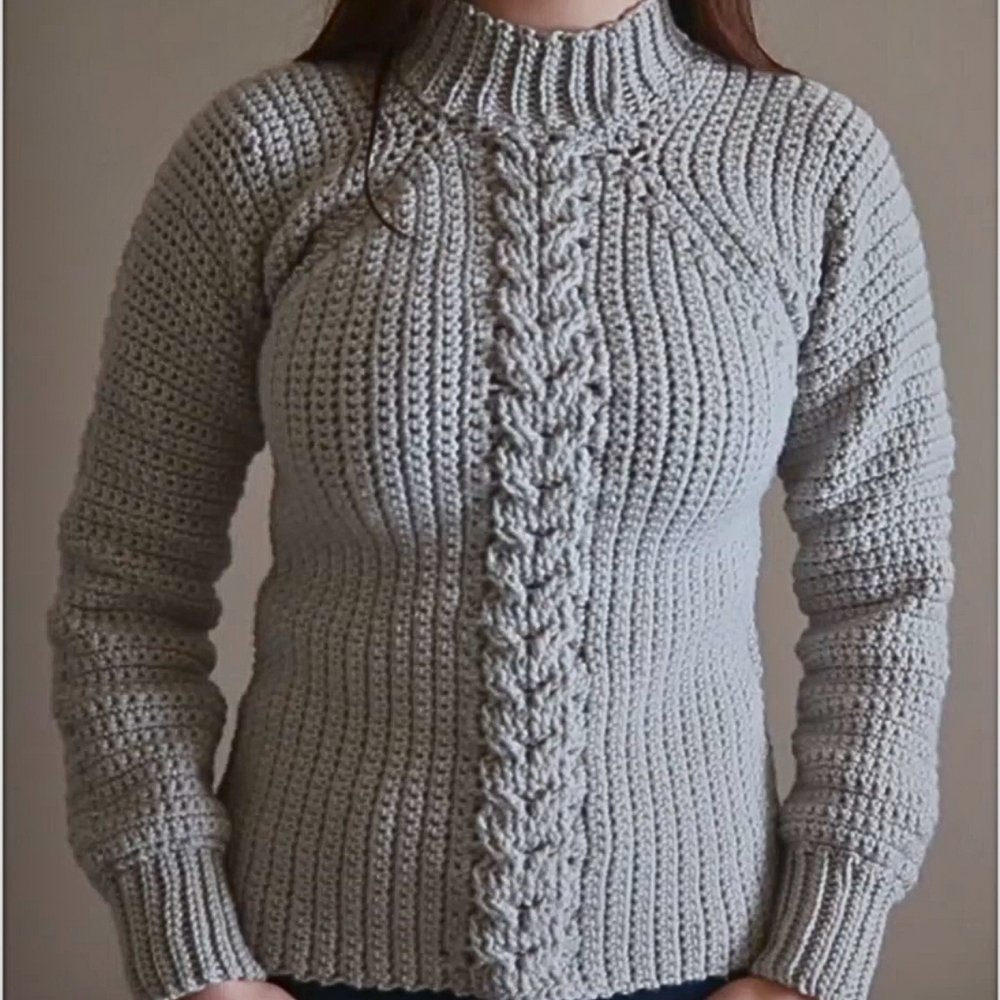
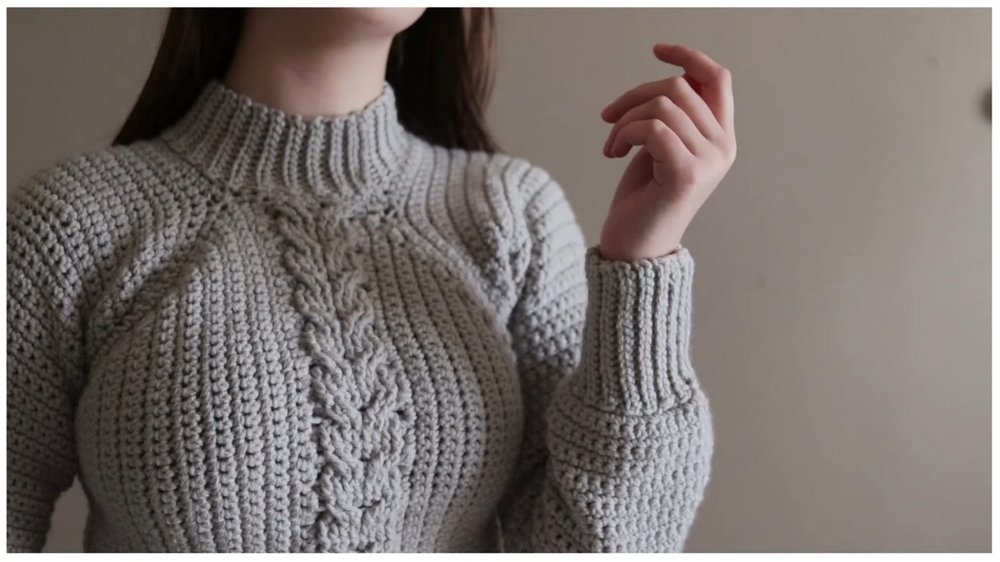
Chilly days call for garments that offer equal parts style and comfort, and the addition of cable stitches to a crocheted turtleneck sweater brings unmatched elegance to this classic design. The sweater combines foundational stitches like half-double crochets, front post double crochets, and back post double crochets with the intricate detailing of cable stitches. The result is a texture-rich fabric that feels warm, looks refined, and adds sophistication to any outfit.
FREE Crochet Turtleneck Sweater Pattern for Cool Nights
The sweater’s versatility in sizing allows for tailored fits across small, medium, and large dimensions, ensuring a personalized feel. Cable stitches provide unique depth and structure, turning an everyday wardrobe staple into a stylish centerpiece for colder weather. Its ability to pair effortlessly with jeans, skirts, or layers makes it suitable for casual outings or more polished ensembles. Additionally, the turtleneck offers excellent insulation, keeping you cozy while exuding effortless charm.
Carefully constructed sleeves ensure comfort without sacrificing mobility, enhancing wearability for a variety of occasions. Combining artful detailing with practicality, this sweater is as functional as it is visually stunning. Perfect for both wardrobe enhancement and skill development, it delivers warmth, durability, and timeless aesthetics in every stitch.
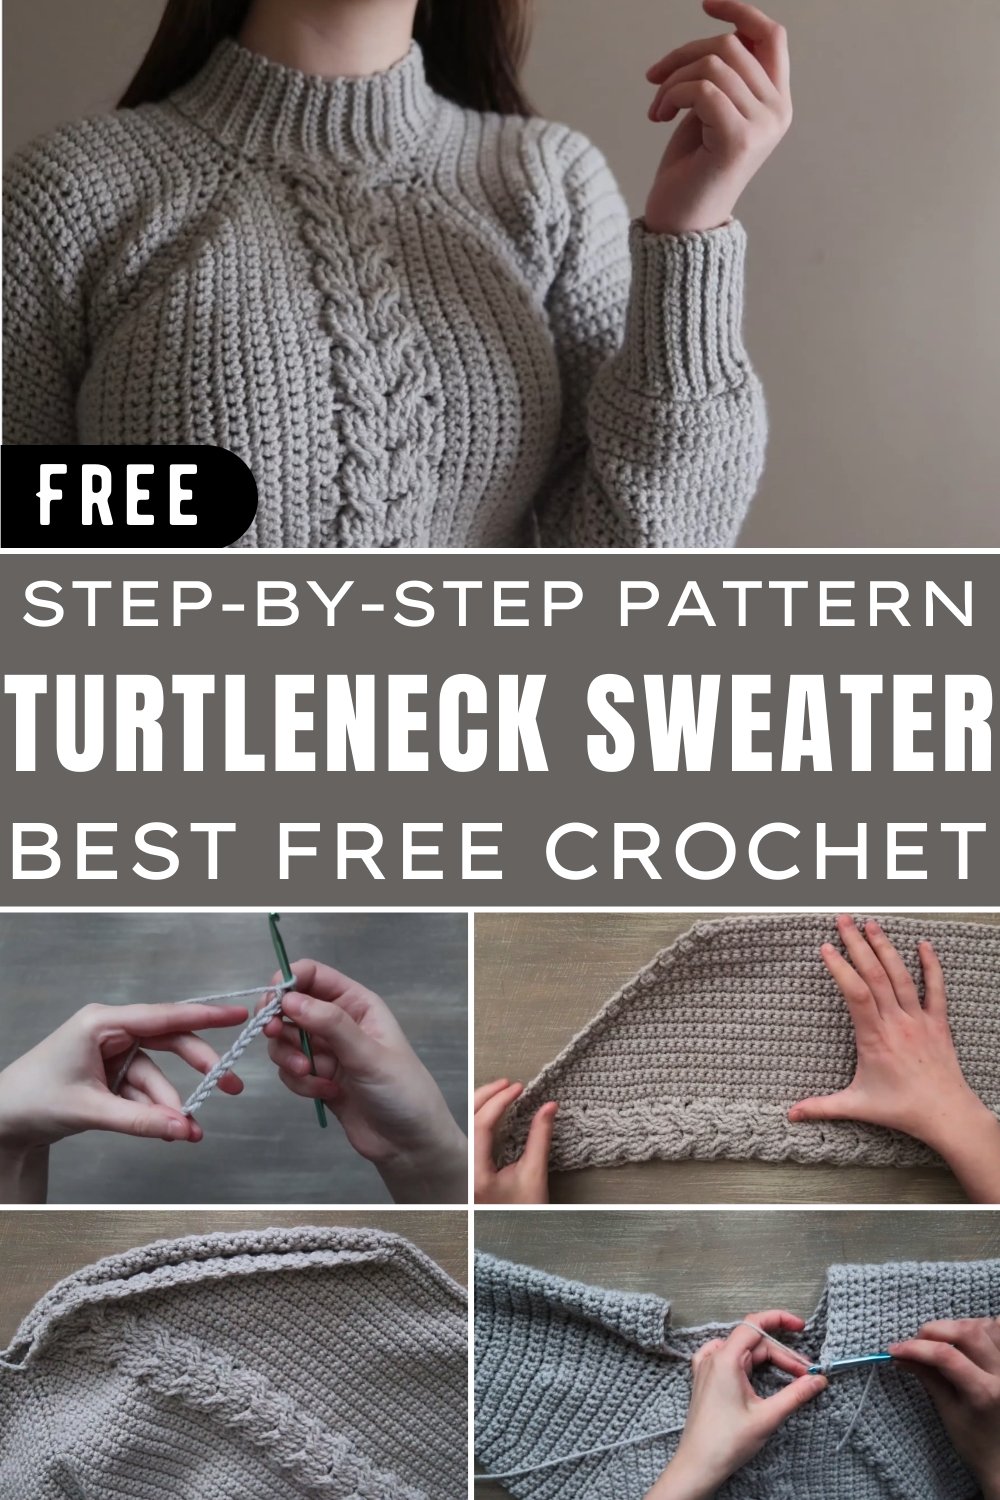
Learn How To Crochet Turtleneck Cable Stitch Sweater
In this pattern, Creator guides us through making a crocheted project, with instructions for small, medium, and large sizes provided in her Etsy shop. The pattern features detailed steps, tips, required materials, and practical suggestions to help crocheters follow along.
Materials Needed
- Category 4 yarn
- 4.5mm crochet hook
- Tapestry needle
Special Features
- Written pattern available in Ann’s Etsy shop
- Time stamps included in the YouTube video for easier navigation
- Step-by-step visual guidance
Level of Difficulty
This project is considered suitable for intermediate crocheters. While the foundation stitches and basic techniques like single crochets and slip stitches are accessible to beginners, the intricate back post and front post stitches, along with frequent turning of work and managing multiple rows, demand a degree of proficiency.
Step-by-Step Instructions
Foundation Row
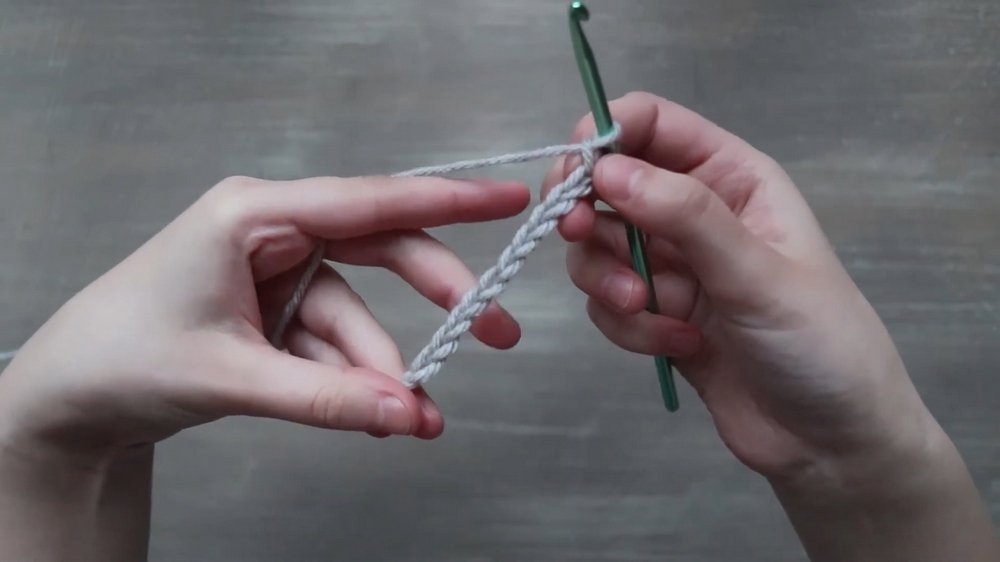
- Starting Off: Form a slip knot and chain 11.
- Half Double Crochets: Begin in the second chain from your hook and work a row of half double crochets into each stitch.
Main Pattern Repeat
- Chain 1 & Turn: Chain 1 to start each row and turn your work.
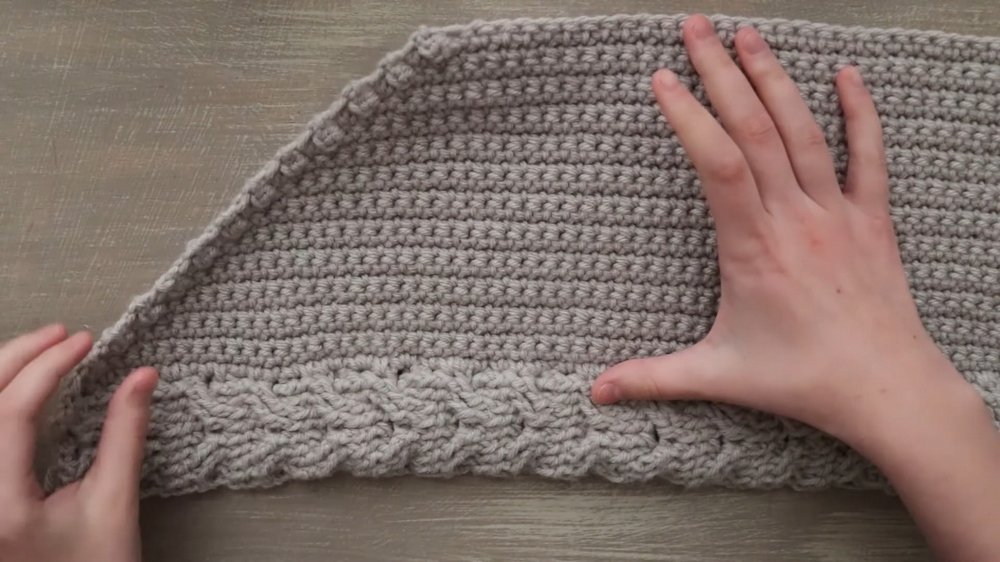
- Twisting Row: Work one half double crochet into the first stitch, skip two posts, then work two front post double crochets into the fourth stitch, referring back to skipped posts to do front post double crochets from behind. Repeat across the row.
- Back Post Half Double Crochets: Chain 1 and turn. Work one half double crochet into the first stitch, then eight back post half double crochets, and regular half double crochet into the last stitch.
- Front Post Half Double Crochets: Chain 1 and turn. Work eight front post half double crochets, with regular half double crochet into the last stitch.
- Repeat Rows 2-5: Now repeat rows 2-5 until you have completed 73 rows.
Side Panel
- Side Panel Steps: Repeat the same process on each side panel by initially slip stitching into the top corner, chaining 73 single crochets, and then proceeding with pull together decreases and regular single crochets until you have a total of 24 rows.
Back Panel
- Foundational Chain: Begin with a chain of 49, with single crochets into each chain.
- Increase Rows: Work regular single crochets, increasing every other row until you reach 24 rows, followed by 8 rows of no increases.
- Decrease Rows: Work decreases at the start of every other row until you have another 24 rows.
Sleeves
- Starting Sleeves: Insert hook and slip stitch in the corner, chain 15, then work single crochets and slip stitches through the sleeve.
- Working in Rounds: Work regular single crochets ensuring a total stitch count of 60 in each row.
- Decreases: Implement decreases in every 10th stitch and progressively reduce as instructed through several rounds until reaching 43 rows.
Cuffs
- Foundation Slip Stitches: Chain 18, switching to a 4.5mm hook, work slip stitches, then back loop slip stitches in each row up to 84 rows.
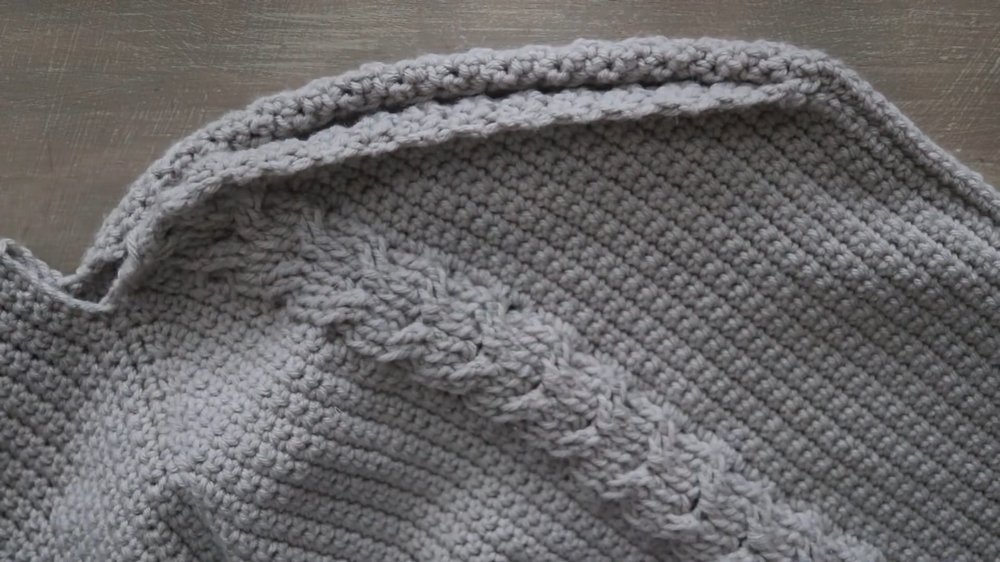
Turtleneck
- Forming Turtleneck: Switch to 5.5mm hook, slip stitch at any edge, and chain 12. Work slip stitches and back loop slip stitches around the collar, creating seams using single crochets or slip stitches.

Tutor’s Suggestions
- Utilize time stamps for better navigation.
- Review the written pattern for additional sizes available at the Etsy shop.
- Consider leaving a positive review if the pattern was purchased from Etsy.
Uses
This crochet pattern is perfect for making a cozy and stylish handmade garment. Its versatility in sizing ensures that it can be adapted for different body types.
Tip
When switching hooks and working slip stitches, ensure your tension is consistent for a neat finish.
Conclusion
This crochet pattern presents an elegantly detailed method for creating a patterned garment. With clear instructions, intermediate crocheters can master the art of creating beautiful crochet pieces.