Stylish Handmade Cropped Sweater Pattern for All Seasons
Create a trendy and comfortable look with a free crochet cropped sweater pattern that’s great for all seasons and adds a unique touch to any outfit.
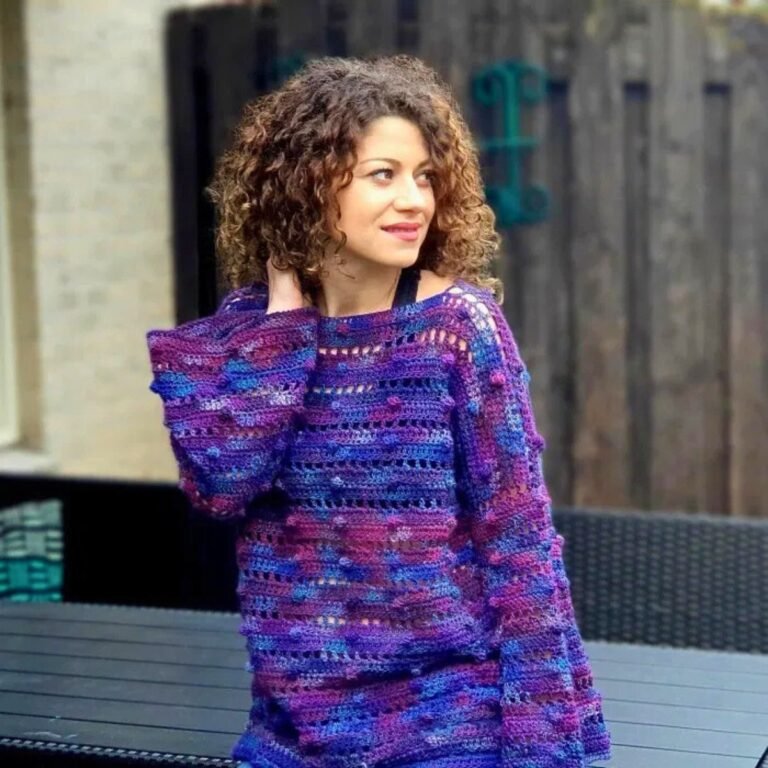
The resurgence of handmade clothing has brought a fresh wave of creativity to modern wardrobes, with crocheted pieces leading the charge. Among these, a cropped sweater stands out as a practical yet stylish option for both experienced crocheters and beginners. This free pattern offers a straightforward approach to making your own trendy top, combining warmth and flair. Perfect for layering, the sweater can be worn over a dress for a chic look or paired with jeans for casual outings. Its lightweight design ensures comfort without sacrificing style, making it suitable for all seasons.
How to Crochet a Cute Fashionable Cropped Sweater
Beyond its fashion appeal, crochet allows individuals to relax while creating personalized garments, turning every stitch into a satisfying experience. This cropped sweater showcases the versatility of crochet, highlighting how handmade clothing can look professional, polished, and unique.
Wearing something crocheted by yourself adds a touch of personality and pride to your outfit, giving you the opportunity to express individuality and resourcefulness. Whether it’s for a cozy autumn afternoon or a mild spring day, this sweater offers both functionality and aesthetic value, proving that fashion can be as effortless as it is rewarding.
Introduction:
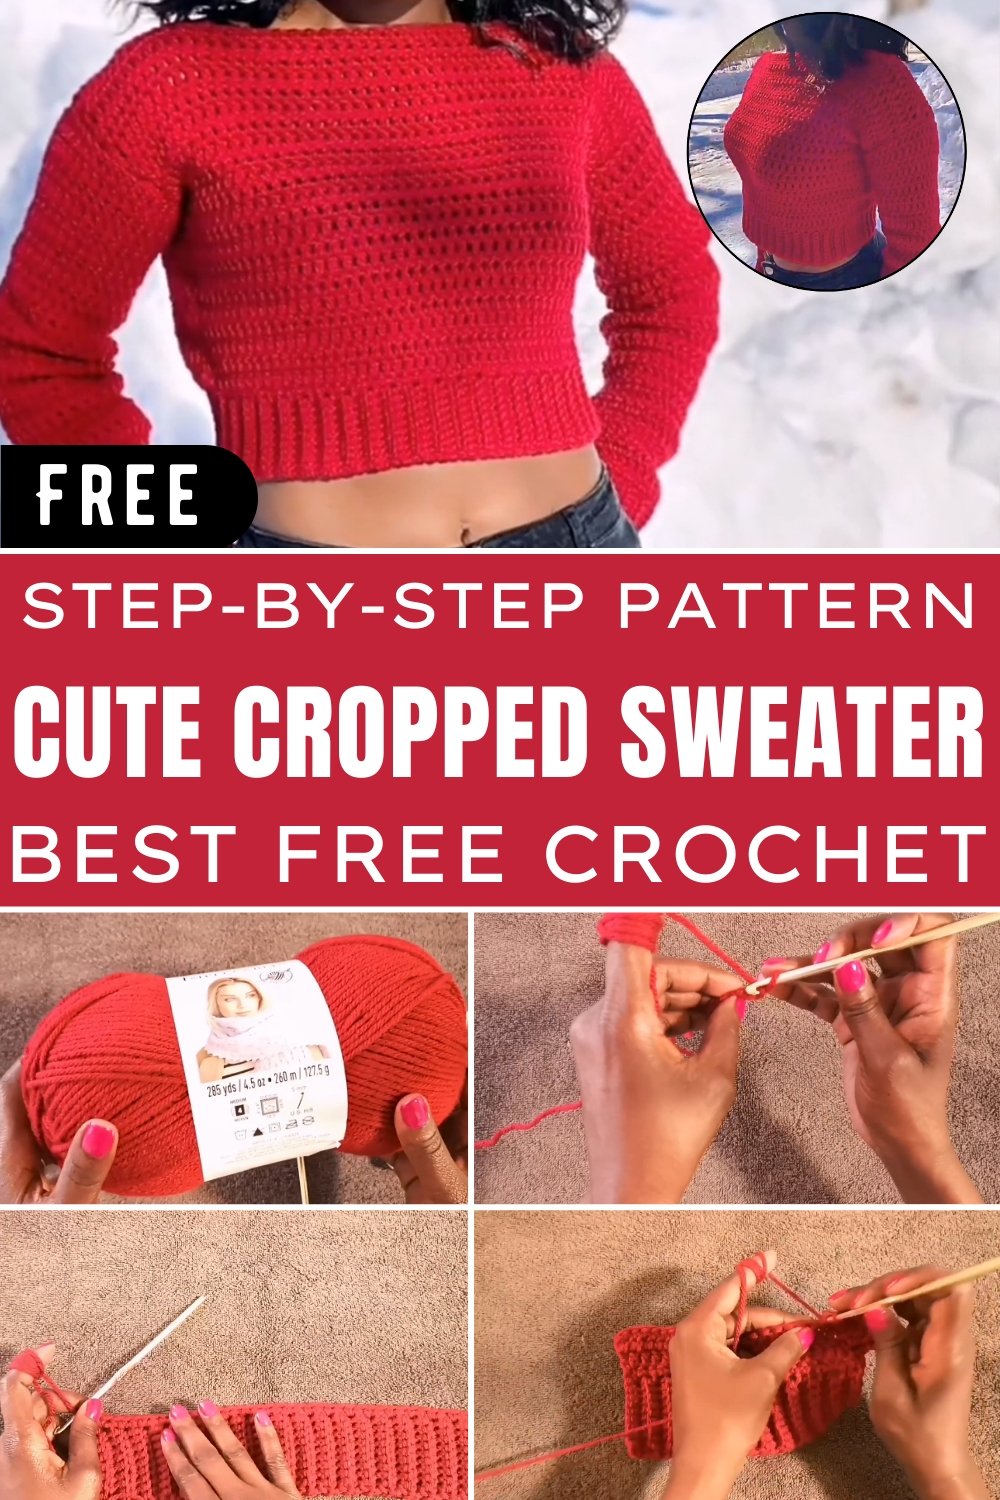
This pattern walks you through the process of making a simple and customizable crochet crop top sweater. Whether you’re crocheting for yourself or as a gift, this pattern allows flexibility in sizing and design. By following step-by-step instructions, you’ll create a sweater consisting of two panels for the body and separate sleeves. The project uses basic crochet techniques, making it ideal for beginners.
Materials Needed
- Yarn: Impeccable yarn from Loops & Threads is used in the video, but you can pick any medium-weight #4 yarn. Specifications:
- Length: 285 yards (127.5 grams)
- Type: 100% Acrylic
- Recommended Hook Size: 5 mm (US H-8)
- Color: Claret
- Crochet Hook: 5 mm crochet hook (recommended size for the yarn used).
- Other Tools:
- Darning needle (for sewing)
- Tape measure (to measure body size)
- Scissors
- Stitch markers (optional but helpful)


Step-by-Step Instructions
Panel 1 (Body of the Sweater)
- Start the Base:
- Create a slip knot and crochet a chain of 11 stitches.
- Identify the back loops of the chain to begin your work.
- Skip the first (11th) chain and work single crochet in the back loop of the next chain and subsequent nine stitches.

- Creating Rows:
- At the end of each row, chain 1, turn your work, and crochet single crochet stitches in the back loop of every stitch across.
- On the last stitch of each row, crochet through both loops for a neater edge.
- Build Up the Base:
- Continue this process until the panel measures half your waist size. For the sweater in the video, Angel created 50 rows, achieving a length of 15 inches. Adjust row count for larger or smaller sizes.
- Complete Panel’s Ribbed Base:
- Chain 1 at the end, turn your work, and crochet single crochets across the bumps and valleys formed by the ribbing to establish stitch spaces. This will guide the next rows.
- Switch to Double Crochet:
- Chain 2, turn your work, and begin double crochet stitches in each stitch.
- Continue for 22 rows (or adjust as needed for your size).
- Repeat Steps to Create Second Panel:
- Follow the same process to complete an identical second panel for your sweater.

Sleeves (2 Pieces)
- Creating the Wrist Portion:
- Begin with a slip knot and chain 11 stitches. Follow the same ribbing process described for the body panel. Work single crochet in the back loops for each row, going through both loops for the last stitch in every row.
- For the wrist section, Angel crocheted 24 rows, achieving a slightly loose fit.
- Expanding the Sleeve Length:
- Establish stitch spaces by crocheting single crochets across the ribbed wrist (bumps and valleys).
- Switch to double crochet stitches and increase your rows.
- Increases: For the first 4 rows of double crochet, work 2 double crochets in the 2nd stitch from the start and the second-to-last stitch to widen the sleeve as you crochet upward.
- Continue with regular double crochets after the 4th increase row to reach your desired sleeve length.
- Angel created a sleeve length of 20 inches or 34 rows total.
- Repeat Steps for the Second Sleeve:
- Follow the same instructions to create the second sleeve.

Assembling the Panels and Sleeves
- Joining Panels:
- Fold the two body panels together so their edges align.
- Use your darning needle and excess yarn to sew the top edges of the panels together, leaving holes for sleeves. Use stitch markers to identify the midpoint or seam points.
- Attaching Sleeves:
- Fold each sleeve in half to form a tube and sew along the edge to create the armhole.
- Line up the sleeve with the panel’s armhole seam and sew it closed, carefully joining the sleeve to the sweater body.
- Sewing the Side Edges:
- Fold the sweater body, align the edges, and sew down from the armhole to the bottom hem. Ensure the seams are straight for a neat finish.
- Finishing Touch:
- After assembling, flip the sweater inside out so the neat seams face outward.
- Weave in all loose ends and trim any excess yarn.
Conclusion
With this simple yet elegant crochet pattern, you’ve created a personalized crop top sweater that combines comfort and style. By mastering basic stitches like single and double crochet, this project opens opportunities to explore other crochet garments and patterns. Adjust measurements, colors, and styles to suit your unique needs.