Lightweight Crochet Puff Stitch Beanie Pattern for Year-Round Style
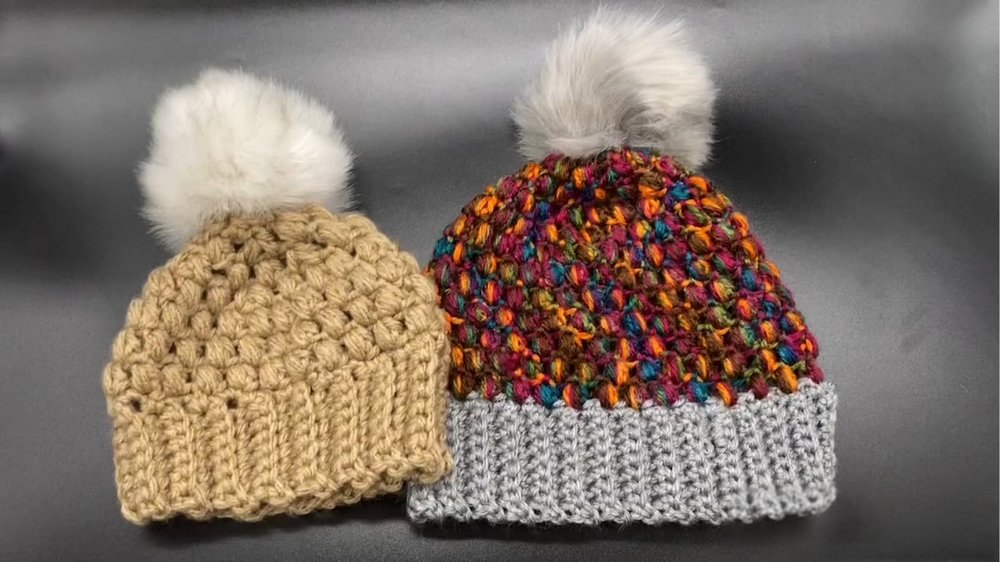
Stay cozy and stylish this winter with the Crochet Puff Stitch Beanie Pattern, featuring a soft texture, striking design, and endless customization options.
If winter leaves you searching for the perfect blend of warmth and style, a crochet puff stitch beanie might be the answer. This beautifully textured beanie is popular for its soft, raised design that feels as good as it looks. The puff stitch adds volume and charm while offering exceptional insulation, making it an ideal companion for cold weather. With its ability to adapt to various sizes and colors, it brings a unique touch to any outfit.
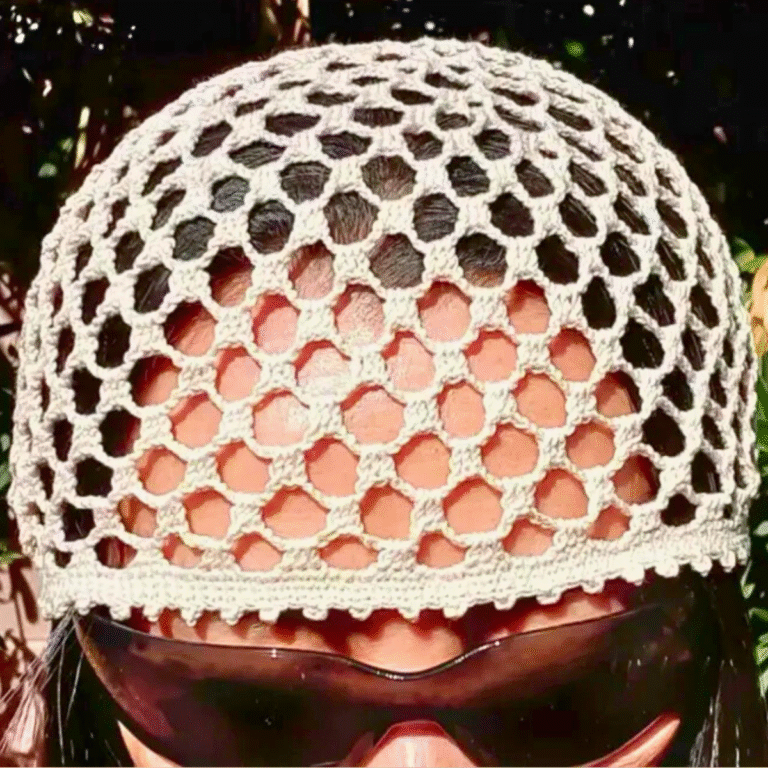
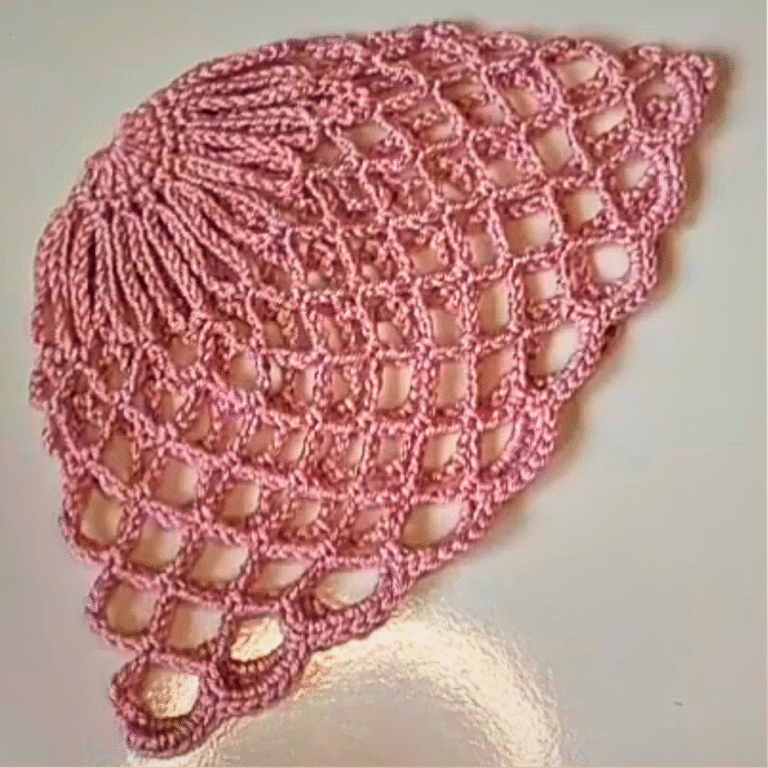
Vintage-Inspired Crochet Puff Stitch Beanie You Can Make
Perfect for all ages, its versatility makes it suitable for children, teenagers, and adults alike. The plush texture not only provides comfort but also turns heads with its eye-catching appeal. Whether used for everyday warmth or as a thoughtfully handmade gift, this accessory is more than just practical—it’s personal. Soft, skin-friendly yarn enhances its durability, ensuring comfort on even the coldest days.
This beanie effortlessly combines functionality with flair, adding personality to any winter wardrobe. Its timeless charm makes it a staple that transcends trends and seasons. For both beginners and seasoned crafters, the puff stitch pattern is satisfying to work with and results in a piece you’ll love to wear or share. Warm, stylish, and customizable—it ticks all the boxes!
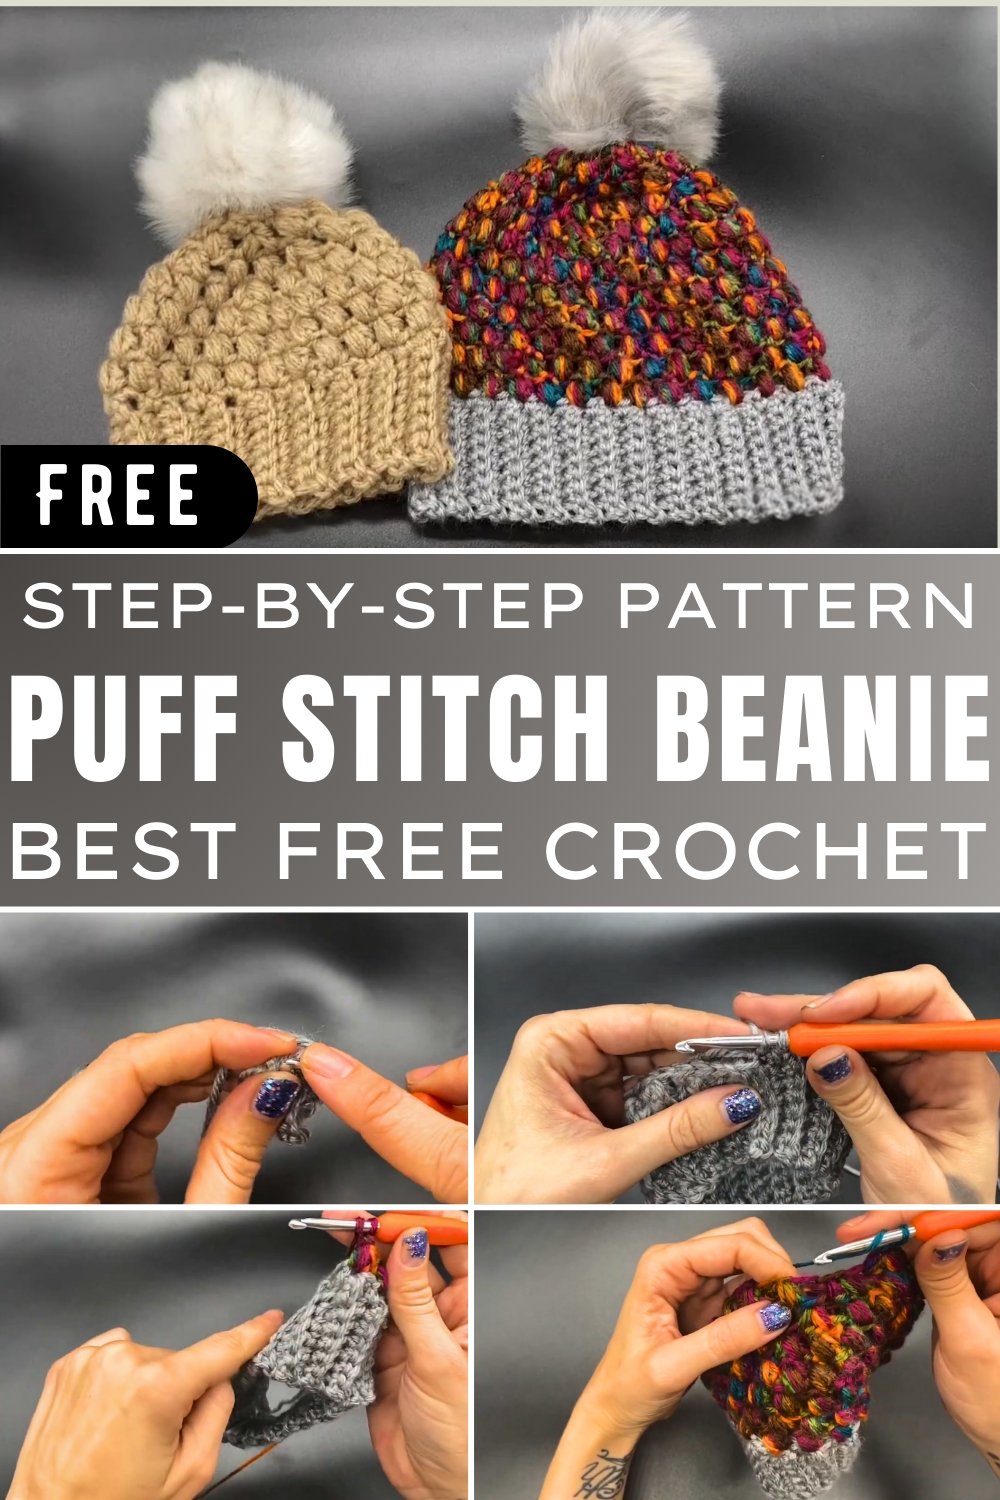
How to Crochet a Puff Stitch Beanie: Step-by-Step Guide
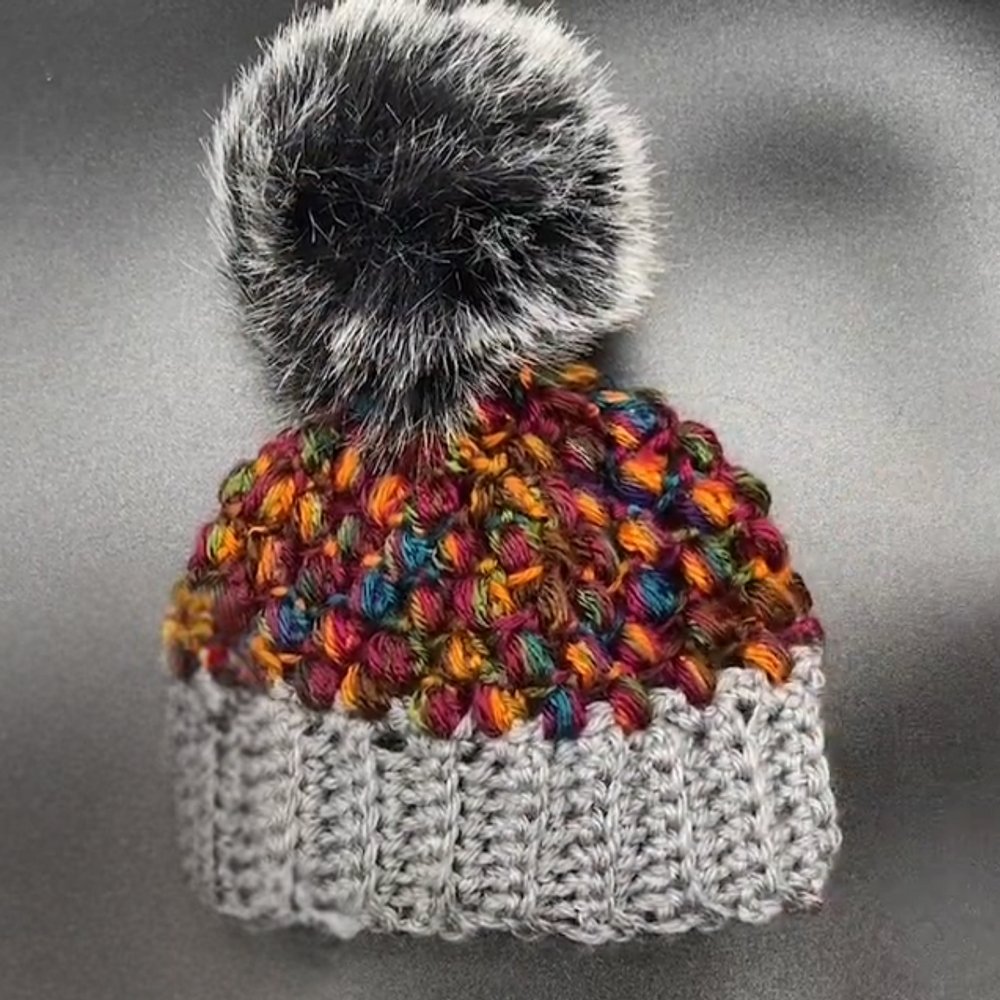
This tutorial showcases how to crochet a stylish puff stitch beanie with an attached faux fur pom-pom. This beginner-to-intermediate project is perfect for creating a cozy and chic accessory for babies, toddlers, and kids.
Materials Needed
To begin, gather the following materials:
- Yarn: Red Heart Soft (Heather or Light Gray Heather) for the main color and a secondary jewel tone for accents (both are medium-weight, category 4 yarns).
- Crochet Hook: 5mm (H).
- Stitch Marker: Essential for tracking stitches.
- Additional Tools: Scissors and a tape measure.
Step-by-Step Instructions
1. Creating the Brim
- Step 1: Start with a slip knot and chain 8.
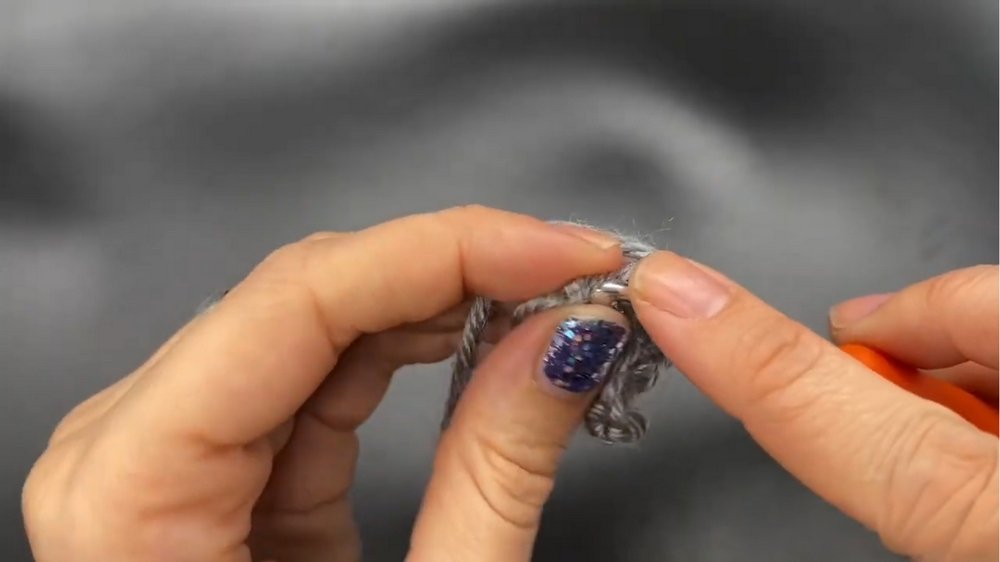
- Step 2: Skip the first stitch and single crochet into the second stitch from the hook, repeating across the row (7 single crochets total).
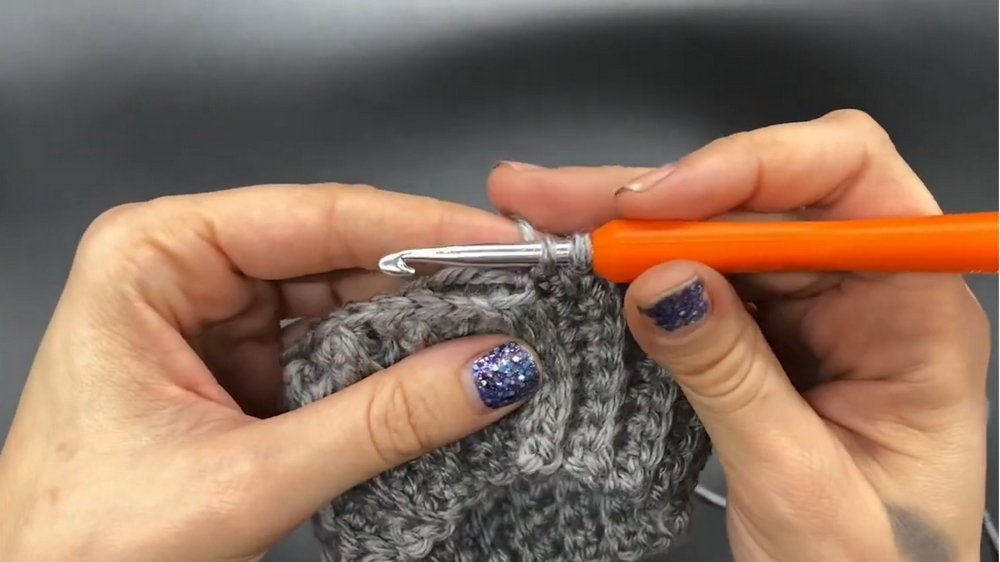
- Step 3: Chain up 1 and turn your work. Single crochet into the back loop of each stitch.
- Step 4: Repeat this process for a total of 36 rows to create a brim measuring 10.5 inches.
- Step 5: Fold the brim in half, align the edges, and join them by slip stitching across.
2. Building the Base of the Beanie
- Step 6: Work 42 single crochets evenly around the top edge of the brim.
- Step 7: Switch to the secondary color before completing the last stitch. Tie both yarn colors securely.
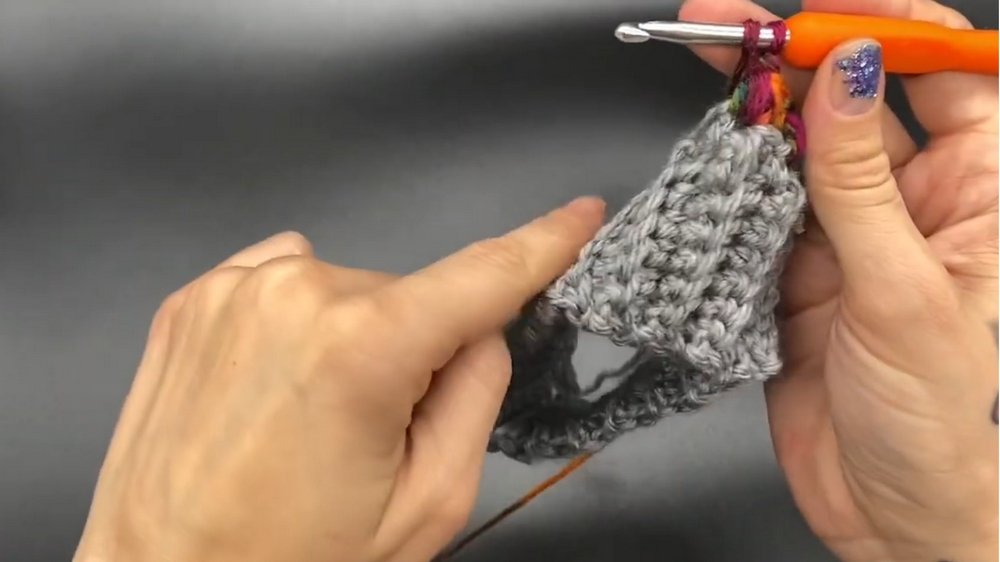
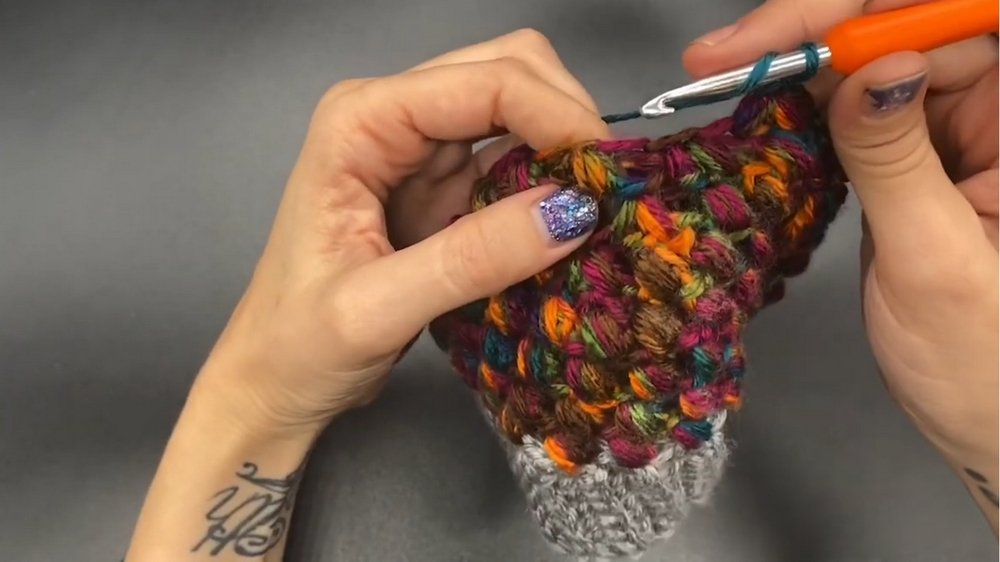
3. Creating Puff Stitch Rounds
- Step 8: Chain 1 and work puff stitches around the brim. Each puff stitch requires 9 loops on the hook:
- Yarn over, insert hook, pull up a loop (repeat until you have 9 loops).
- Yarn over again and pull through all loops, securing the puff with Chain 1.
- Step 9: Skip the next stitch and repeat puff stitches to achieve 21 puff stitches in total.
4. Adding Additional Rows
- Step 10: Continue the puff stitch pattern for Rows 3 and 4 (no decreases). Work one puff stitch in each stitch for a total of 21 puff stitches per row.
5. Decreasing Rows
- Step 11: Begin decreases from Row 5:
- Work 3 puff stitches as normal, then decrease by combining the next 2 stitches into a single puff stitch.
- At the end of Row 5, you should have 17 puff stitches.
- Step 12: Row 6 involves working 2 puff stitches followed by a decrease. End with 13 puff stitches.
- Step 13: Row 7 continues with 1 puff stitch followed by a decrease, reducing to 9 puff stitches.
- Step 14: Row 8 completes the beanie by decreasing all remaining puff stitches down to 5.
6. Finishing the Beanie
- Step 15: Work 10 single crochets around the top edge.
- Step 16: Cut the yarn with a long tail and use it to weave through the stitches at the top, pulling tight to close the hole.
7. Adding the Pom-Pom
- Attach a faux fur pom-pom to the center of the beanie top using the remaining yarn tail or its built-in loop.
Special Features
- Puff Stitch Texture: Provides dimension and style to the beanie.
- Adjustable Sizes: The tutorial adapts the pattern for newborns, toddlers, or older children.
- Pom-Pom Addition: A great finishing touch that adds extra flair.
Suggested Level of Difficulty
The project is suitable for beginners with some foundational knowledge of crochet stitches (e.g., single crochet and puff stitch). The gradual instructions ensure accessibility for newer crocheters.
Tutor’s Suggestions
- Keep track of rows by using a stitch marker or a bobby pin.
- For tight and professional results, maintain even tension, especially during puff stitch decreases.
- Measure as you go to ensure the correct size for the recipient.
Uses of the Beanie
- Perfect as winter wear for babies and toddlers.
- Makes a thoughtful handmade gift.
- Great for craft fairs or DIY projects.
Materials Tip
For a softer, cozy texture, choose high-quality medium-weight yarn. If preferred, you can use chunkier yarn for larger, warmer beanies.
Conclusion
This puff stitch beanie tutorial is a delightful and rewarding project, blending simplicity with creativity. Whether for a newborn or an older child, the process is easy to learn and customize. Arm yourself with your yarn and hook to create a cozy, vibrant accessory. Make sure to add a faux fur pom-pom for the perfect finishing touch!
Final Tip
To ensure durability and aesthetic appeal, weave in the ends securely. This avoids unraveling and solidifies the project for long-term use.