Quick Crochet Flat Circle Coaster Pattern for Chic Table Settings
Hook up some fun with this quick crochet flat circle coaster pattern perfect for adding a pop of chic charm to your table settings in no time!
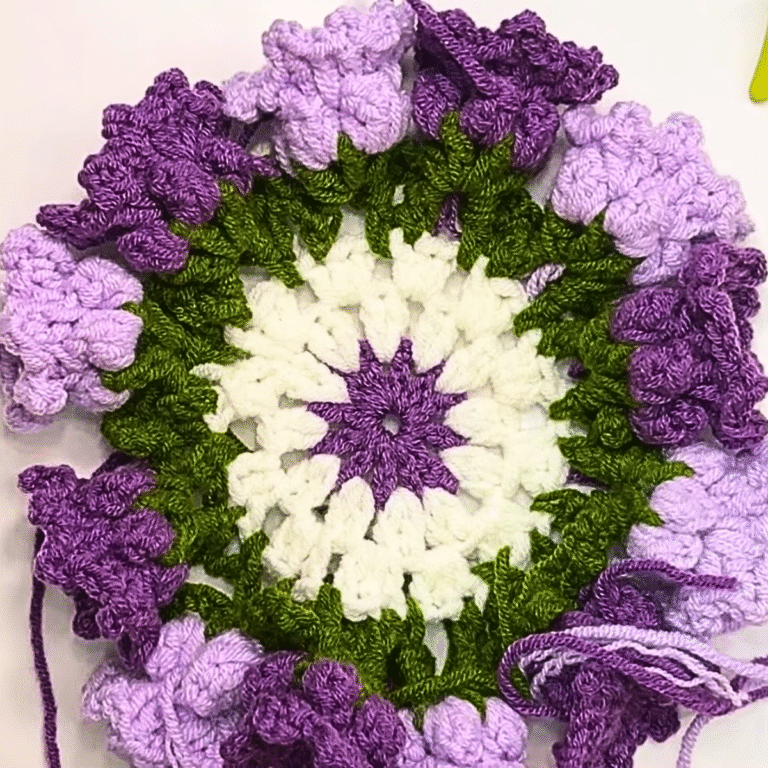
Sometimes, the smallest detail can leave the biggest impression. A quick crochet flat circle coaster pattern offers a delightful way to enhance your table setting while serving a practical purpose. This coaster not only protects surfaces from hot dishes or cups but also adds a touch of charm and style to your everyday spaces. Perfect for beginners and experienced crocheters alike, the pattern is simple, fuss-free, and wonderfully adaptable.
Crochet Flat Circle Coasters – Perfect DIY Home Accents

Its circular design brings a subtle elegance that complements a wide range of themes, whether you prefer a minimalist, neutral look or vibrant shades for seasonal flair. Ideal for cozy coffee moments or more formal settings, this coaster works effortlessly as part of your décor. It’s also a thoughtful handmade gift, carrying a personal and meaningful sentiment that can’t be matched by store-bought alternatives.
It’s quick and achievable even for beginners with basic crochet techniques. Perfect beside a mug, under a vase, or by a wine glass, it’s a small yet impactful addition that protects surfaces and pulls together the sophistication of your table. Because even the simplest accent can bring an unexpected elegance to your space.
Introduction
The pattern focuses on creating a Flat Circle Coaster using simple crochet techniques suitable for beginners. The process involves working with basic stitches such as the magic ring, single crochet, chain stitch, double crochet, and slip stitch. By layering these stitches strategically, you can create a beautiful circular coaster, which can be used as a practical and aesthetic addition to your space.
Materials:
- Yarn
- Hook
 1234
1234
Step-by-Step Guide to Crochet a Flat Circle Coaster
1. Start with a Magic Ring
- Begin by making a magic ring as the foundation for your coaster.
- The magic ring creates a tight center for the flat circle, ensuring stability and a polished finish.
2. First Layer: Double Crochet into the Magic Ring
- Make a single crochet to secure the ring.
- Add a chain stitch to prepare for the next row.
- Crochet 11 double crochets into the magic ring.
- Tighten the ring and finish this layer by closing the circle with a slip stitch.
3. Second Layer: Expanding the Circle
- Begin the second layer by making a slip stitch to move to the next row.
- Add a single crochet and a chain stitch.
- Follow the same pattern by crocheting double crochets into the stitches around the circle.
- Complete this layer with a slip stitch to close the circle.
4. Third Layer: Alternating Double Crochet Pattern
- Start the layer with a single crochet and chain stitch.
- Alternate between two double crochets in one chain and one double crochet in the next chain.
- This creates an even expansion in the circle.
- Once complete, close the layer with a slip stitch.
5. Fourth Layer: Repeating Expansion
- Begin as usual with a single crochet and chain stitch.
- For this layer, repeat the previous method but with more frequent expansions:
- Crochet one double crochet in each of the next two chains
- Crochet two double crochets in the following chain
- Repeat this pattern to finish the entire layer.
- Close the layer with a slip stitch.
6. Fifth Layer: Adding Additional Rows for a Coaster
- Add another layer following the same expansion method.
- Pattern: Crochet one double crochet in three consecutive chains, then two double crochets in the fourth chain.
- This creates a wider circle suitable for a coaster.
- Finish the layer with a slip stitch.
7. Securing the Ends
- Use a blunt needle to sew and secure the loose ends.
- Follow the method shown in the video to achieve a clean finish.
Conclusion
By following these systematic steps, you can crochet a stunning flat circle coaster using basic stitches. The pattern simplifies the art of crochet for beginners and provides additional layers for customization to suit your needs. Adding more layers or experimenting with colors makes this pattern versatile for home décor or gifting purposes.


