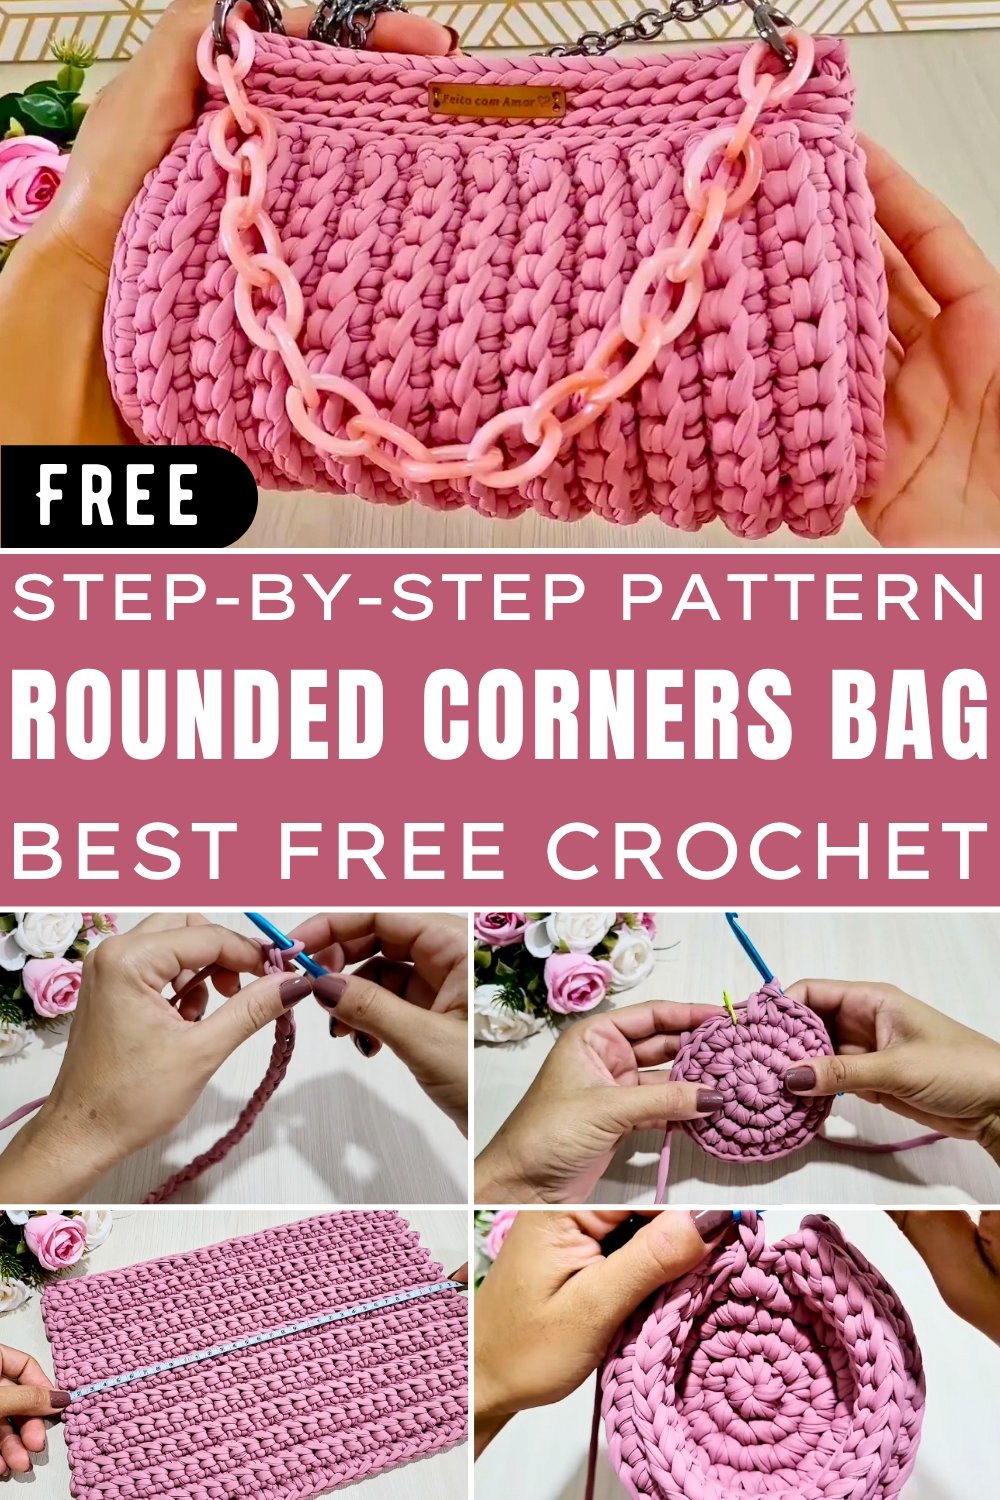
Stylish Crochet Rounded Corners Bag Pattern for Boho Lovers
Stylishly redefine functionality with the Crochet Rounded Corners Bag Pattern—an ideal choice for everyday use that’s effortlessly chic.
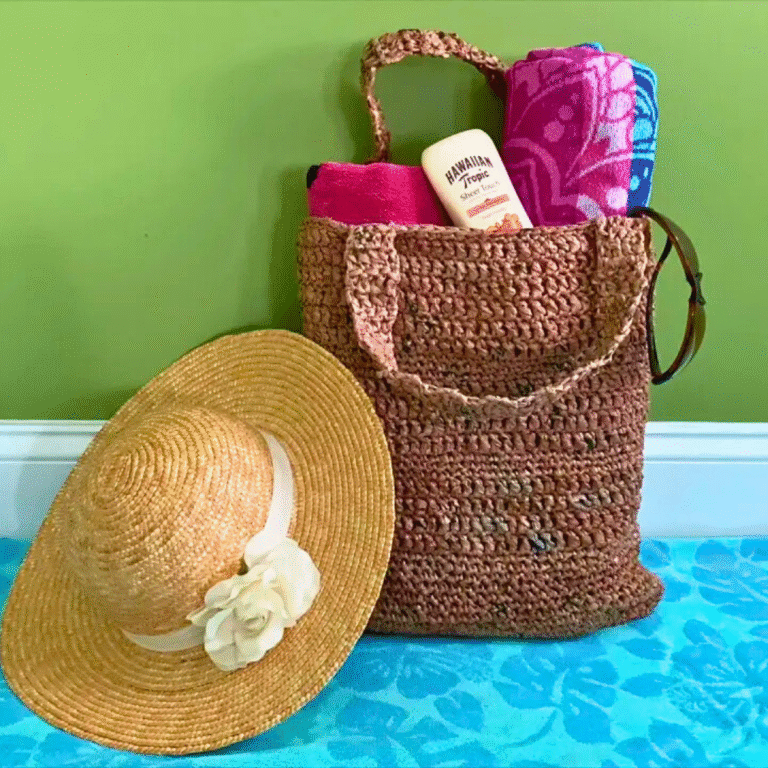
There’s something special about carrying an accessory that feels both practical and artistic. A crochet rounded corners bag effortlessly combines usability with charm, offering a design that’s sturdy yet sophisticated. Its curved edges not only give it a contemporary look but also enhance durability, making it a reliable choice for carrying everyday necessities like wallets, phones, and makeup essentials.
Easy Crochet Rounded Corners Bag Pattern for All Levels
Charming textures bring life to this bag, making it an accessory you’ll enjoy styling for casual outings, lunch dates, or weekend strolls. The design boasts versatility, suiting various occasions while complementing outfits ranging from laid-back denim to summer dresses. Its structure ensures contents stay organized, eliminating the hassle of rummaging through cluttered bags.
Lightweight construction adds to its ease of use, allowing it to become your go-to accessory without feeling cumbersome. Options for customization elevate its appeal, letting you tailor it to your style preferences with colors, embellishments, or fabric enhancements.
Replacing disposable shopping bags is another added benefit, offering a sustainable alternative that’s good for both fashion lovers and the planet. With a crochet rounded corners bag, durability meets elegance, making it the perfect expression of style and practicality intertwined in one delightful accessory.
How to Crochet a Beautiful Bag
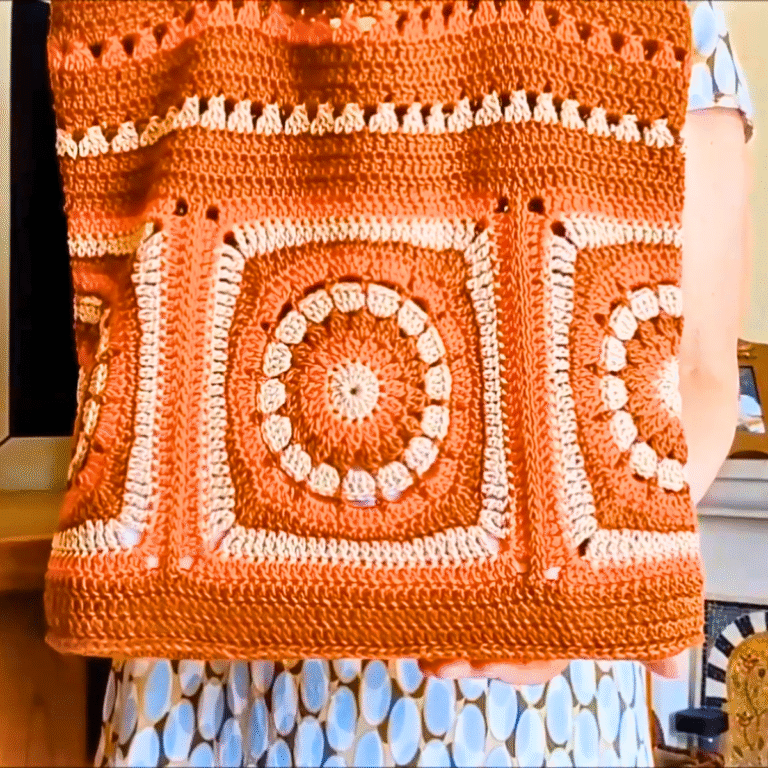
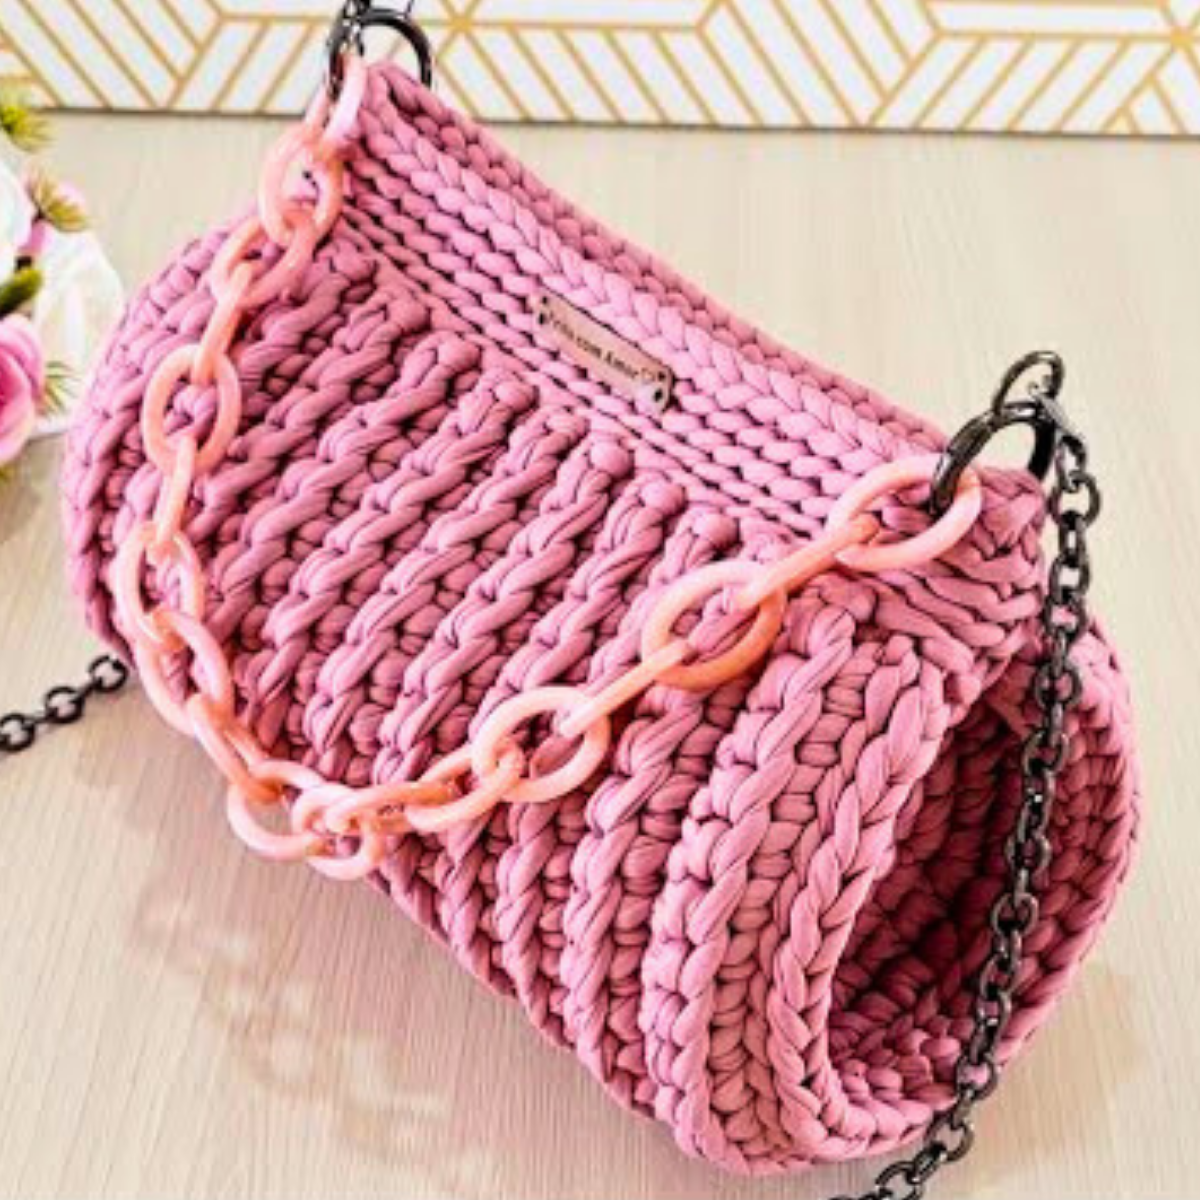
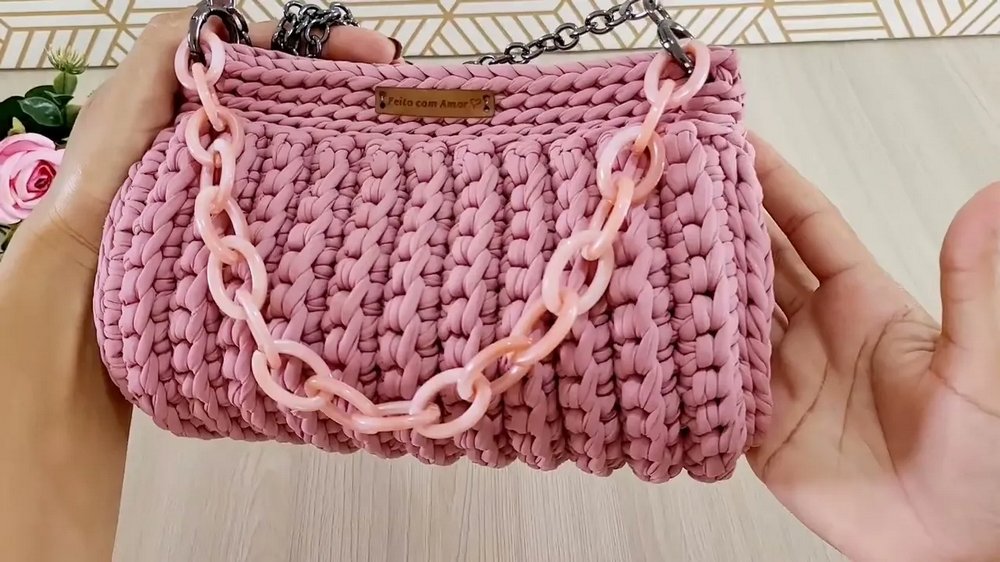
This bag features elegant relief details, rounded corners, and a firm design, making it both practical and visually appealing. Whether you’re a beginner or an experienced crocheter, this project offers a delightful way to create something functional and beautiful.
Special Features of the Bag
- Relief Details: The bag includes charming raised stitches that give it a unique texture and aesthetic appeal.
- Rounded Corners: Adds sophistication and a polished look to the design.
- Firm Structure: Ensures durability and practicality for daily use.
- Spacious Interior: Offers ample room to accommodate your essentials.
- Magnetized Button Closure: A functional and stylish way to keep the bag securely closed.
- Optional Straps: You can choose between a chain strap or create your own strap from the knitting yarn.
Level of Difficulty
- Skill Level: Intermediate
The pattern involves working with knitted wire, relief stitches, and crocheting in rounds. A basic understanding of crochet techniques, such as single crochet and slip stitch, is recommended.
Materials Needed
- Knitted Yarn:
- Type: Residual knitted yarn with elasticity and irregularities.
- Quantity: Approx. 450 grams.
- Crochet Hook: 5 mm
- Bag Accessories:
- A 1-meter chain strap (optional).
- Plastic ring handles.
- 2 medium-sized articulated rings.
- Magnetized button for closure.
- Sewing Tools:
- Needle and nylon thread for attaching accessories.
- Labels (Optional): For decorative purposes.
Step-by-Step Instructions
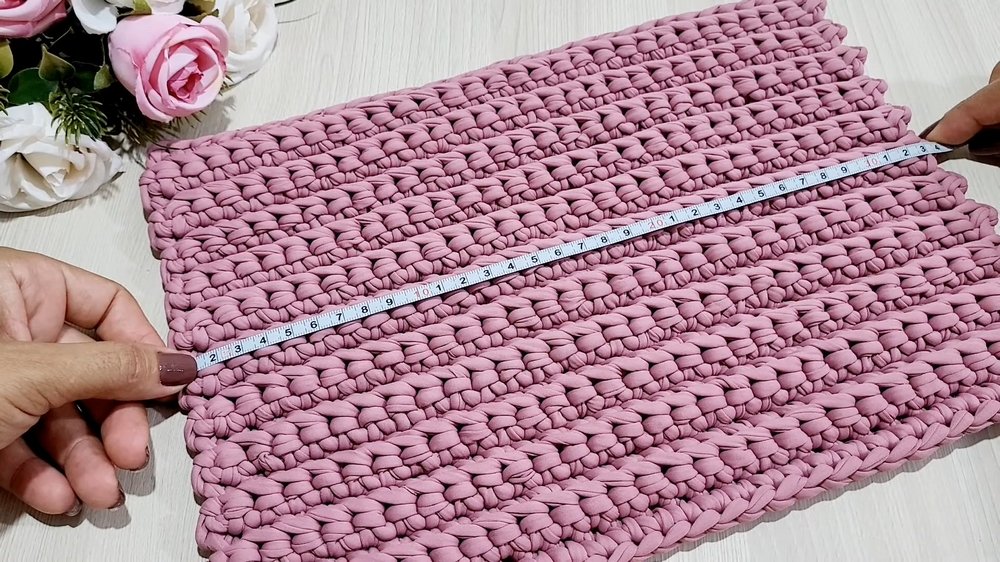
1. Create the Base of the Bag
- Start with 31 chains.

- Work 30 single crochets across, skipping the first knot and taking the loop behind the chain for a clean finish.
- Turn your work and continue single crochets by picking up the back loop of each stitch.
- Repeat this process for 23 rows (30 stitches per row). This creates the body of the bag, with the relief details forming naturally.
2. Finish the Edges
- Cut the yarn and use a smaller needle to weave in loose ends for a tidy appearance.
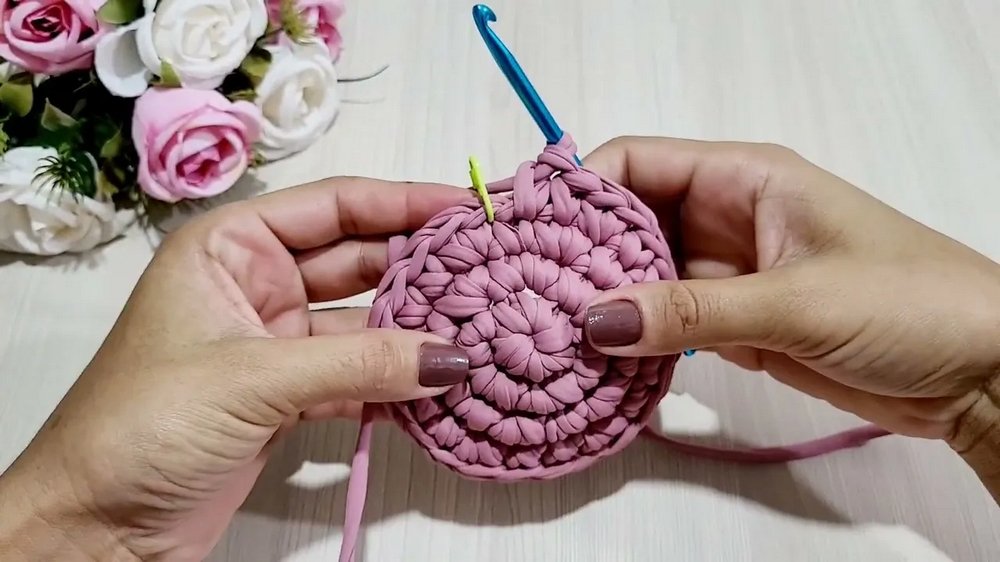
3. Crochet the Circular Sides
- Begin with a magic ring and make 6 single crochets inside it.
- Pull the smaller thread to close the ring.
- Work in rounds, increasing stitches according to the pattern:
- Round 1: 6 stitches.
- Round 2: 12 stitches (increase in each stitch).
- Round 3: 18 stitches (alternate increase and 1 single stitch).
- Round 4: 24 stitches (alternate increase and 2 single stitches).
- Round 5: 30 stitches (alternate increase and 3 single stitches).
- Make two identical circles and finish with a slip stitch.
4. Assemble the Bag
- Attach the circular sides to the body of the bag with slip stitches, working on the right side of the fabric. Pick up only the outer loops for a neat join.
- Ensure the corners are aligned and edges meet perfectly.

5. Add Finishing Touches
- Create a border with 5 rows of slip stitches, working only in the back loops for a polished design.
- Secure and hide all loose ends carefully.
6. Add Accessories
- Attach the magnetized button in the center for secure closure. Sew it using a durable thread, like nylon.
- Fasten the rings and straps to the edges of the bag.
- Add decorative labels if desired.
Tutor’s Suggestions
- Use nylon thread for sewing the button and straps as it blends well with any yarn color.
- If desired, make your own straps using the knitted yarn for a fully customizable look.
- Pay attention to the finishing work, as neat edges enhance the overall appearance of the bag.
Uses of the Bag
- It’s perfect for daily use due to its firm and durable structure.
- The stylish design makes it suitable for both casual and semi-formal occasions.
- Its spacious interior allows storage for essentials like wallets, phones, and makeup.
Tip for Success
Take your time while crocheting the relief details and sewing the bag’s sides. A consistent and tight tension will create a more professional and sturdy finish. Additionally, marking the stitches at the end of each round can help you stay on track.
Conclusion
This beautiful crochet bag is a fun and rewarding project that combines functionality with style. Detailed tutorial ensures even those with intermediate crochet skills can follow along with ease. Whether made for yourself or as a gift for someone special, this bag is sure to impress with its elegance and practicality.