Textured Waves Crochet Beanie Style Hat Pattern for Cold Days
Master the art of making a stylish Crochet Beanie Style Hat with textured wave designs, combining comfort and warmth for all sizes in just simple steps!
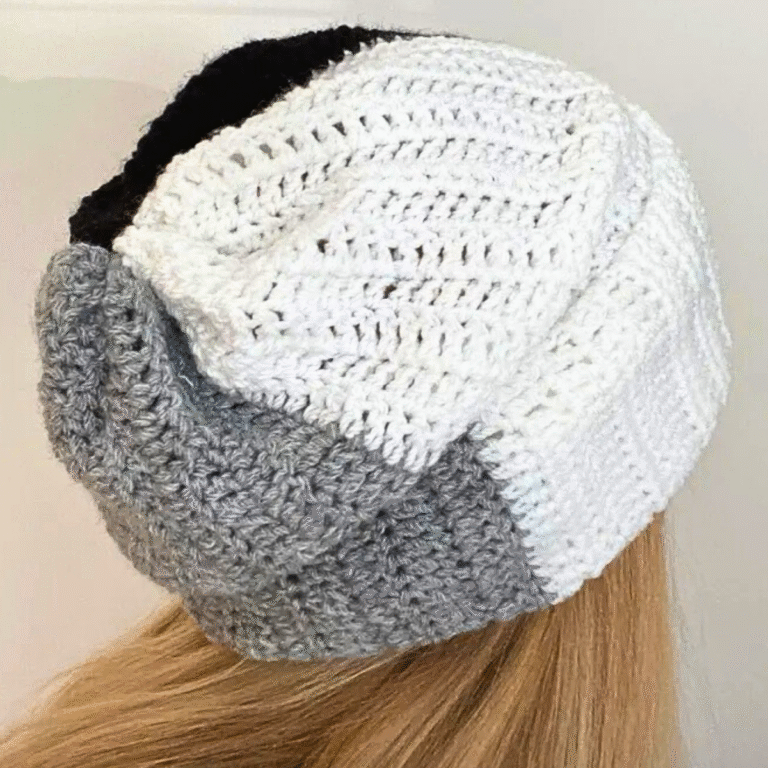
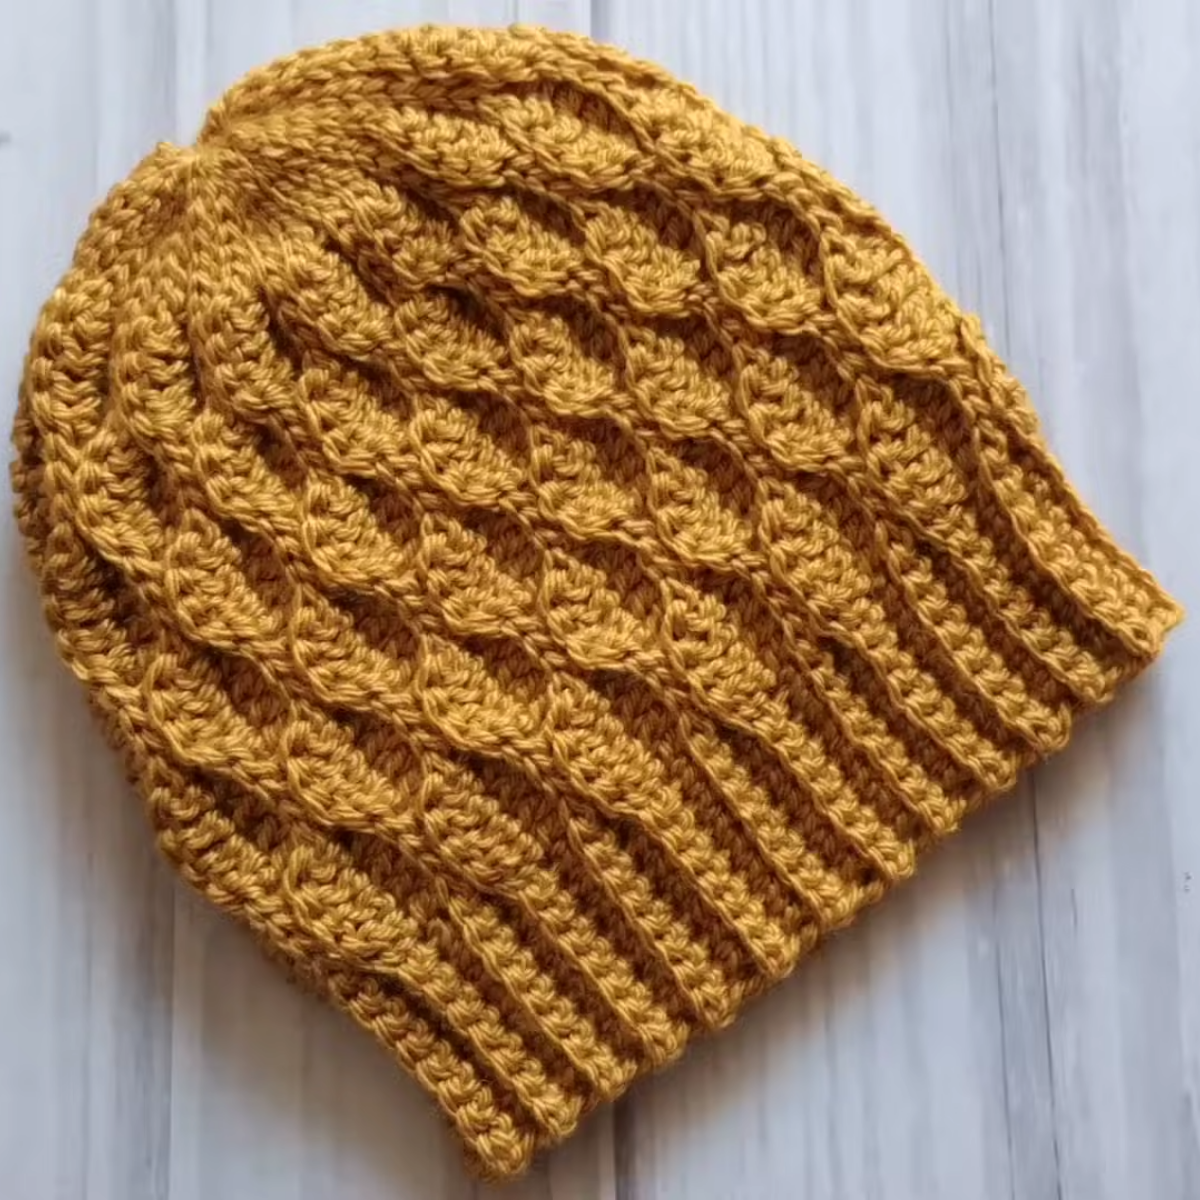
Crochet Beanie Style Hat is a rewarding way to combine practicality and aesthetics into a single project. Featuring a textured wave design formed by alternating double crochet stitches and slip stitches, this hat is crocheted vertically in repeating rounds, making the process both simple and effective. The addition of a ribbed elastic band ensures a comfortable fit around the forehead, while the top is neatly cinched using slip stitches for a polished finish.
Modern Crochet Beanie Style Hat Pattern for Beginners
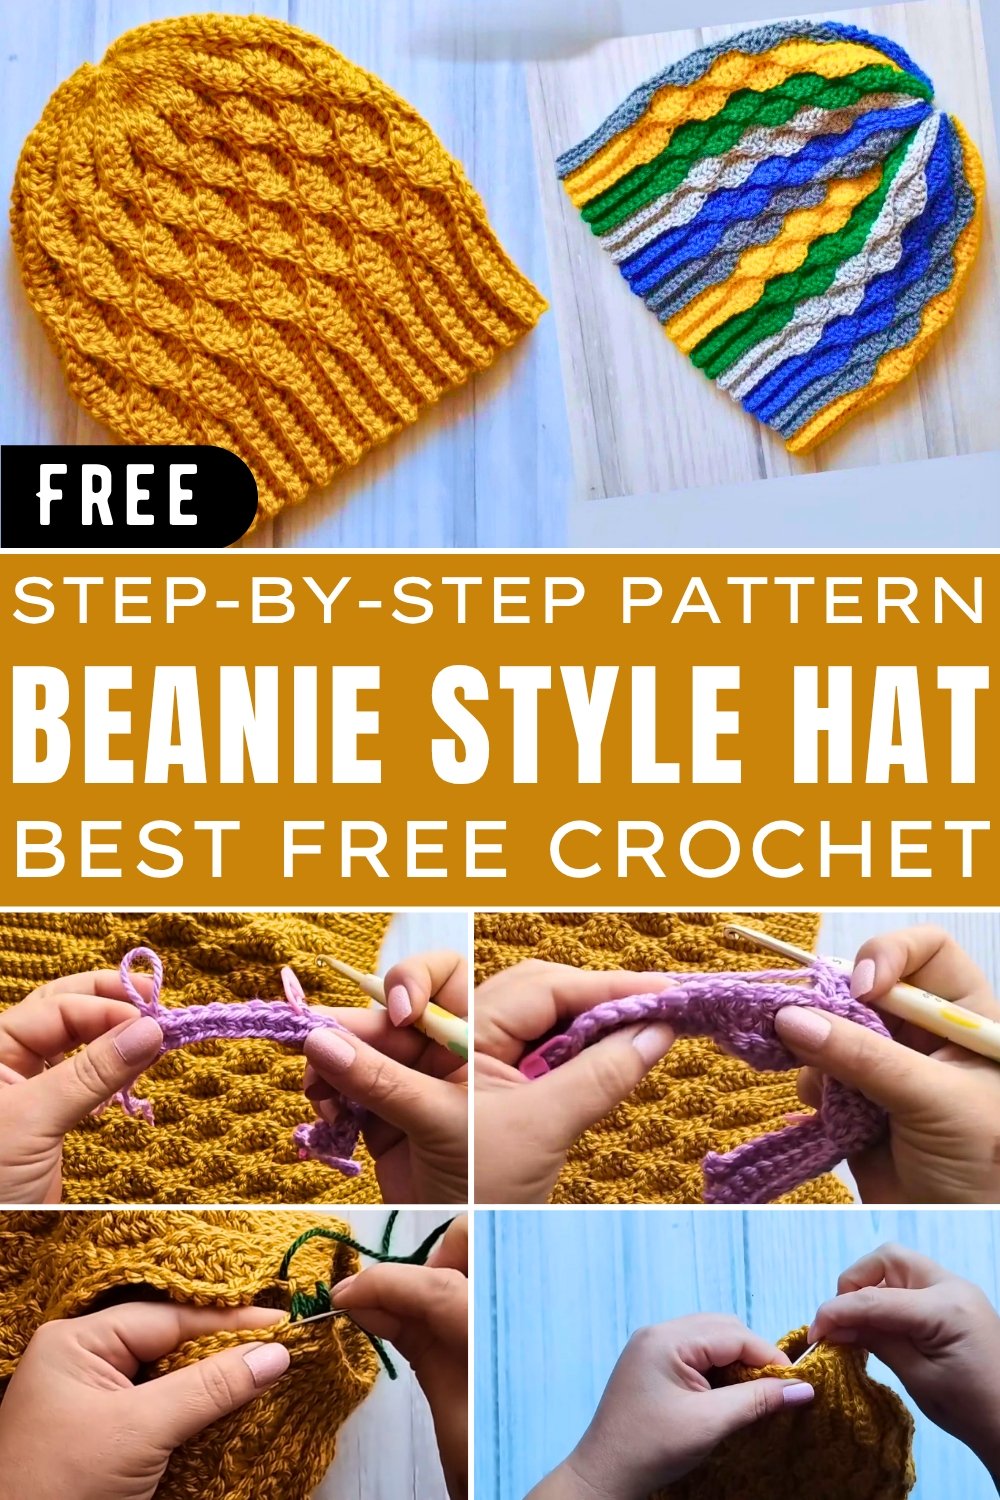
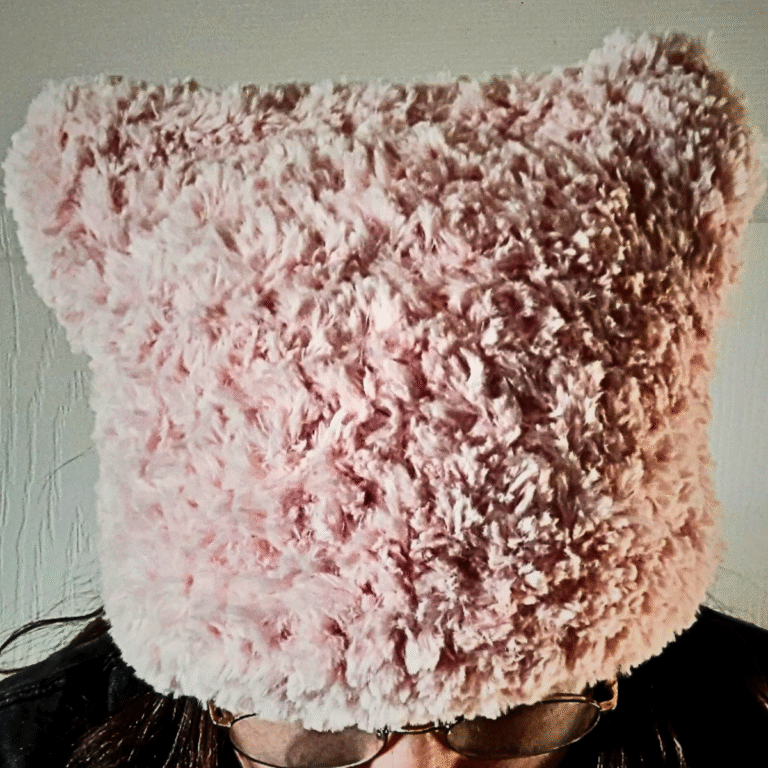
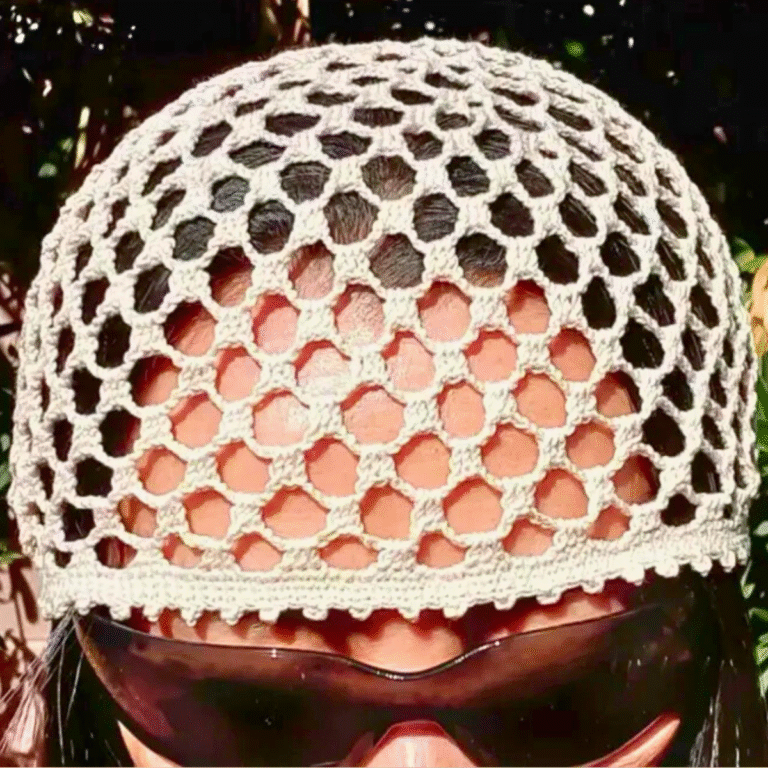
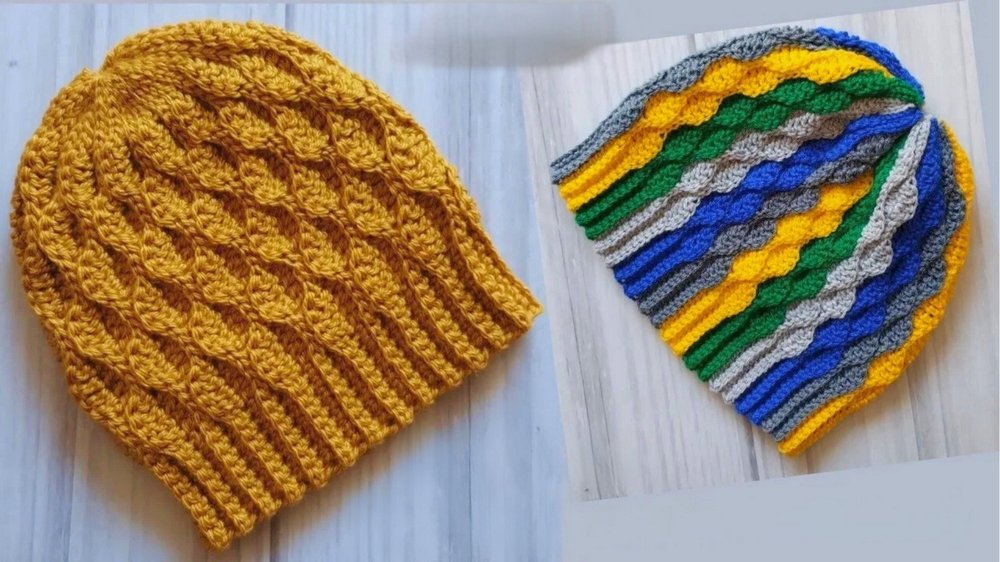
This dynamic hat design accommodates all sizes, from children to adults, and can be tailored further by experimenting with yarn thickness or color combinations. Using intermediate-weight yarn yields a classic look, while choosing finer yarn produces a lighter, more detailed appearance, enhancing the curve of the waves. For added versatility, the beanie can be made in solid colors or intricate multi-color patterns, allowing it to reflect individual preferences or seasonal trends.
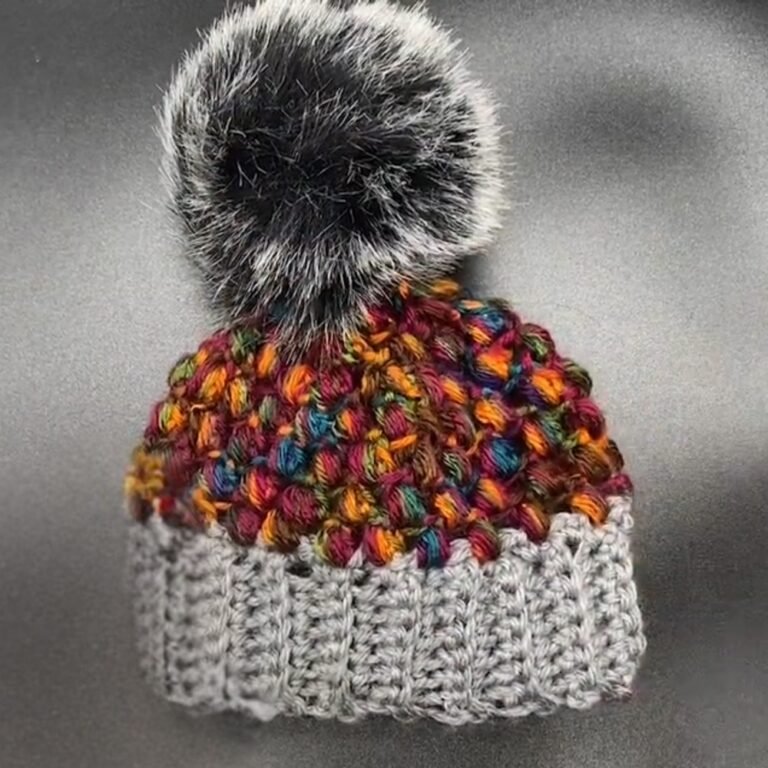
Beyond its aesthetic appeal, this Beanie Style Hat is a practical cold-weather solution thanks to its snug fit and warm texture. The elasticity of the stitchwork makes this hat adaptable to different head shapes, guaranteeing comfort and wearability. Optional additions like pompoms or color creativity can make each hat truly unique. Build warmth into your wardrobe or gift this handmade creation, showcasing artistry and purpose with every stitch.
Step-by-Step Guide to the Benny-Style Crochet Hat Tutorial
The video you referenced features a crochet tutorial from Dimard Max that teaches how to create a textured Benny-style hat with unique wave formations. Below are the sections extracted and organized from the information you provided.
This crochet tutorial demonstrates how to create a textured Benny-style hat using elastic stitches, double crochets, and slipped stitches. It is designed to be easy to follow, suitable for all sizes, adaptable to different yarn types, and offers flexibility in color combinations. Ideal for beginners and intermediate-level crocheters, this pattern includes detailed instructions for customizing the hat to fit specific measurements.
Step-by-Step Process
1. Materials Needed
The tutor suggests the following materials and tools:
- Yarn: Intermediate yarn with a sedified texture is used for the adult-size sample, though finer yarn can also be used for smaller or teen sizes.
- Crochet Hook: A number five hook.
- Markers: To ensure stitches are not lost.
- Measuring Tape: To ensure the hat meets height and width requirements.
The tutor encourages trying different yarns, colors, and thicknesses to achieve varied styles and sizes.
2. Preparing the Base Chain
- Measure the height of the desired hat size (standard measurements are provided).
- Crochet a starting chain that includes the edge (elastic portion on the forehead).
- The chain length should be a multiple of eight, including stitches for the pattern and space for the hat’s top edge closure.
- Make a slipped knot to begin, and crochet 32 chains for the adult size mentioned (24 for the pattern + 8 for the forehead edge).
Tip: Add 3–5 cm more chain length than your desired measurement, as the hat shrinks slightly after completing the design.
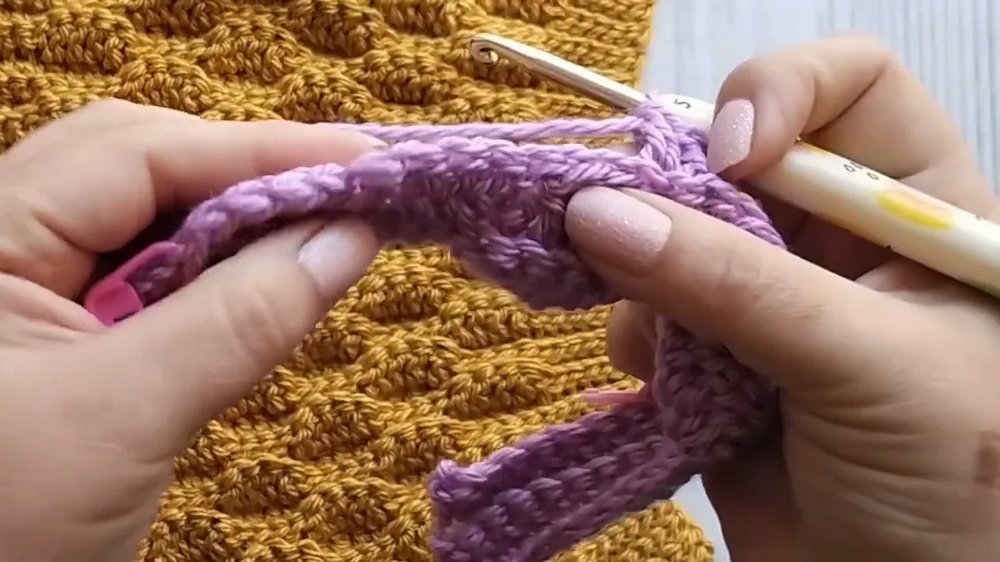
3. Creating the Pattern
Round 1 (Wave Formation)
- Begin with slipped stitches at the top edge (six slipped stitches for closure).
- Place a marker to keep track of rows and sections.
- Work on the wave pattern:
- 4 double crochets followed by 4 slipped stitches — repeat to create blocks of 8 stitches throughout the width.
- Follow this pattern for the designated number of stitches you calculated.
Round 2
- Turn the work and start with one chain.
- Crochet all stitches in channel ribbing, taking only the top loop of the chain.
- Repeat the previous pattern:
- Continue with 4 double crochets followed by 4 slipped stitches.
Round 3 (Reversing the Pattern)
- The third round reverses the pattern:
- Where there were double crochets, crochet slipped stitches.
- Where there were slipped stitches, crochet double crochets.
- Always work in a ribbed channel, taking only the top loop of each chain.
Round 4
- Return to the original pattern from Round 1:
- Crochet 4 double crochets and 4 slipped stitches.
- At the end of this round, the motif is complete.
Repeat the 4-round motif as many times as necessary until you achieve the desired width of the hat. For the adult size demonstrated in the video, the motif was repeated 14 times.
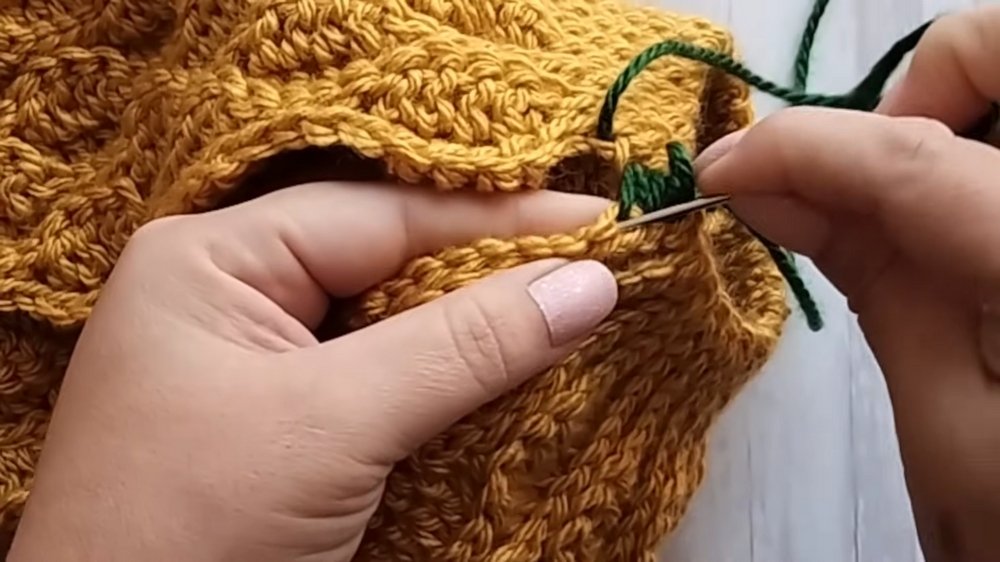
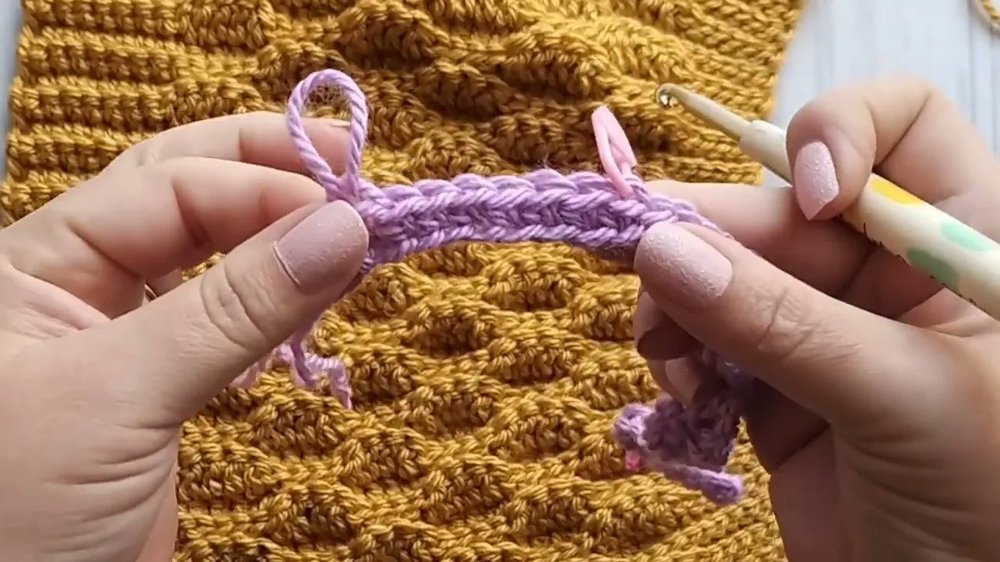
4. Finishing and Joining
Seam the Sides
- Leave a long thread at the end for joining the sides using a seam method that closely resembles the stitch pattern (channel ribbing).
- Carefully sew by alternating loops from the top and bottom edges to create a neat and invisible seam. Adjust as you sew to prevent deformation.
Closing the Top
- Use a separate thread to sew along the hat’s top edge. Pull the thread tightly to close the opening, securing the closure neatly.
- Add a pompom to the top for extra decoration if desired.

Special Features
- Textured Waves: Created by alternating double crochets and slipped stitches in designated blocks.
- Ribbed Stitching: Ensures elasticity and neatness, particularly at the forehead edge.
- Adaptability: The pattern can be used for all sizes, and the design accommodates varied yarn types and color combinations.
Difficulty Level
The project is rated easy, making it suitable for beginners. The repetitive nature of the 4-round motif and the emphasis on simple techniques (slipped stitches and double crochets) ensure accessibility to all skill levels.
Tutor’s Suggestions
- Yarn Choices: Use intermediate yarn for standard adult sizes or finer yarn for more delicate teen sizes.
- Customization: Adjust chain length and the number of motifs to fit the desired measurements or head circumference.
- Marker Usage: Always use markers to stay organized during wave pattern and row transitions.
- Experimentation: Mix color combinations for a vibrant or playful aesthetic or keep it simple with one uniform color.
Uses and Applications
- Ideal for creating hats for adults, teens, or children.
- A thoughtful handmade gift or accessory for winter wear.
- An opportunity to explore color and texture creativity.
Tip
When seaming, try using a contrasting thread to practice and refine the technique. Once confident, use the same-colored thread for a seamless look. Always stretch your work while sewing to prevent distortions in the final product.
Conclusion
The Benny-style hat tutorial provides a simple and adaptable crochet pattern suitable for all sizes and preferences. With its textured wave formations and ribbed stitching, the design offers both style and practicality. Whether you’re creating a vibrant multi-colored hat or trying a minimalist approach, this tutorial equips you with the skills to craft a cozy handmade accessory. Try it out, and bring your creativity to life with this enjoyable crochet project!